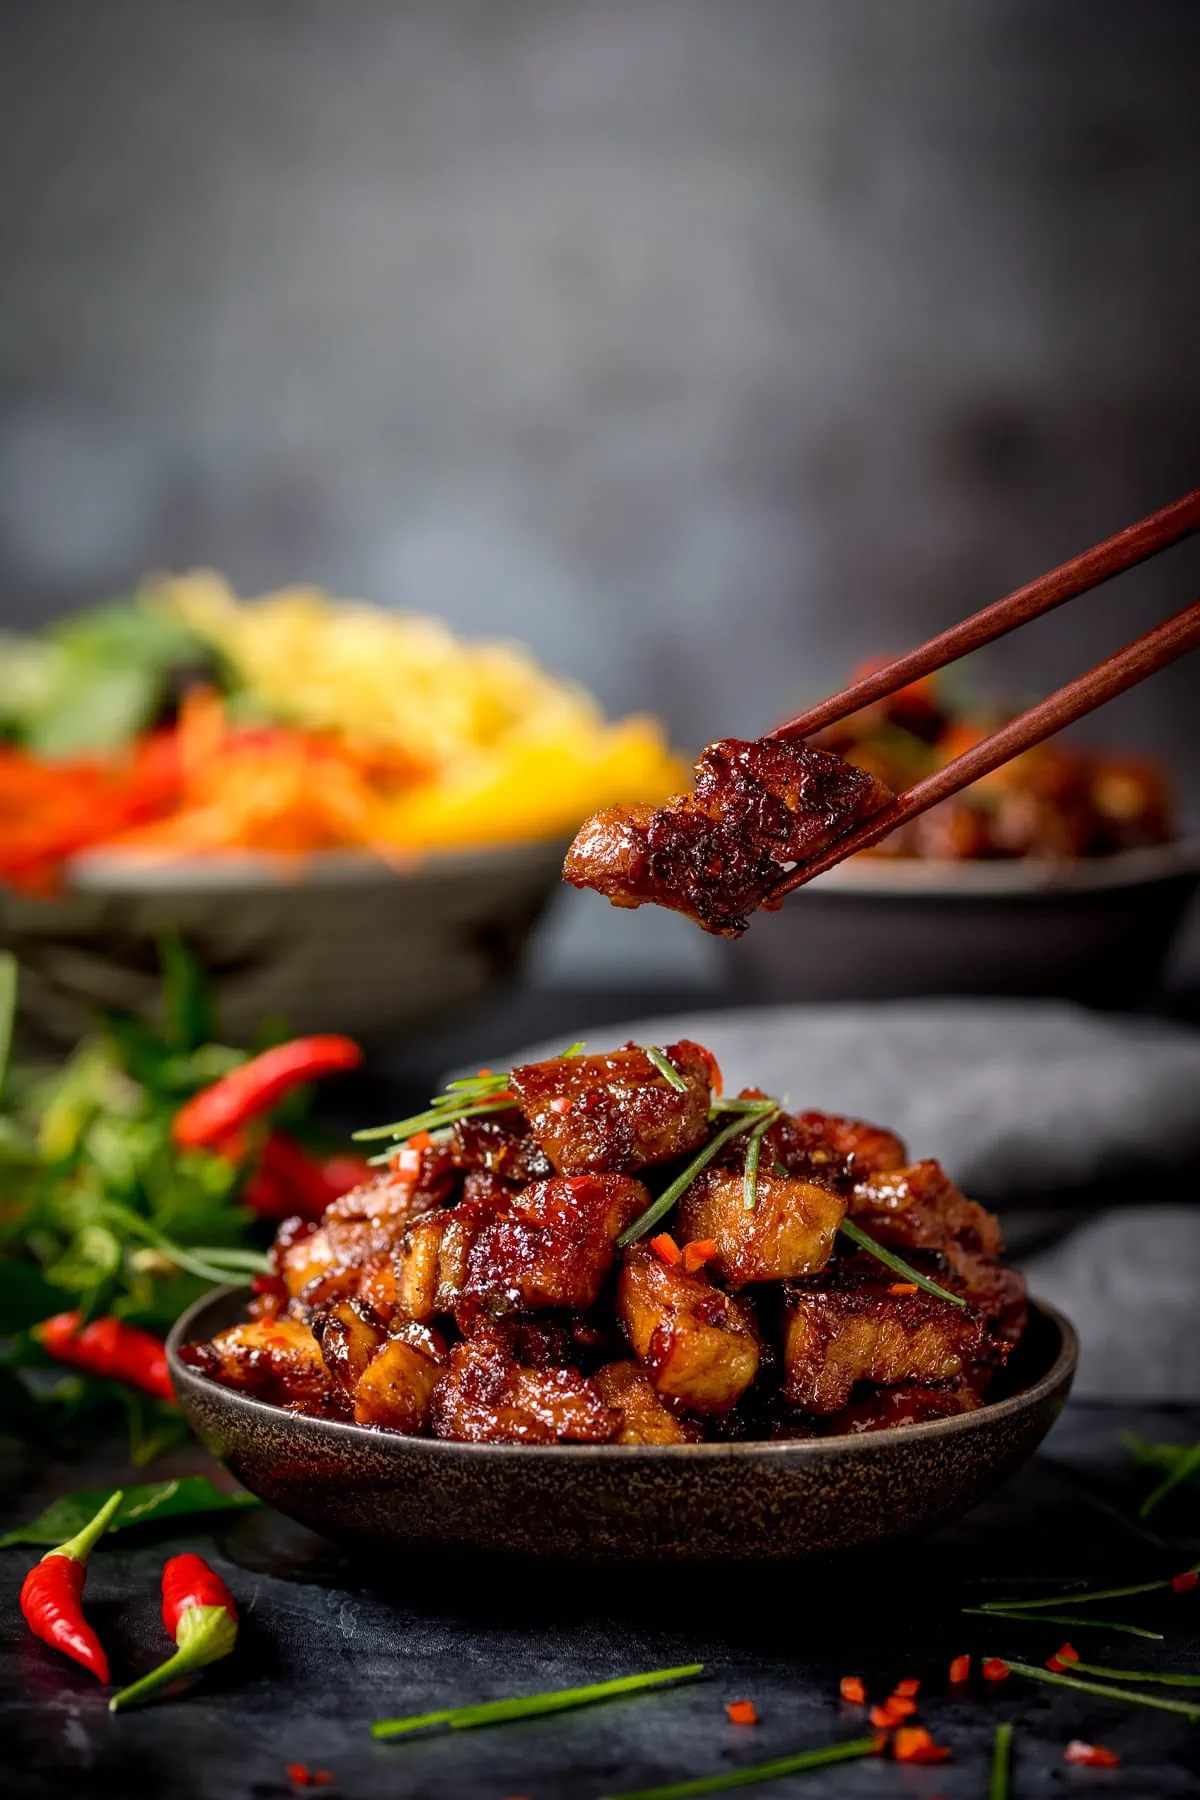
This Sticky Chinese Pork Belly is one of my absolute favourite recipes on the blog. Check out my three step process for pork that’s meltingly tender, with a crispy exterior and gloriously sticky/sweet/spicy coating.
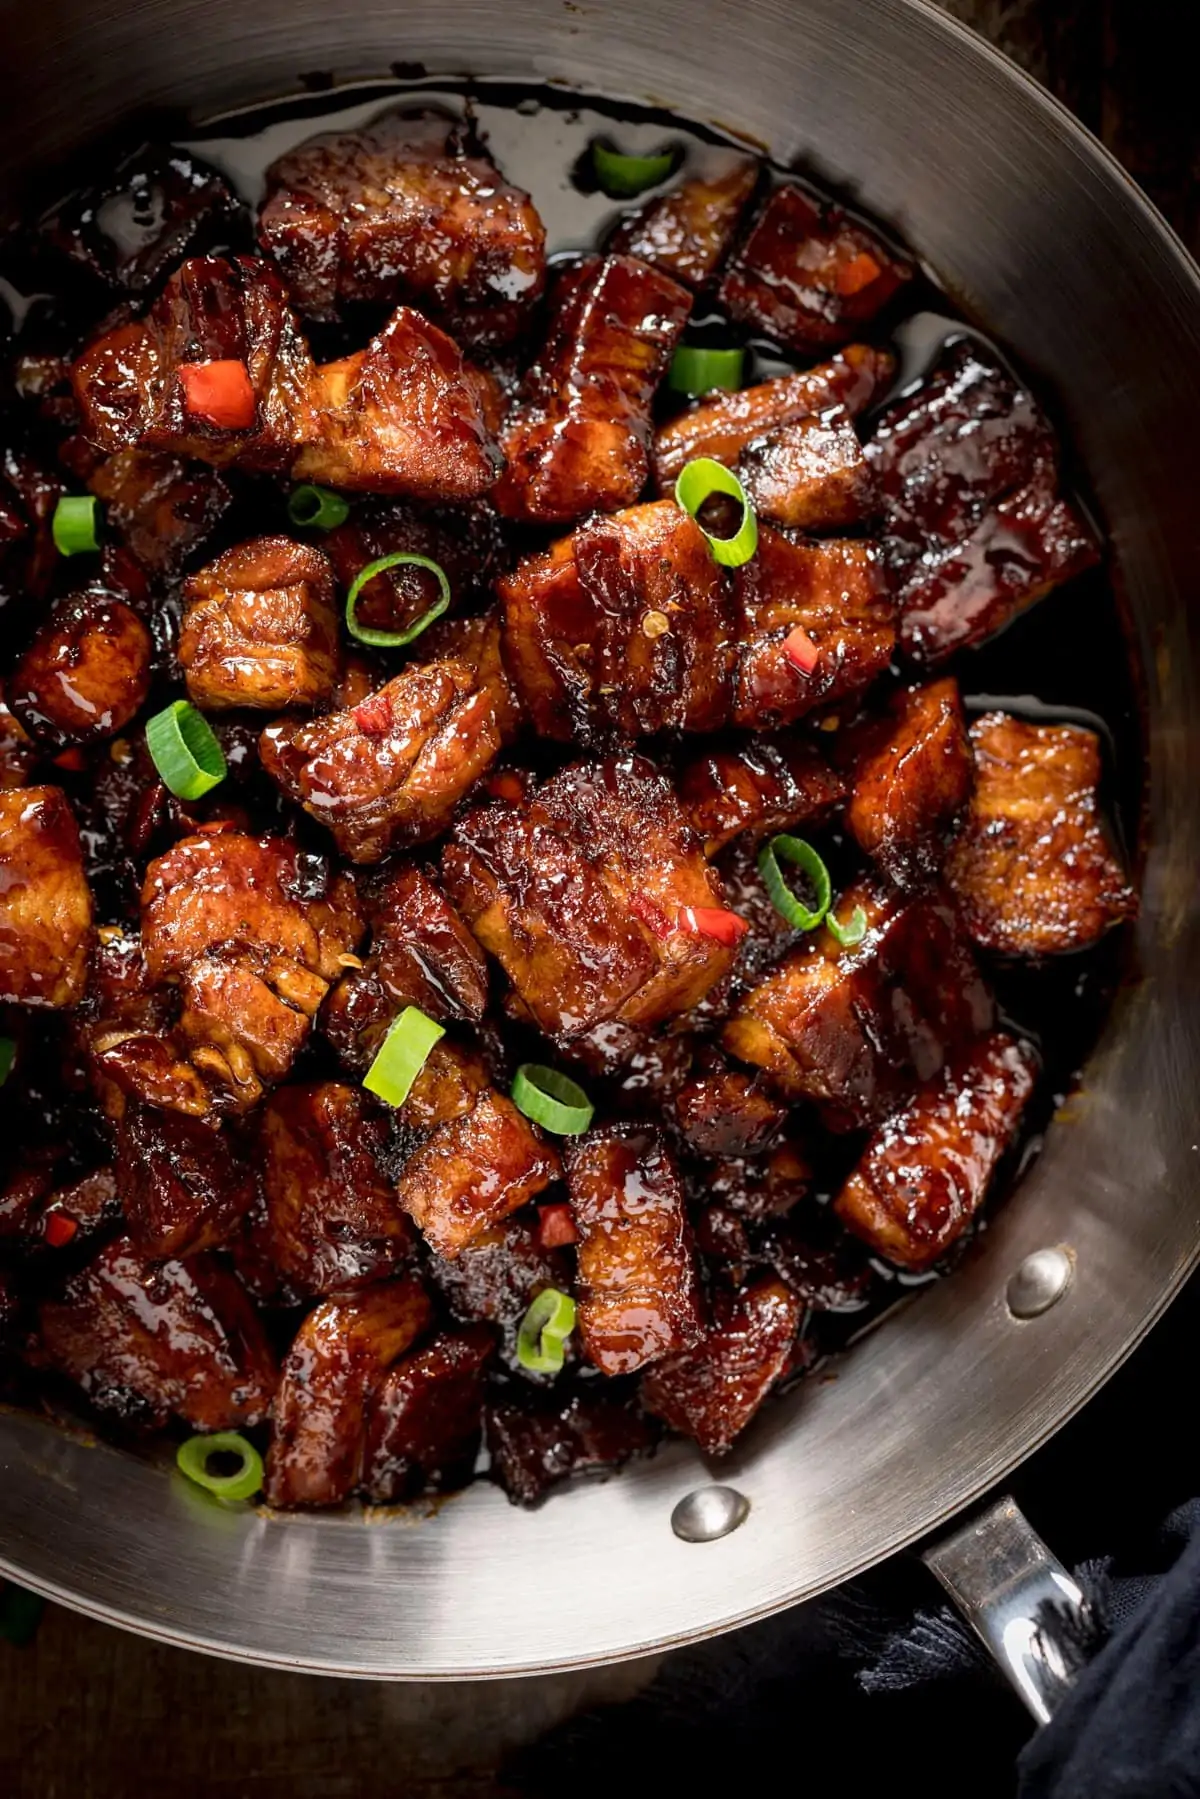
I wonder how many recipes I’ve published with sticky in the title…
Sticky chicken stir fry, Gingerbread cake with Sticky Whisky glaze, sticky Asian sea bass this sticky pork belly and AT LEAST ten others (just did a quick count). I’m all about the sticky. Just call me sticky Nicky.
Actually don’t. That sounds weird.
I sometimes like to kid myself and call it caramelized – like this ‘caramelized beef brisket‘. But at the end of the day, I just mean coated in some kind of sugar and then cooked until you reach the dark brown, shiny stage, creating an intense flavour that takes whatever you’ve just made to a whole new level. How could anything finished in that way not taste amazing?
For this recipe, the sticky layer is added right at the end. Don’t be fooled though. Just because the pork hasn’t been marinating for hours, doesn’t mean it’s not going to taste amazing (I confused myself with double negatives there, but I’m basically saying it tastes amazing even though we’re only glazing at the end).
📋 What do we need?
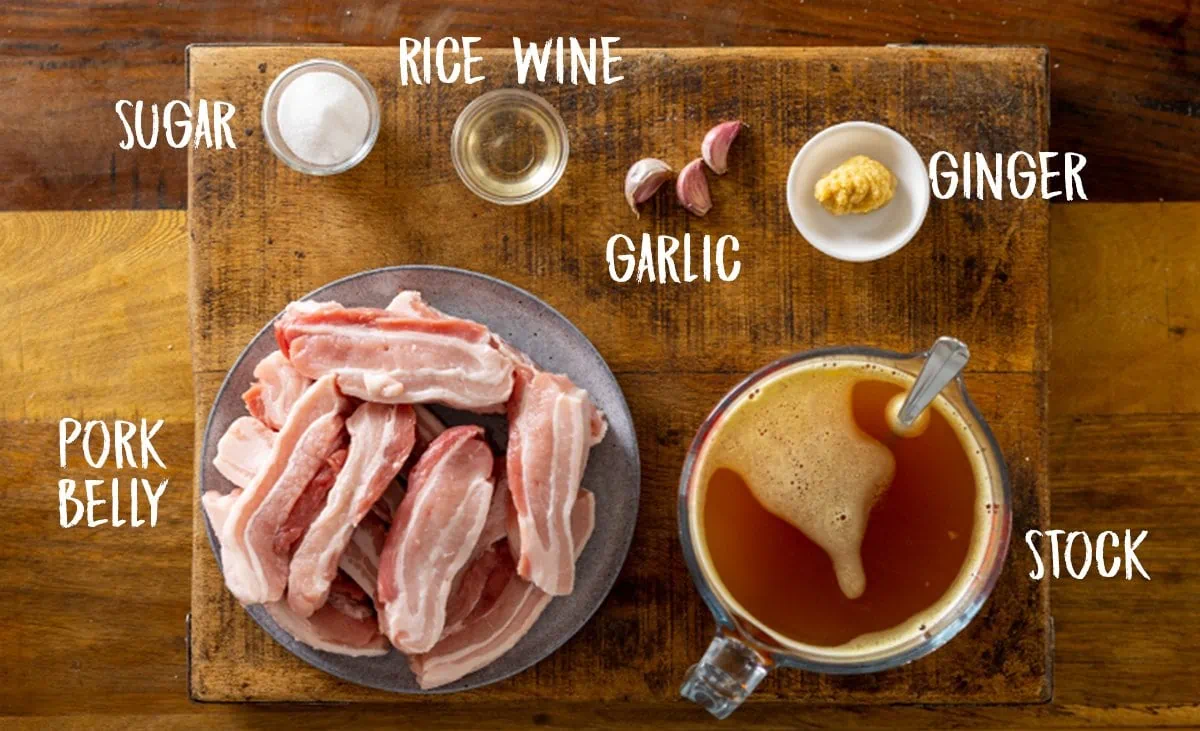
For the slow-cooked pork belly
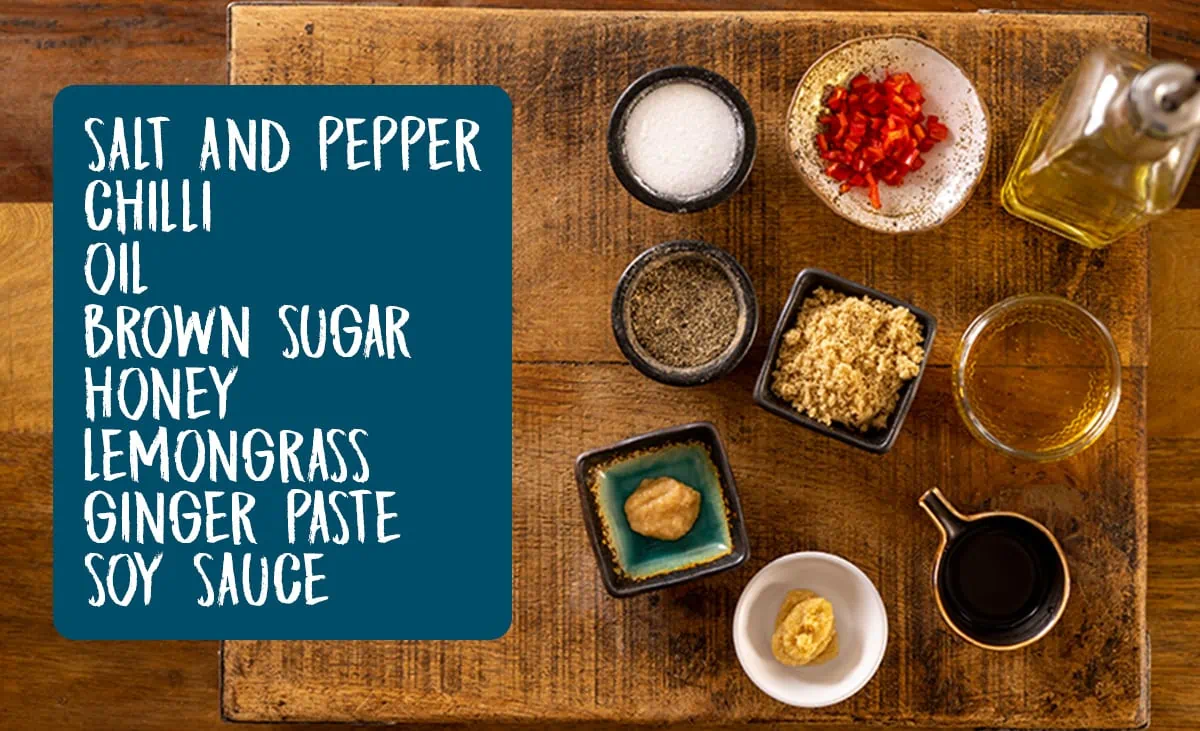
For the sticky glaze
📺 Watch how to make it
Full recipe with detailed steps in the recipe card at the end of this post.
- This pork actually has three layers of flavour. The first coming from being slow-cooked in a pan for 2 hours with stock, garlic, ginger, rice wine and a little sugar:
- The second layer comes from being crisped in a pan with a little vegetable oil and seasoning (it’s actually hard not to just stop right here and eat it from the pan like this).
- The final layer coming from the soy/chilli/sugar/lemongrass and a couple of other ingredients that are stirred together, then poured over the fried pork, before bubbling away until thick and glossy.
👩🍳PRO TIP The fat can spit quite a bit at the frying stage so we use a splatter screen/guard (<<– affiliate link) to prevent hot oil spitting out all over the place.
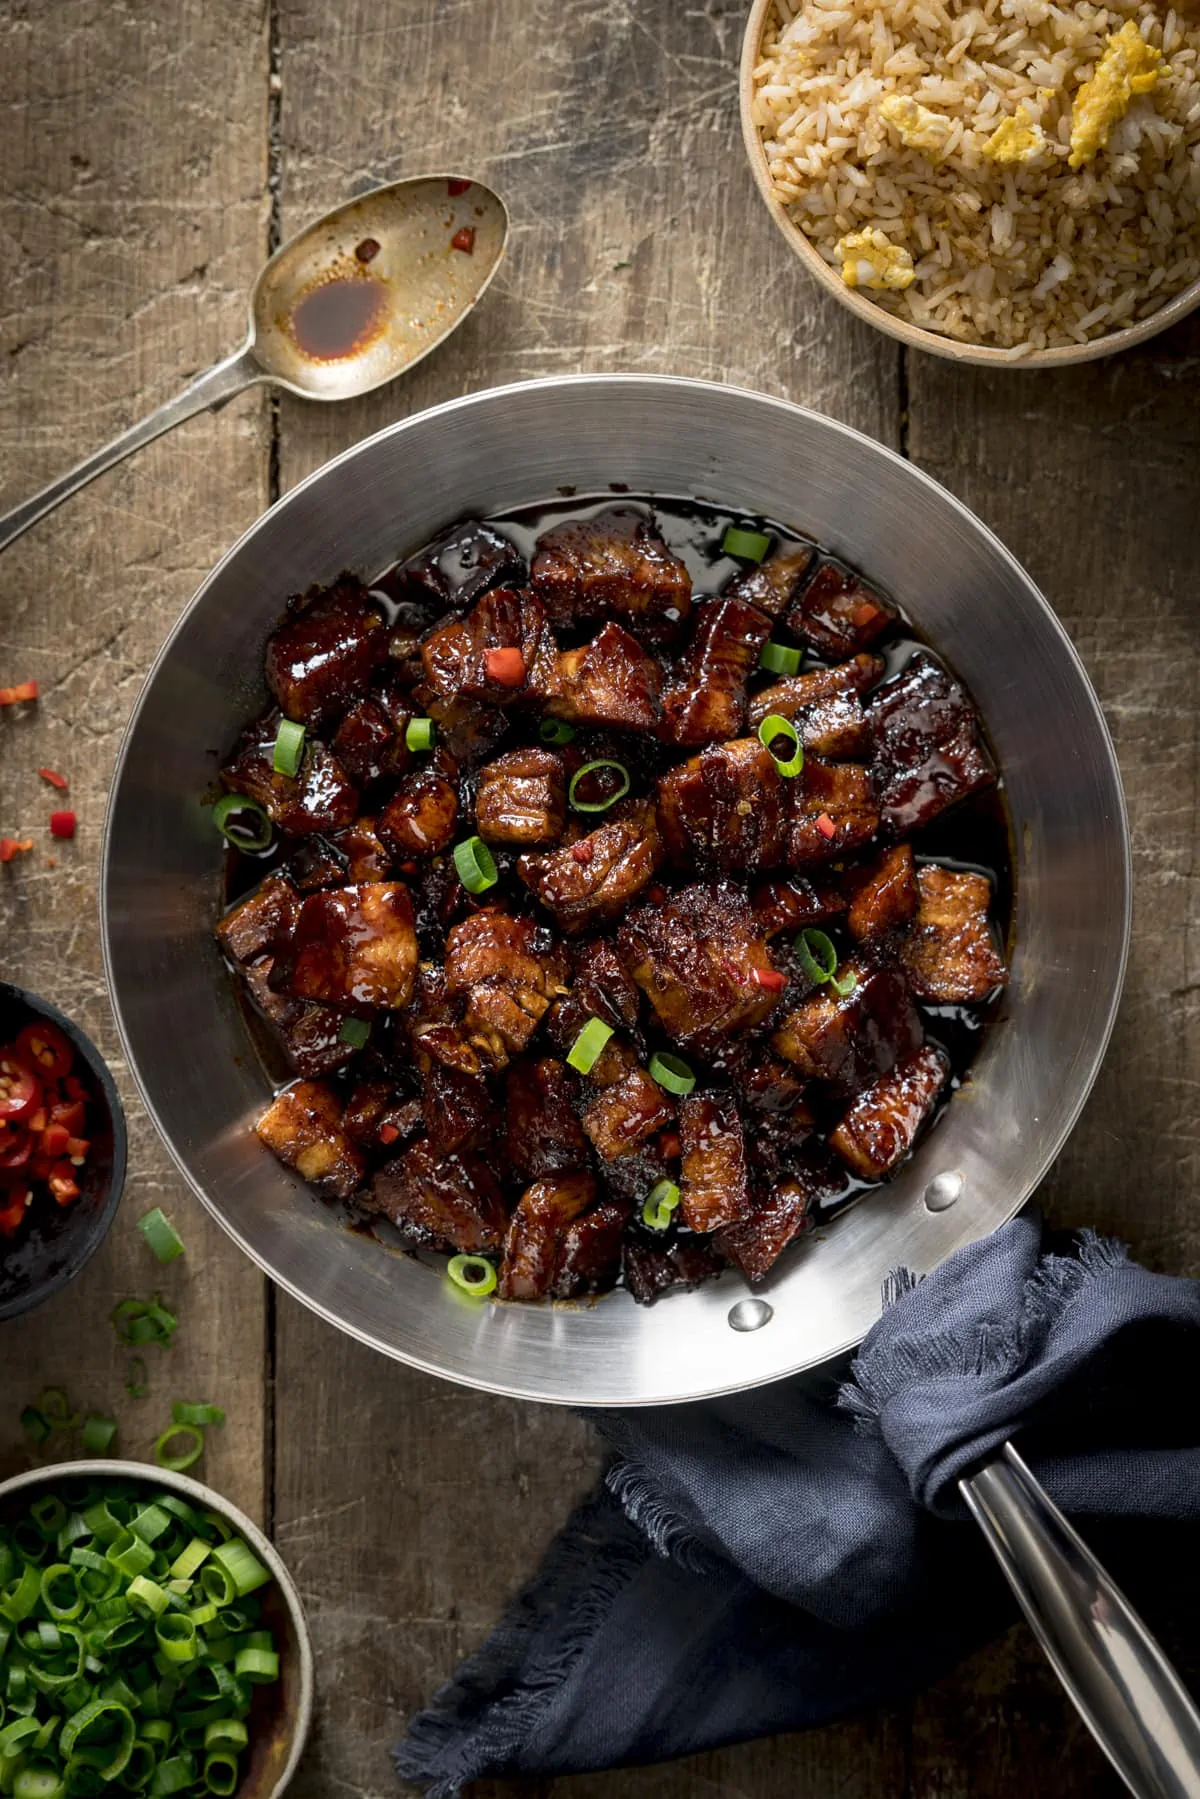
🍽️ What to serve it with
That’s it. Three layers of flavour in a simple recipe that really does take minimal effort.
🍲 More fantastic Chinese recipes
Stay updated with new recipes!
Subscribe to the newsletter to hear when I post a new recipe. I’m also on YouTube (new videos every week) and Instagram (behind-the-scenes stories & beautiful food photos).

Sticky Chinese Pork Belly
Ingredients
Slow Cooked Pork Belly:
- 1 kg (2.2 lbs) rindless pork belly slices chopped in half (each piece being approx. the length of your index finger)
- 1 litre (4 1/4 cups) hot chicken stock
- 1 thumb sized piece of ginger peeled and minced (or 1 tbsp of ginger puree)
- 3 cloves garlic peeled and roughly chopped
- 1 tbsp rice wine
- 1 tbsp caster sugar
Glaze:
- 2 tbsp vegetable oil
- pinch salt and pepper
- 1 thumb-sized piece of ginger peeled and minced
- 1 red chilli finely chopped
- 2 tbsp honey
- 2 tbsp brown sugar
- 3 tbsp dark soy sauce
- 1 tsp lemon grass paste
To Serve:
- chopped spring onions
- chopped red chillies
Instructions
- Add pork belly slices, stock, ginger, garlic, rice wine, and sugar to a heavy-based pan. I use a cast iron casserole pan.1 kg (2.2 lbs) rindless pork belly slices, 1 litre (4 1/4 cups) hot chicken stock, 1 thumb sized piece of ginger, 3 cloves garlic, 1 tbsp rice wine, 1 tbsp caster sugar
- Bring to the boil, then place a lid on, turn down the heat and simmer for 2 hours.
- Turn off the heat, remove the pork from the pan and pat it dry using kitchen towels. You can reserve the liquid if you like (Perfect for a Thai or Chinese noodle soup).
- Chop the pork into bite sized chunks.
- In a small bowl, mix together 1 tbsp of the oil, along with a pinch of salt and pepper, ginger, chilli, honey, brown sugar, soy sauce, and lemongrass paste.pinch salt and pepper, 1 thumb-sized piece of ginger, 1 red chilli, 2 tbsp honey, 2 tbsp brown sugar, 3 tbsp dark soy sauce, 1 tsp lemon grass paste, 2 tbsp vegetable oil
- Add the remaining 1 tbsp of oil to a frying pan and heat over a medium-high heat.
- Add in the pork, along with a pinch of salt and pepper, and fry, turning regularly, until the pork starts to turn golden. Be careful as the oil can splatter at this stage (I recommend a splatter guard).pinch salt and pepper
- Now pour the glaze over the pork and continue to cook for a couple of minutes, turning the pork often, until the pork looks dark and sticky.
- Remove from the heat and serve. I like to top with a few spring onions and chopped chillies.chopped spring onions, chopped red chillies
Video
Notes
Replace the rice wine with sherry (usually gluten free, but best to check).
Also make sure you use gluten free stock. Vegetarian Option? I haven’t tried this with a meat-like alternative, but my Asian-style cauliflower wings make a great alternative. Can I use my slow cooker? Yes, you can do the first stage in the slow cooker. Cook on high for 4-5 hours or low for 6-7 hours. Keep an eye on the level of liquid and top up with a little more if needed. Nutritional information is per serving.
Nutrition
Nutrition information is automatically calculated, so should only be used as an approximation.
This post was first published in March 2015. Updated in October 2018 and then again in July 2022 with new photos, video and some housekeeping.
Some of the links in this post may be affiliate links – which means if you buy the product I get a small commission (at no extra cost to you). If you do buy, then thank you! That’s what helps us to keep Kitchen Sanctuary running. The nutritional information provided is approximate and can vary depending on several factors. For more information please see our Terms & Conditions.
Equipment:
In order to make this recipe you will need:
- A splatter guard/screen – to avoid hot fat spitting when frying the belly pork
- A good Kitchen knife. In the video I use my Leiths knife however I have recently bought this Dalstrong one and love it.
- Chopping Board
- Cast Iron Casserole Dish
- Measuring Jug
- Fying Pan/Skillet or a Wok.
- Wooden or Silicon Coated Spoons. We have just bought these and love them.
- A small mixing bowl to mix the glaze ingredients in. Instead of a mixing bowl we use loads of these for mixing, prepping, and serving.











Super yummy! Thank you, the whole family loved this!
Thanks Laura,
So glad you enjoyed it 🙂
Thanks
Chris & Nicky
This was great. I heated the left over sauce in the pan after the pork cooked, tossed some of the left over broth through to loosen it, and drizzled it over the pork and green veg.
This was delicious. Thank you so much for sharing. I’m not a huge fan of pork and the fat on it but wow I’m converted now! I used a finely chopped lemongrass as I didn’t have the paste and served it with rice and steamed greens so it felt healthier! I’m definitely going to make this again and will have a go at some of your other recipes. Yummy!!!
Have not made this yet but got to the bit about sticky eggs…when I was young my grandmother used to make a thai dish called son in law eggs, the eggs are boiled and lightly deep fried and then coated in a sweet and savoury tamarind sauce, with shallots, its delicious, give it a try!
oh wow they sound amazing! I’ve just done a quick search and found a couple of recipes for them. I’ll give them a go next time I cook Thai. Thanks Alex 🙂
One of my favourite recipes, it always comes out so tasty! Just wanted to feed back as well that I used my Instant Pot the other night to cut the boiling/simmering time down – I gave it 24 minutes at high pressure and the pork came out perfectly!
Doing that again! I did it with pork loin so just marinaded the meat for a while in some of the sauce (I made double) and then fried it off. Shoved in the rest of the sauce at the end just to heat through. Really good!
Anyone try this with something other than pork belly–pork loin perhaps? Hard to get pork belly right now easily.
I used a rolled pork roast.. I I undid it,, flattened it out,, and cut it into1.5cm strips (rind on) and then just followed the recipe… It was absolutely melt in the mouth superb !!!
I have made this twice, now. EVERYONE loves it! I have been doing Asian style cooking since my time in the Philippines when I was in the USAF, over 40 years ago. But have never tried any of the pork belly recipes. Now my family wants pork belly at least once a month. I double up in the sauce, because I add broccoli and cauliflower to the pork belly and spoon over white rice. Thank you for expanding recipe book!
After frying off the pork, can I drain off some of the fat that renders from it?
Hi,
Yes if there’s a lot of fat, you can drain it off. It’s good to have a little fat in there, but you don’t really need more than a tablespoon.
Wow this is some damn good eating! I really hate fat on meat, the texture makes me blegh, so I’ve always struggled with pork belly. But we just happened to have some leftover from our NYE Korean bbq so I decided to try this recipe. And I am so happy I did! The flavours are perfect, the pork is crispy and no squishy fat texture. I didn’t have rice wine or lemongrass paste, but it was still really good without those! I’ll definitely be trying this again!