
This post may contain affiliate links. Please read our disclosure policy.
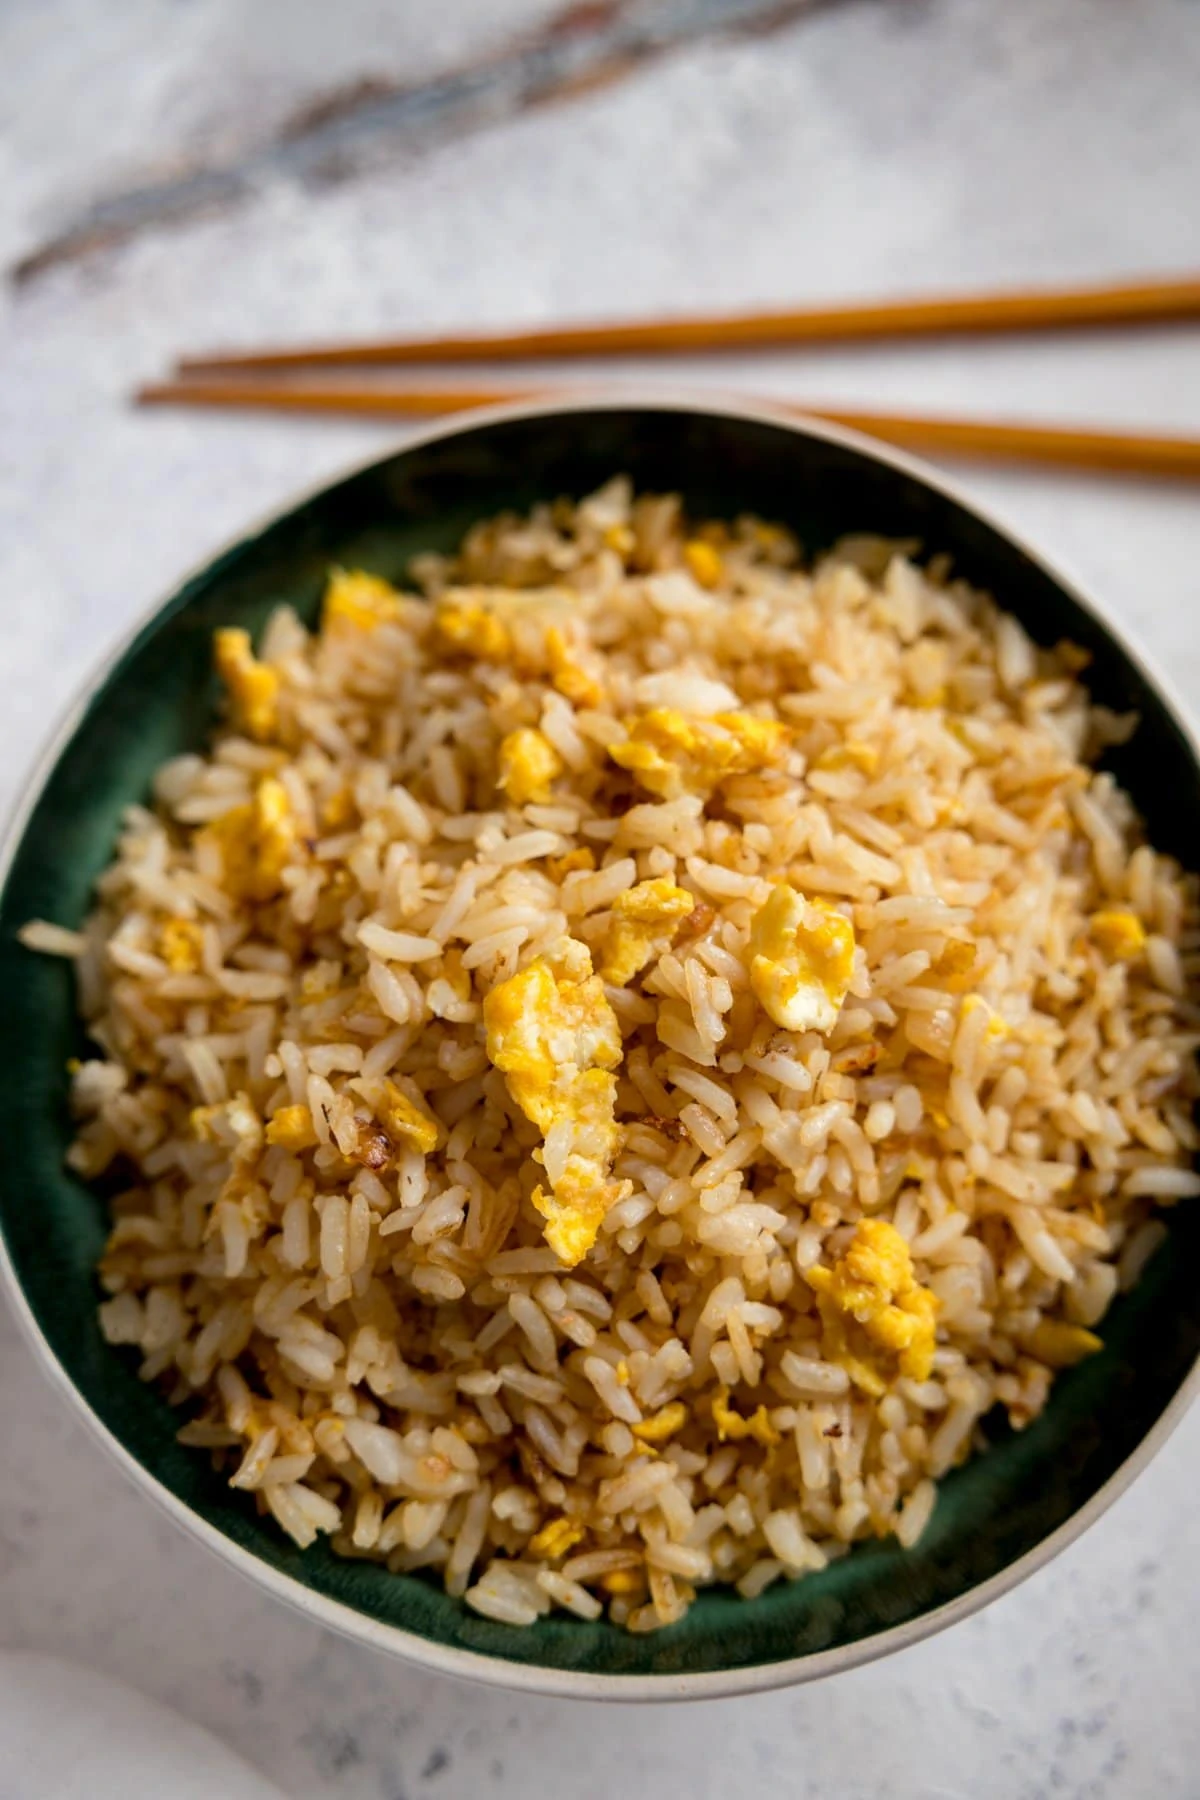
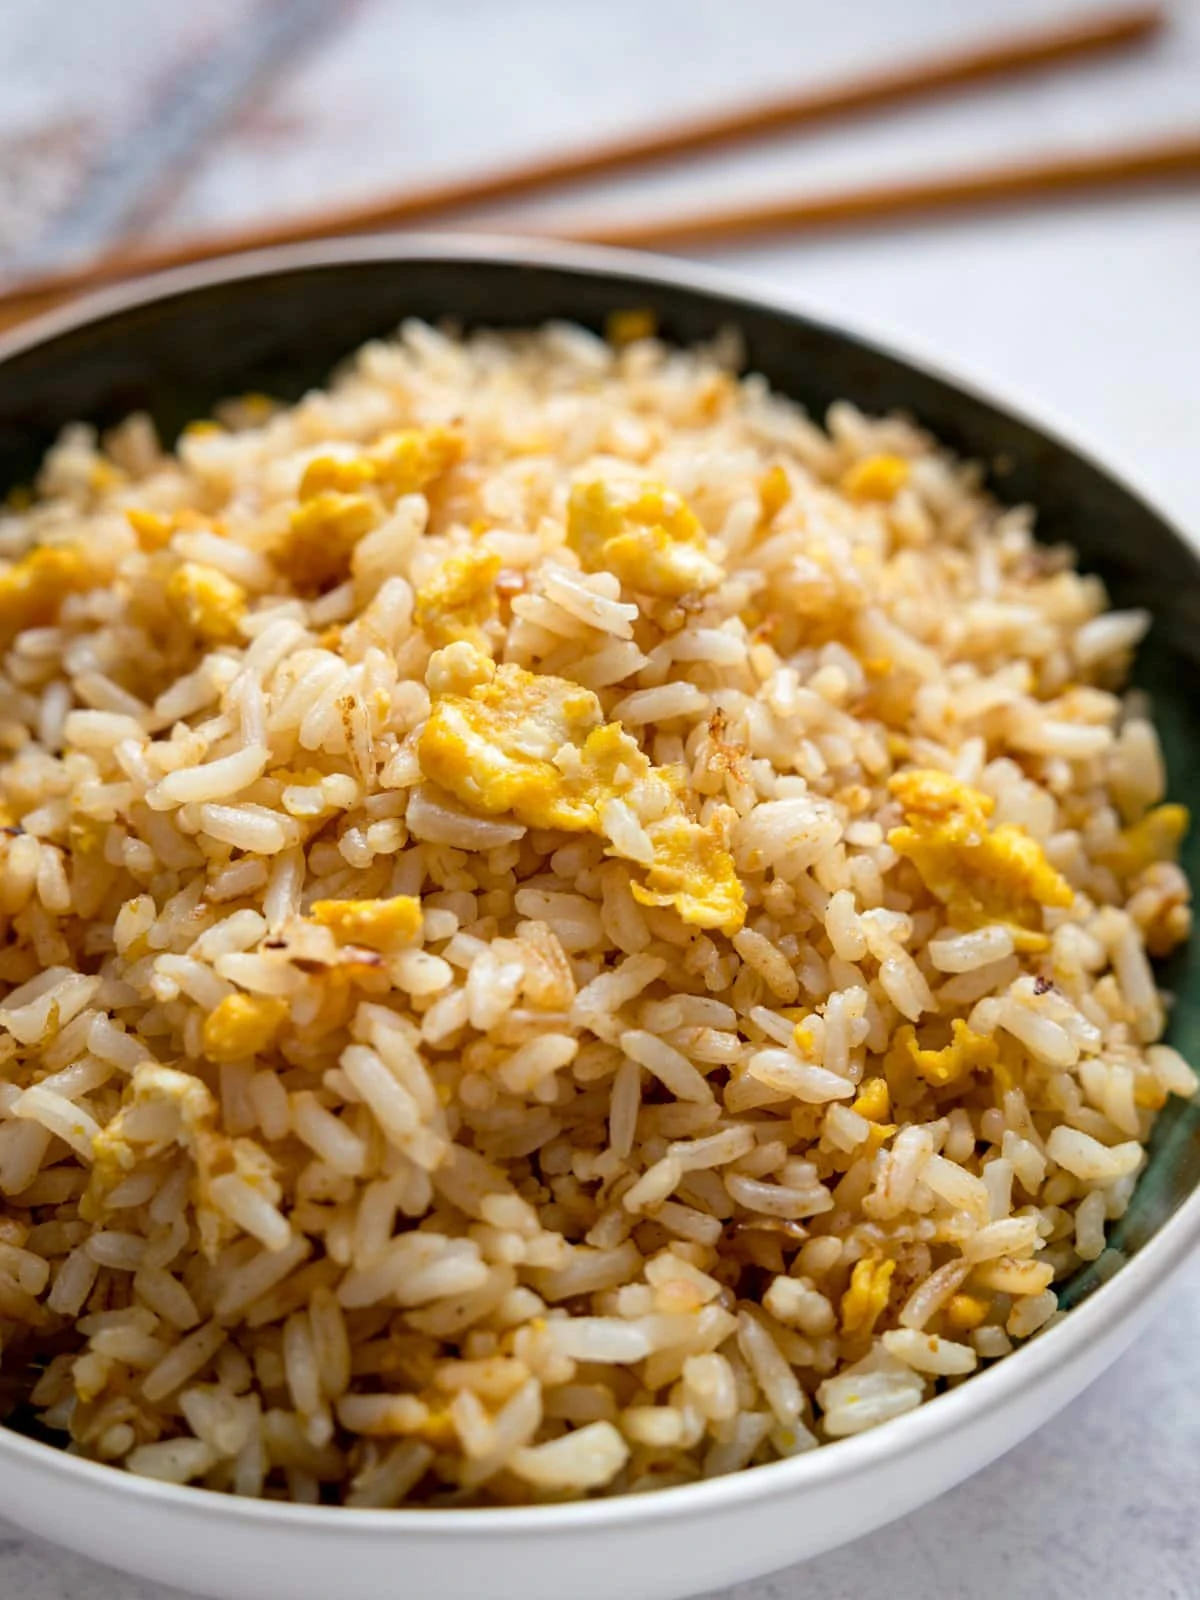
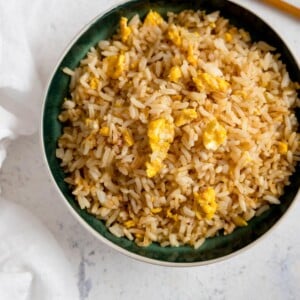
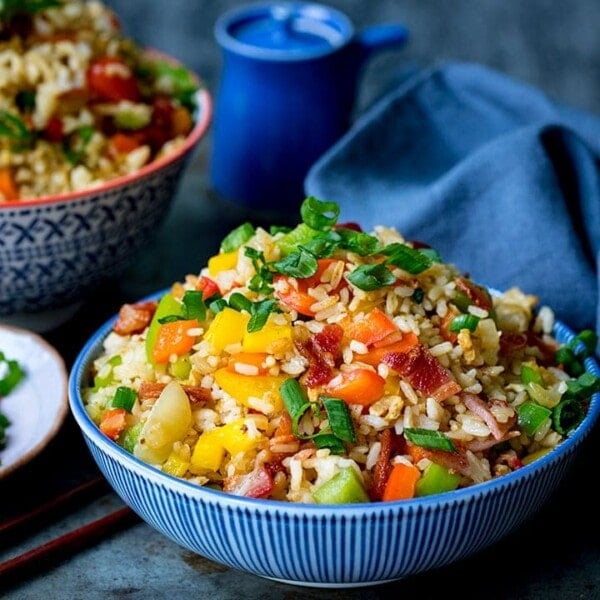
A quick recipe for takeaway-style egg fried rice with loads of flavour!
Check out THE MOST IMPORTANT TIP for ensuring your rice isn’t sticky or claggy.
Such a great dish to serve up as part of a homemade Chinese fakeaway!
“Absolutely THE best egg fried rice for a fakeaway 🙂 Very straight forward to make and instructions to the point and easy to follow. I did it with home made chicken balls, sweet and sour sauce and store bought spring rolls. Amazing, thank you so much!”
Nicky’s Notes

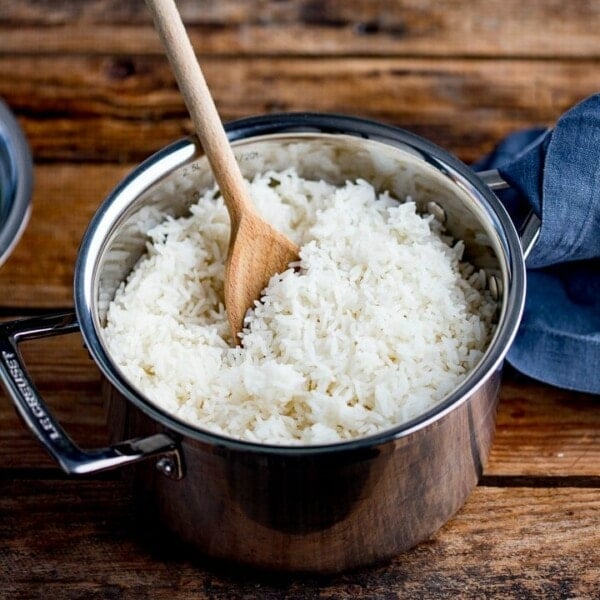
Once you get the knack of remembering to boil a pan of rice in the morning, so you can have cold rice – which is really important for making the tastiest fried rice – this recipe will become a staple for serving up with any of your Chinese fakeaway dinners (or just eat it on its own for lunch!).
Alternatively, I often cook a batch of boiled rice and freeze it. Then I can just let it defrost overnight in the refrigerator, ready for frying it up with dinner the next day.
Table of Contents
📋 What do we need?
- Use long grain rice if you can. Basmati does work almost as well, so does brown rice, but long grain white rice is the best.
Ingredient Swaps
Add chopped bell peppers, peas, finely chopped mushrooms and/or carrots
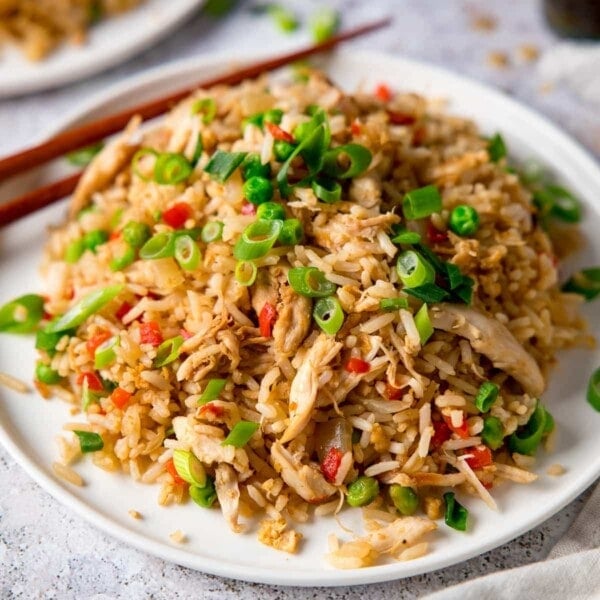
Add cooked, shredded chicken for Chicken Fried Rice or add in any leftover shredded/chopped meat from your Roast Dinner.
❓ MSG or no MSG?
There have been so many controversial discussions about MSG (monosodium glutamate).
MSG is a flavour enhancer. It’s naturally found in some foods, but the MSG I’m talking about here is the stuff that looks like tiny thin longish strands of salt.
It’s often associated with Chinese cookery and it helps to give dishes that lovely umami flavour.
There have been many studies done on it, so it’s worth doing some research if you’re unsure.
From my own experience, we grew up with a packet of MSG always in the cupboard. My dad always added it to fried rice, and I’ve made fried rice MANY times both with and without MSG.
Personally I haven’t got a problem with it. BUT I rarely use it.
Why?
Well we don’t live close to any good Asian grocery shops here. Also, I don’t think that fried rice NEEDS it. I add salt, garlic salt and soy soy sauce to my fried rice for the same umami flavour.
It’s worth noting that some garlic salt and soy sauce contains MSG anyway (I’ve just checked mine and they don’t, but it’s not something that I look out for when buying).
If you do want to use MSG, you can replace the 1/4 tsp garlic salt with 1/4 tsp MSG.
🔪 How to make egg fried rice
**Full recipe with detailed steps in the recipe card at the end of this post.**
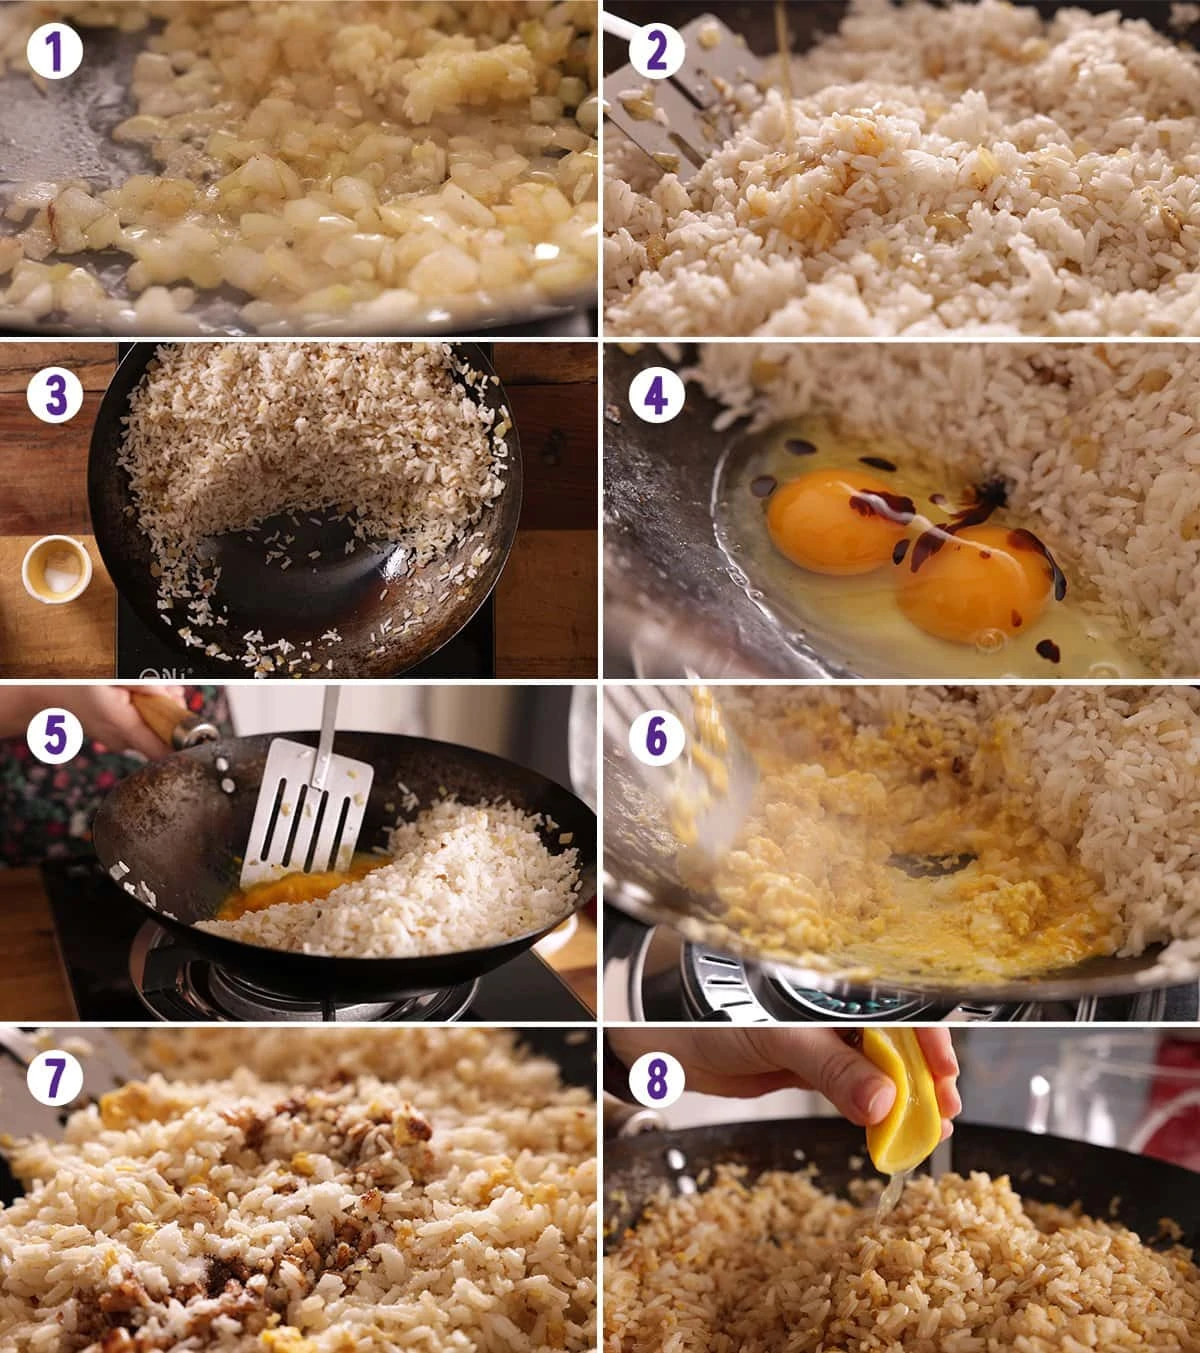
- Fry onion in a little oil in the wok, then add minced garlic and cook for further 30 seconds.
- Add the rice, knock up the heat to high and drizzle over a little sesame oil. Toss everything together with a spatula. Note: Using a spatula is important as it allows you to get underneath the rice and toss it, rather than break up the rice grains (if you were to stir with a spoon for example).
- Once the rice is hot, push the rice over to the side of the pan and crack in two eggs.
- Cook the eggs over the heat, stirring together with a splash of soy sauce, then stir the eggs into the rice.
- Add more soy sauce, plus a sprinkle of salt and garlic salt and a drizzle of lemon juice. Toss everything together, then serve.
Pro Tip
- Be sure to use cooked cold rice – rather than warm rice. Rice dries a little as it cools, and then dryness will help stop the fried rice going sticky and claggy. Rice that has cooled and dried a little will also absorb more flavour.
Serve up with your favourite Chinese dish or even on its own.
🍽️ What to serve it with
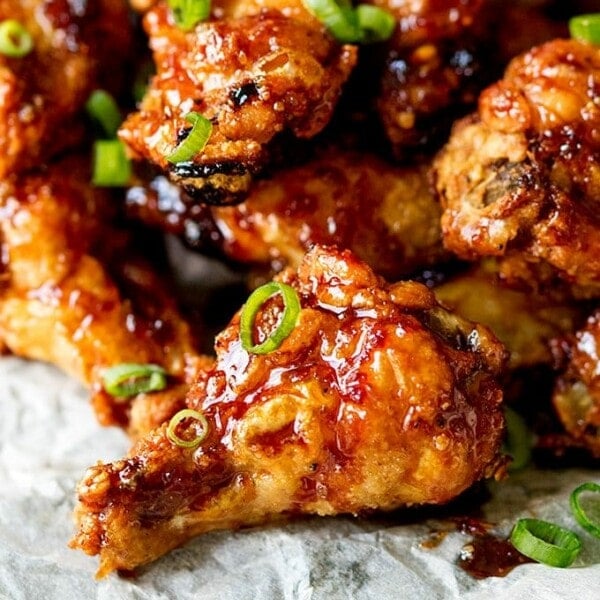
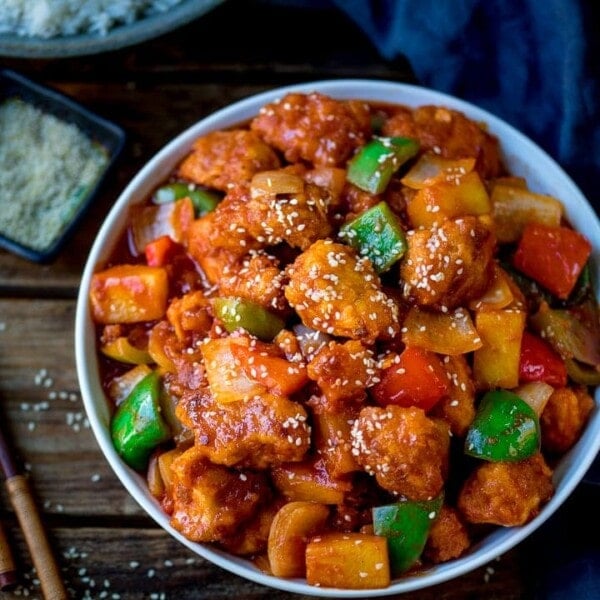
- Sweet and Sour Chicken
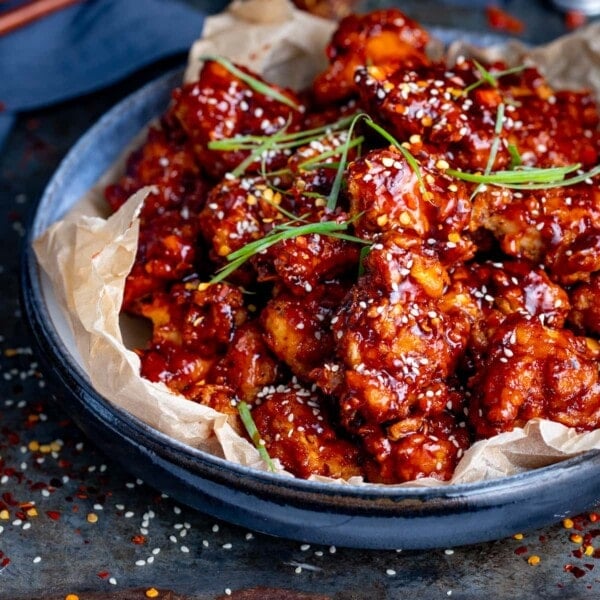
- Crispy Sesame Chicken
- Spicy Ginger Beef Stir Fry
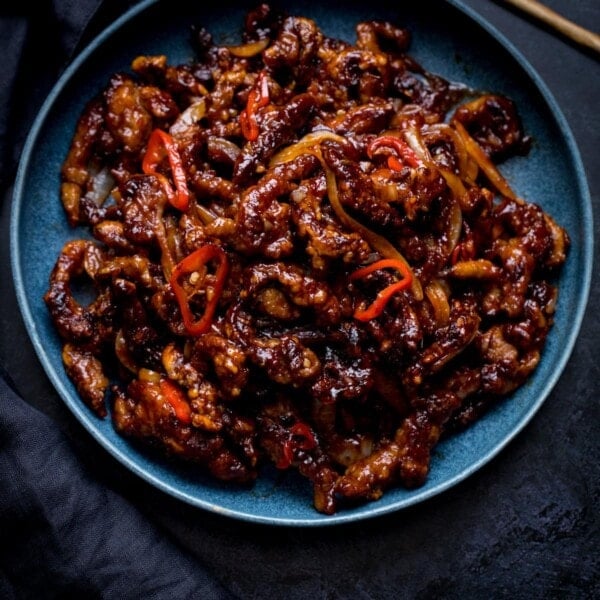
- Crispy Chilli Beef
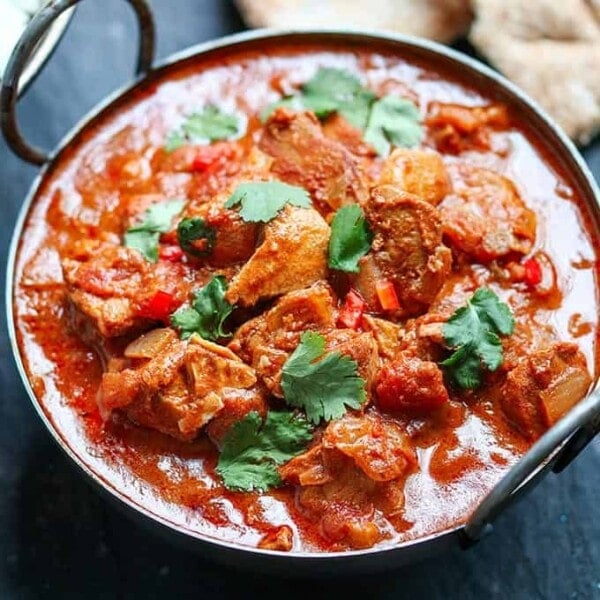
- Chinese Beef Curry
How to scale up and scale down this recipe
You can halve or double the recipe, sticking to the same ingredient ratios. If doubling the recipe, be aware that you’ll need a LARGE wok, and it will take longer to heat the rice through.
📺 Watch how to make it
Egg Fried Rice Recipe
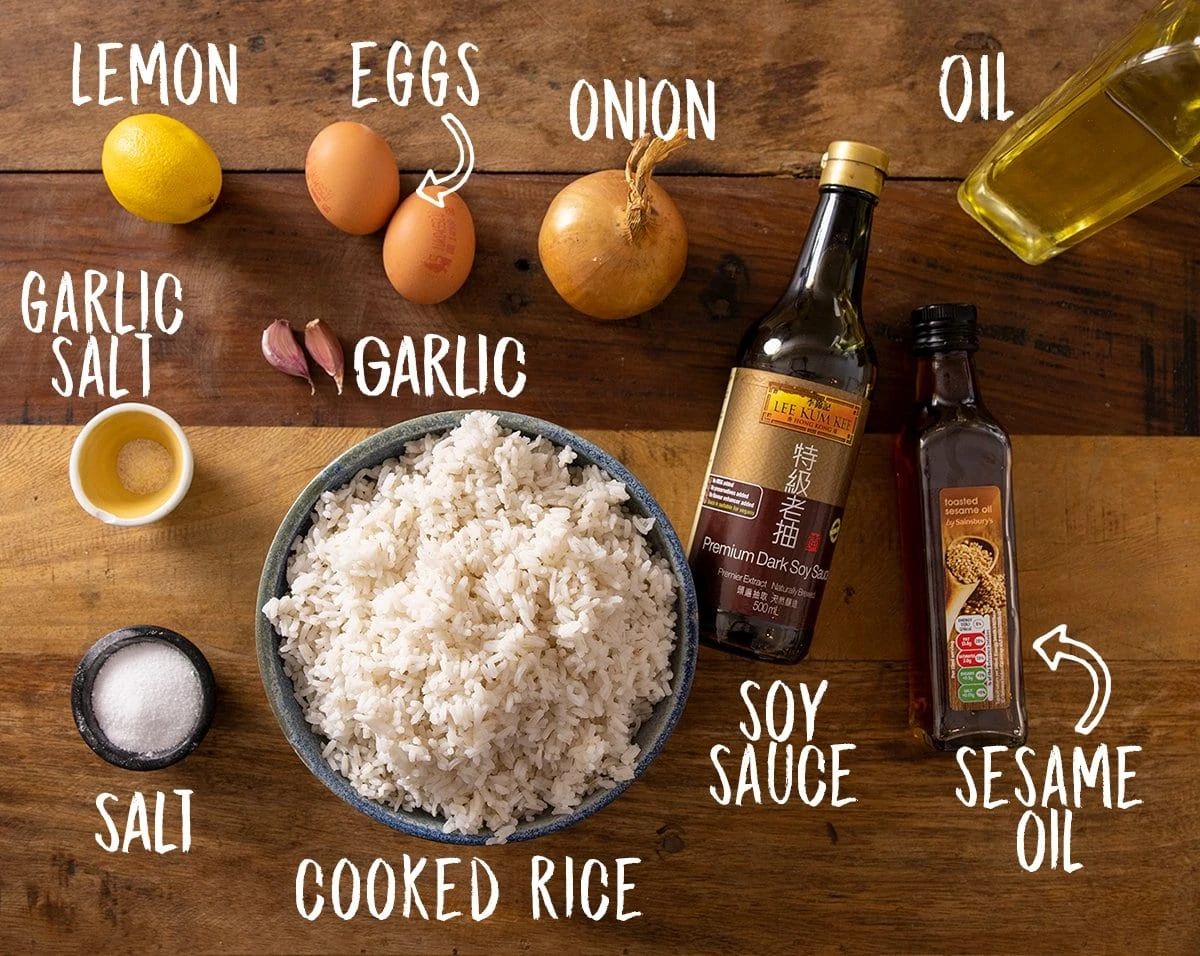
Ingredients
- 2 tbsp neutral oil (I use avocado oil)
- 1 onion peeled and diced
- 2 cloves garlic peeled and minced
- 800 g (4 cups) boiled and cooled long-grain rice (this is about 1 1/3 cups (300g) dried rice that has been boiled in water)
- ½ tbsp sesame oil
- 2 eggs
- 2 tbsp dark soy sauce
- ¼ tsp salt
- ¼ tsp garlic salt
- 1 tbsp lemon juice (fresh or bottled is fine)
To Serve:
- ½ bunch of spring onions/scallions chopped
Instructions
- Add 1 tbsp of the oil in a large wok. Add the onion and cook, stirring regularly on a medium heat for 5 minutes until the onion starts to turn soft and translucent.2 tbsp neutral oil, 1 onion
- Add in the remaining oil and the minced garlic. Cook for a further 30 seconds, stirring regularly.2 cloves garlic
- Add the rice and turn up the heat to high. Then drizzle over the sesame oil.800 g (4 cups) boiled and cooled long-grain rice, 1/2 tbsp sesame oil
- Use a spatula to toss everything together and to ensure the rice doesn’t stick to the bottom of the pan. Keep moving the rice around so that it’s all getting reheated.
- Once the rice is hot (this will take about 5 minutes), push the rice over to the side of the pan and crack the two eggs in the space. Add a little splash (about 1/4 tbsp) of the soy sauce to the eggs.2 eggs
- Making sure the part of the wok with the eggs in is over the heat, fry the eggs, giving a mix with the spatula until the egg starts to cook and looks scrambled, but is still a little runny.
- Now mix the egg into the rice.
- Pour in the remaining soy sauce (about 1 3/4 tbsp), sprinkle on the salt, and garlic salt and mix it all together.2 tbsp dark soy sauce, 1/4 tsp salt, 1/4 tsp garlic salt
- Add the lemon juice, stir and taste. Add a little more lemon juice if required.1 tbsp lemon juice
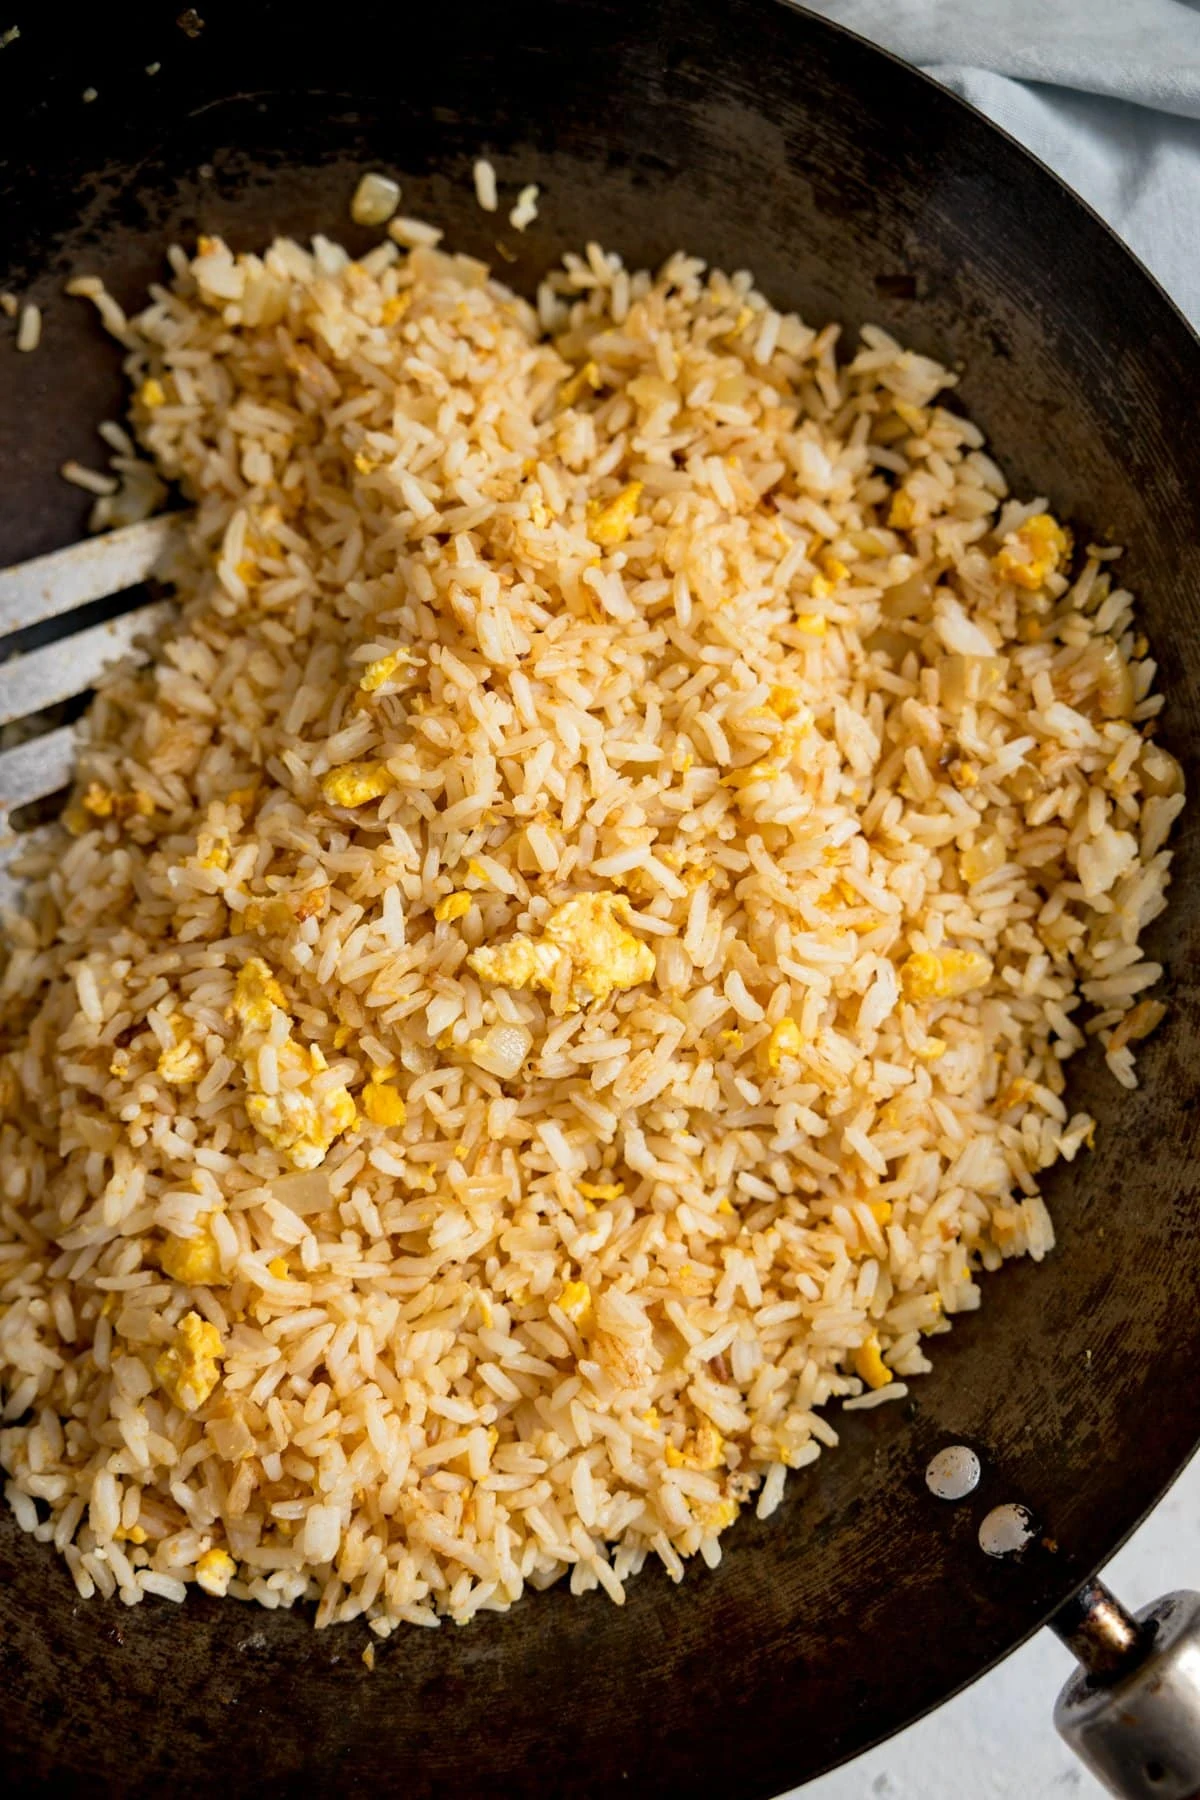
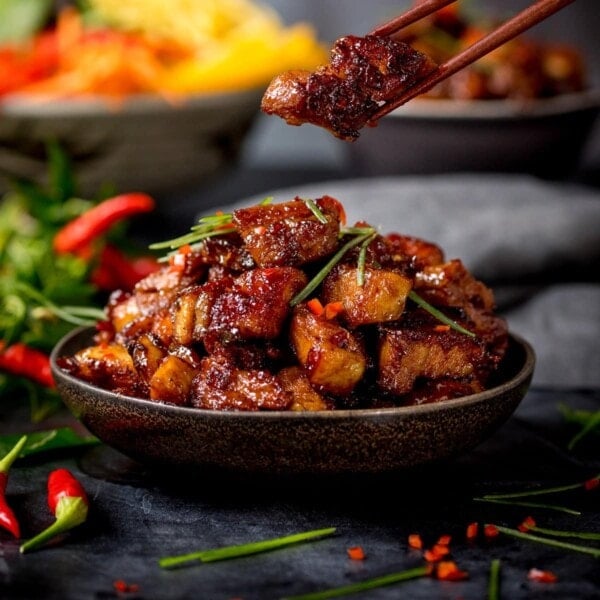
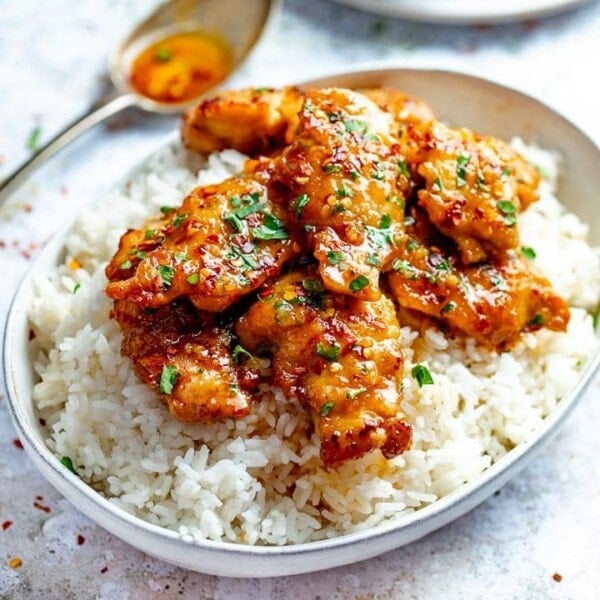
- Divide between 4 bowls. Top with spring onions (scallions) and serve with your favourite Chinese dish. I love to serve it with Crispy Sesame Chicken or Sweet and Sour Chicken or Sticky Pork Belly.1/2 bunch of spring onions/scallions
Video
Notes
1. Can I make it ahead?
Yes! I think reheated fried rice actually tastes better! Cook the rice, then spread it out in a large dish (so it will cool quickly) cover and refrigerate for up to a day. Don’t leave cooked rice out at room temperature. Bacteria can grow on cooked rice very quickly, so it’s important to:- Refrigerate it as quickly as possible
- Don’t store for more than 24 hours in the fridge, and
- Thoroughly reheat it.
2. Can I freeze it?
Yes, you can freeze this egg fried rice. Cook the rice, then spread it out in a large dish (so it will cool quickly) cover and freeze. As per the instructions above – Don’t leave cooked rice out at room temperature. Bacteria can grow on cooked rice very quickly, so it’s important to:- Freeze it as quickly as possible
- Defrost in the refrigerator overnight (and don’t store for more than 24 hours)
- Thoroughly reheat it.
3. Nutritional information is per serving
– this recipe serves 4Nutrition
Nutrition information is automatically calculated, so should only be used as an approximation.
This Egg Fried Rice Recipe was first published in March 2021. It’s been updated since with improvements and for housekeeping reasons.
🍲 More fantastic rice recipes
Some of the links in this post may be affiliate links – which means if you buy the product I get a small commission (at no extra cost to you). If you do buy, then thank you! That’s what helps us to keep Kitchen Sanctuary running. The nutritional information provided is approximate and can vary depending on several factors. For more information please see our Terms & Conditions.


Came out delicious.
Thx..