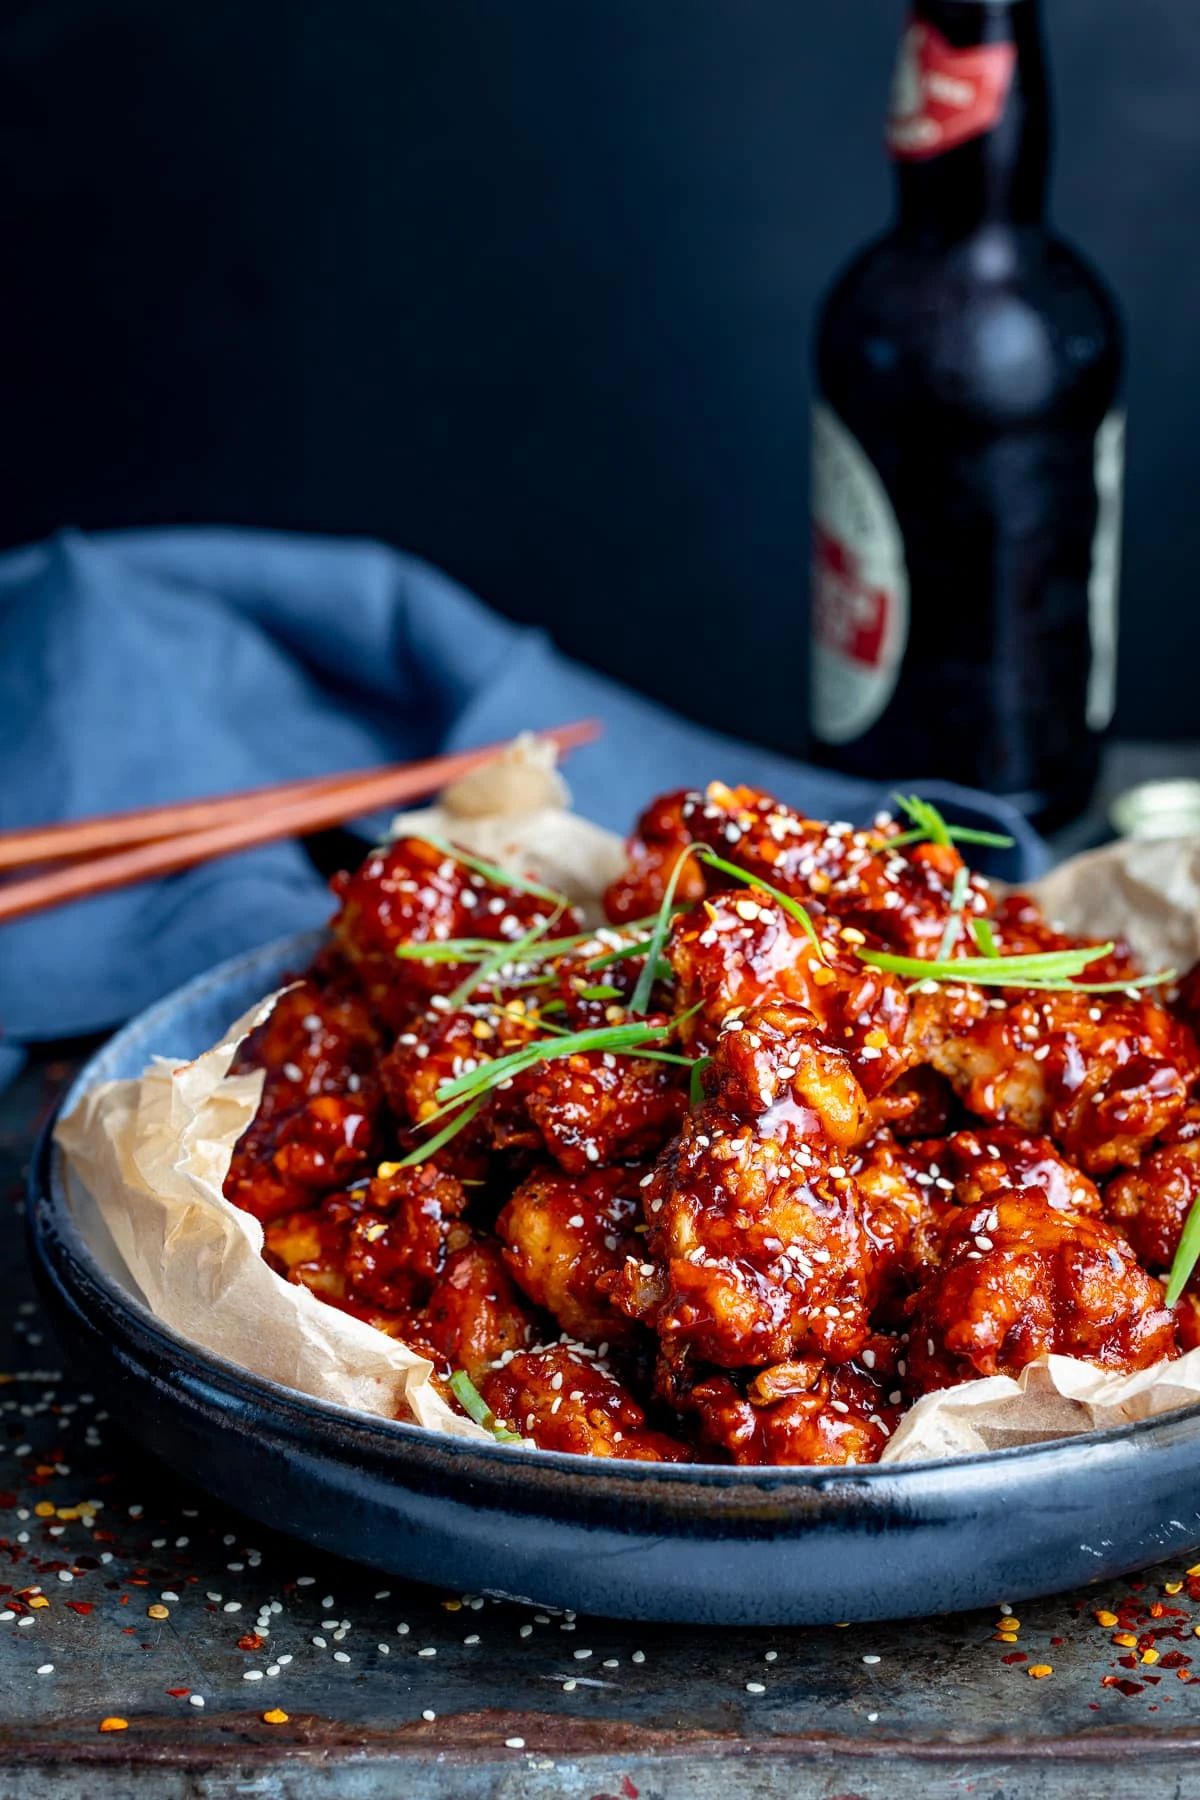
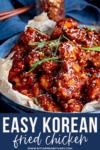
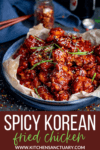
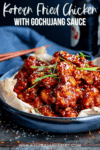
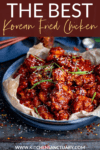
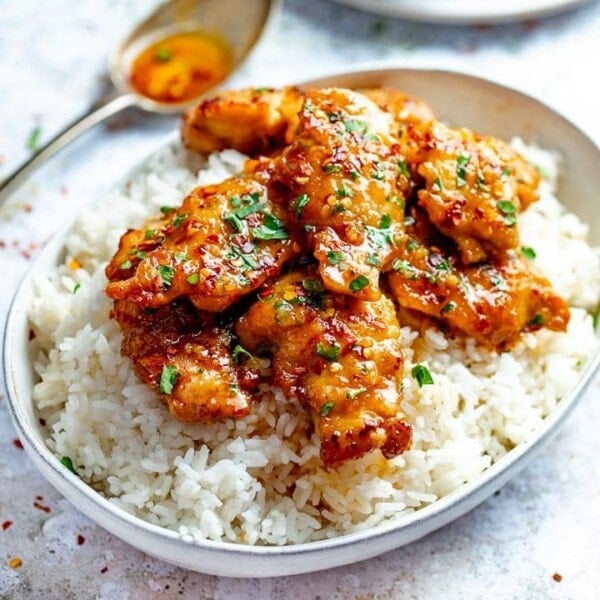
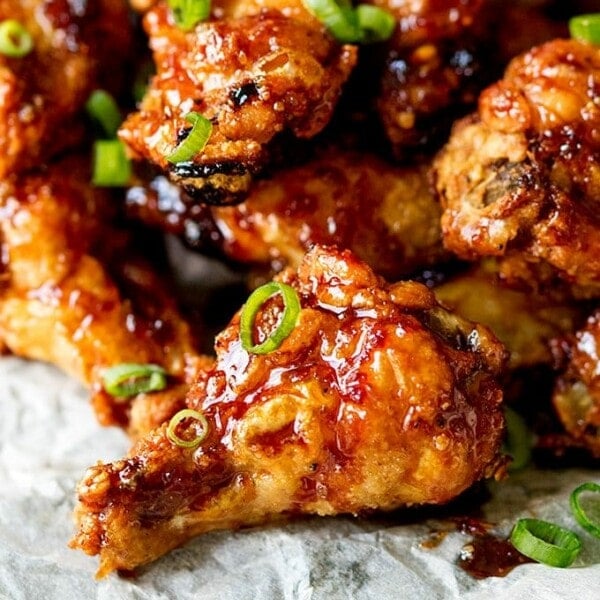
The best Korean Fried Chicken – crispy coated buttermilk fried chicken smothered in a spicy Korean-inspired gochujang sauce.
The sauce is so rich, flavourful and complex and it comes together very easily – just throw all the ingredients in a pan and bubble it up.
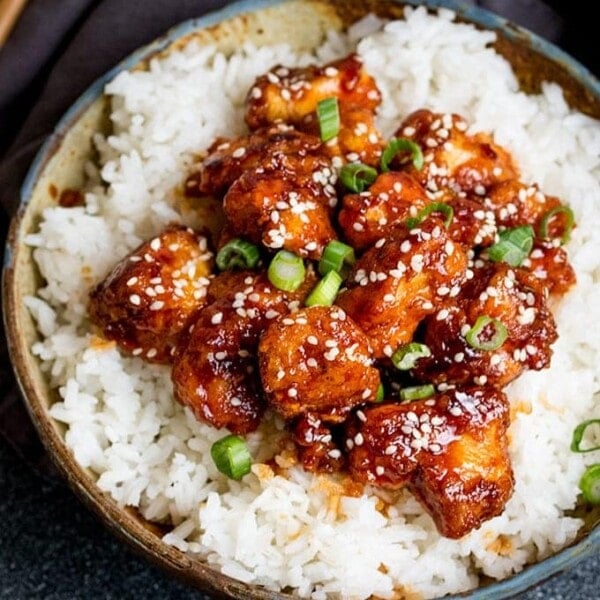
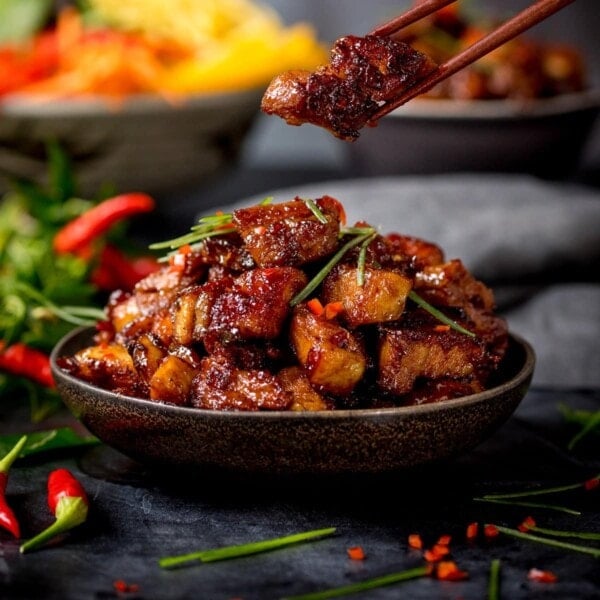
We love to eat this with rice, noodles, or my personal favourite – stuffed into bao buns!
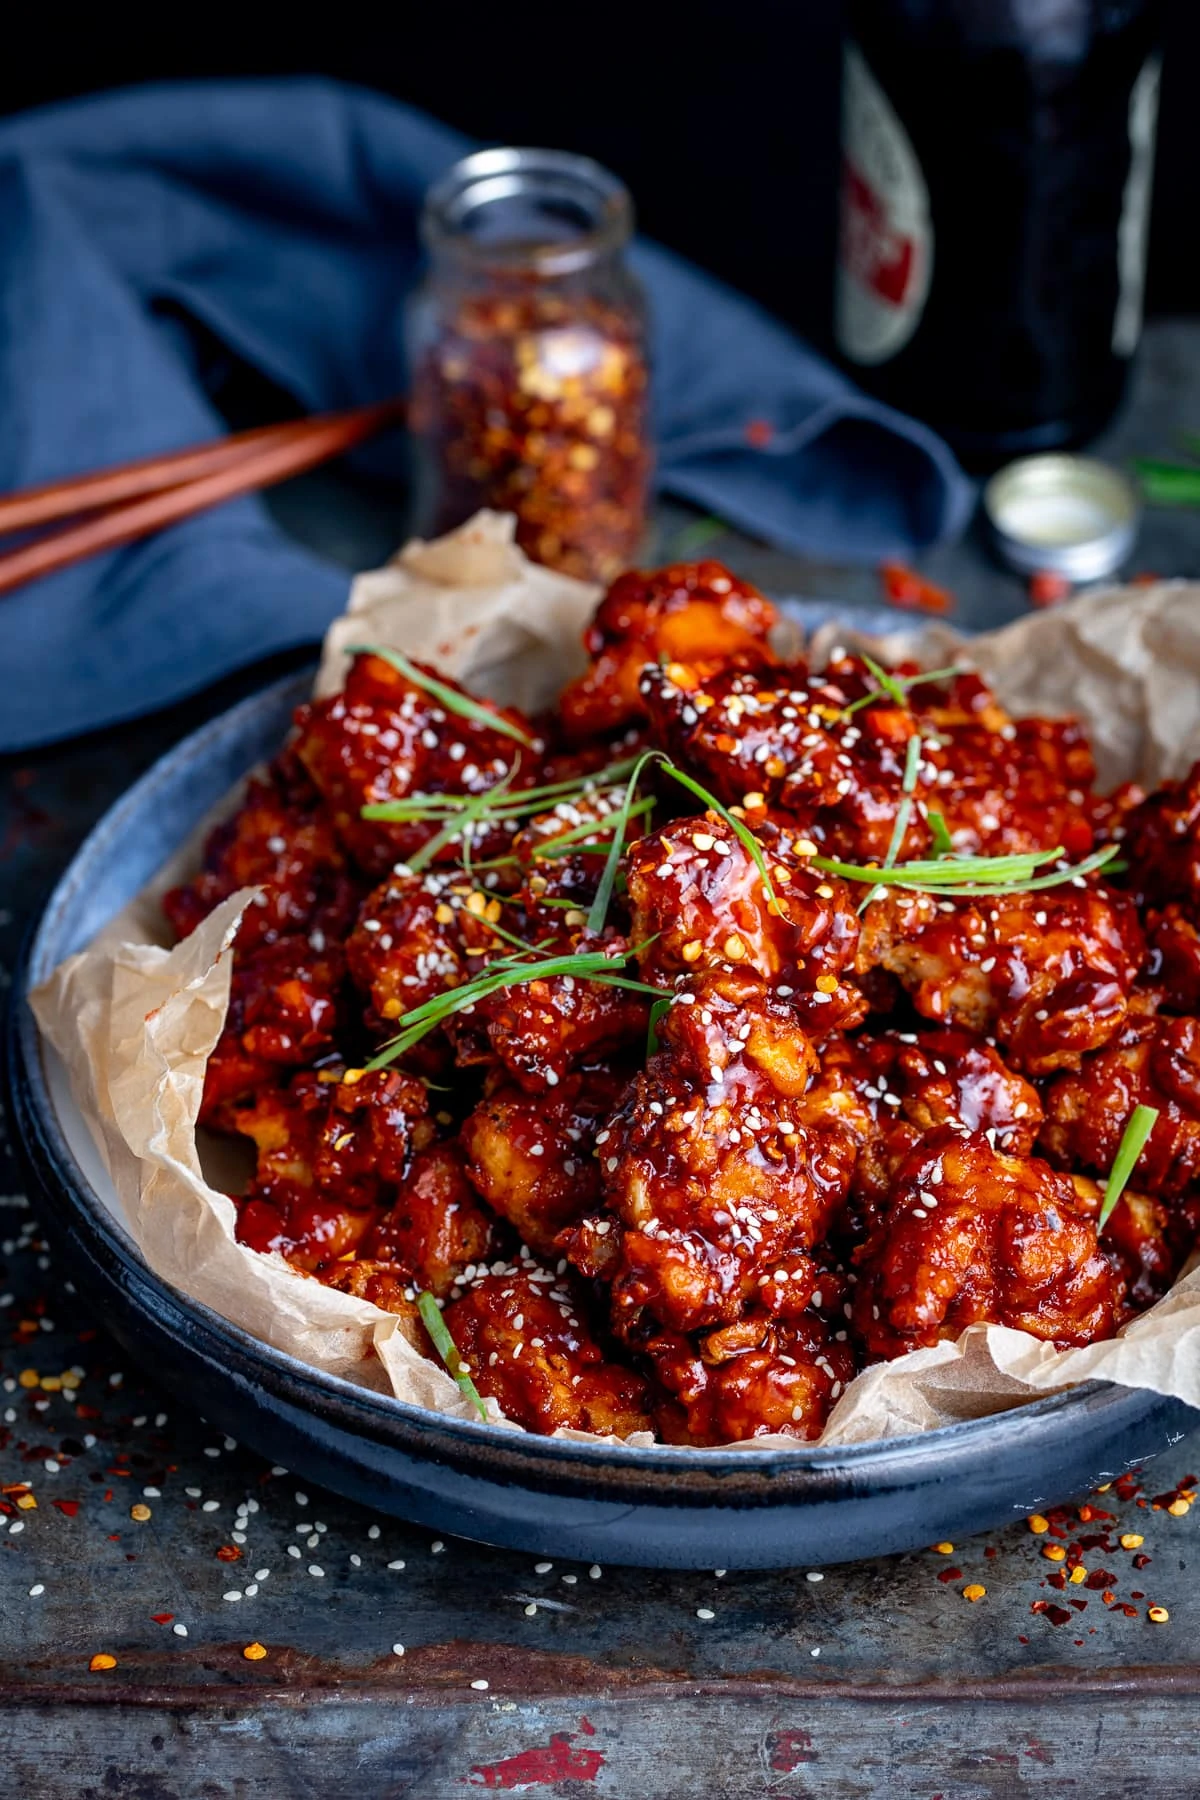
One thing that I absolutely love as a recipe creator, is when I put a plate of food down in front of people, and the conversation stops the moment the first bite is taken. Just quiet, wide-eyed, satisfied munching, with the occasional ‘Mmmmm‘ and ‘oh my god, it’s so good‘ until it’s all gone.
That moment when everyone wants to focus all of their senses on what they’re eating, and nothing else matters.
That’s what happens with this Korean Fried Chicken Recipe.
I’m using my popular buttermilk chicken to start off this recipe. If you’ve never had it, you’ve got to give it a go (especially this Chicken burger version with honey mustard coleslaw). As someone who worked in fried chicken shops during school, college and university, I can confidently say I know my stuff when it comes to fried chicken.
What do we need?
For the crispy chicken:
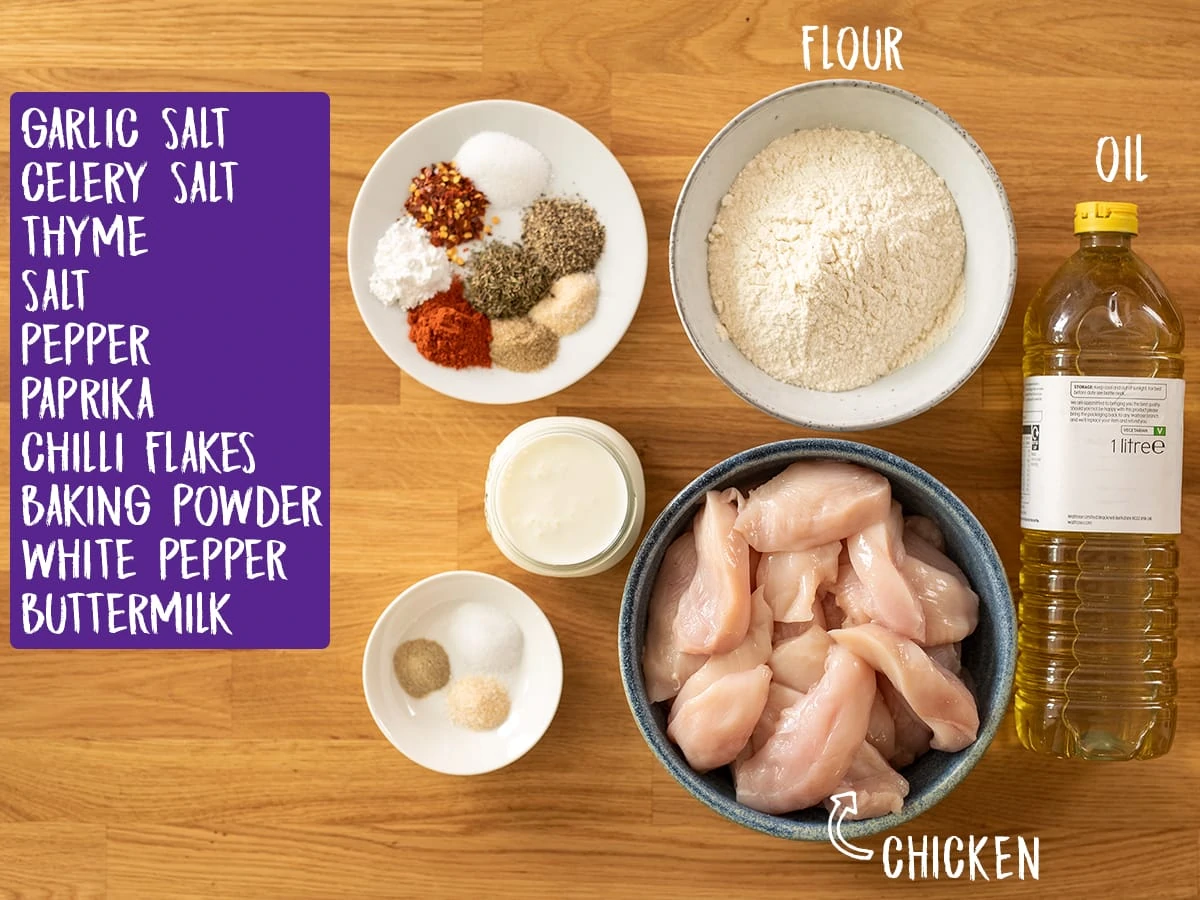
For the Korean-style sauce:
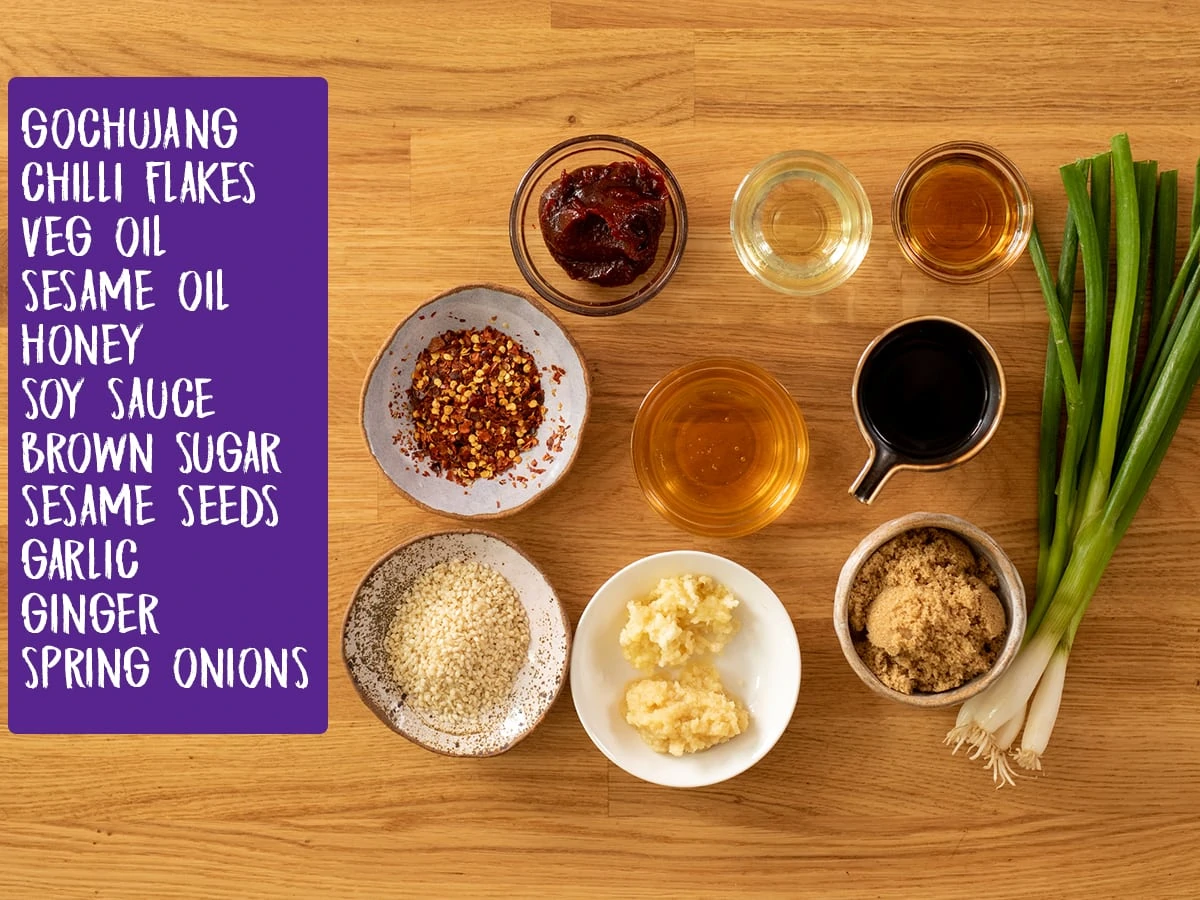
What is gochujang?
Gochujang is a Korean fermented red chilli sauce or paste with a smoky-sweet and slightly spicy flavour. Some brands are spicier than others. I’ve prefer the paste, rather than the sauce for a stronger flavour. It’s a fantastic addition to sauces and marinades, as it adds heat, richness, tang and a little sweetness. I use it in lots of recipes (beef bulgogi, Pork ramen, Korean steak grilled cheese, sticky Asian ribs to name a few).
How to make it
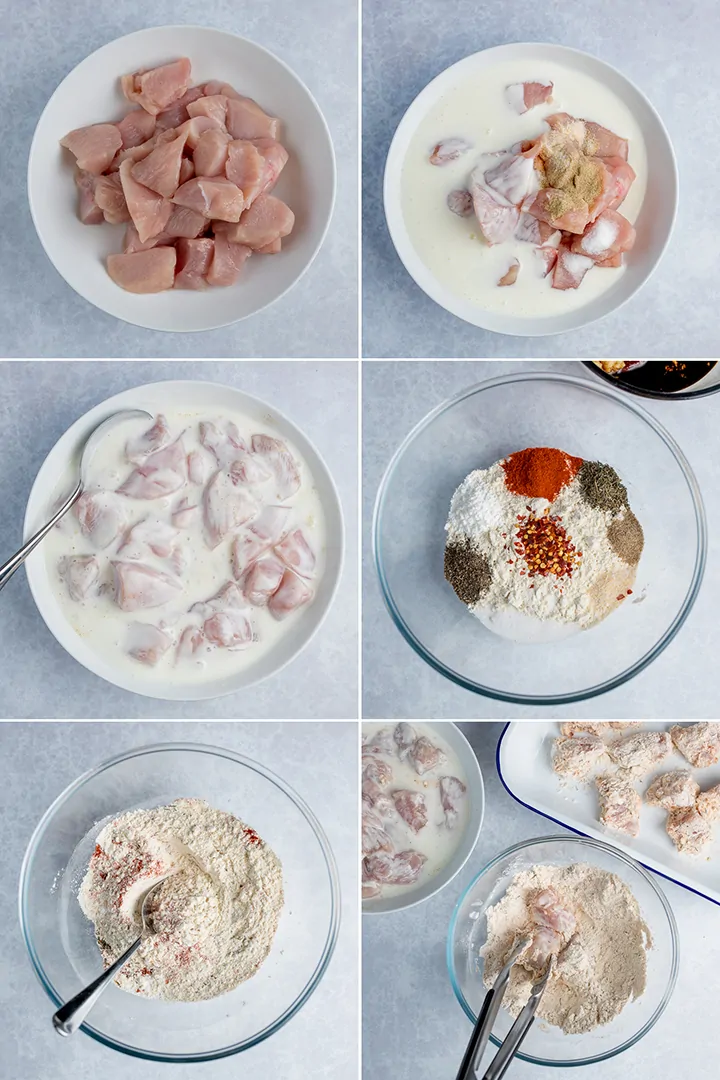
- First we marinade the chicken in buttermilk, salt, white pepper and garlic salt.
- Then we coat the chicken in my special secret mixture. Only joking, it’s not secret. Find the full mixture in the recipe card below.
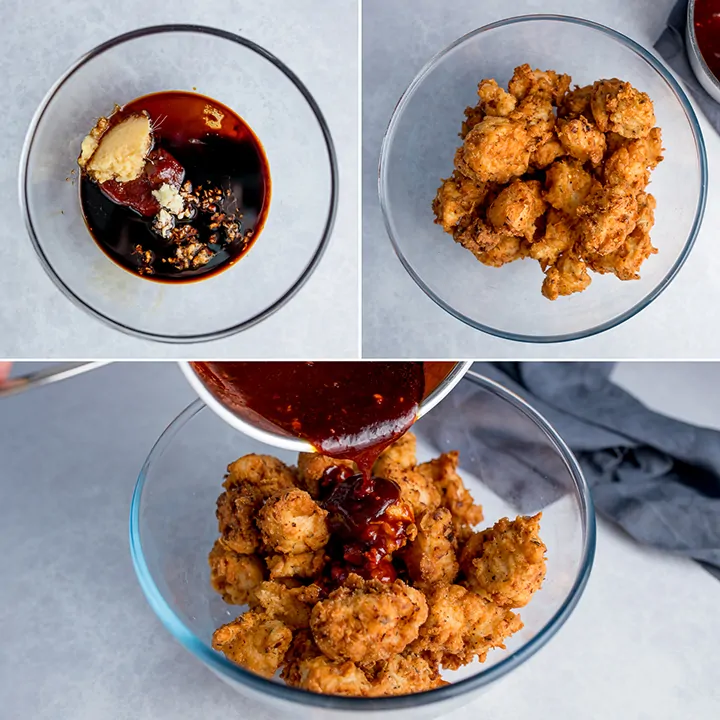
- The spicy gochujang sauce is made using a mixture of gochujang paste (<– affiliate link), honey, brown sugar, soy sauce, garlic and ginger that’s been bubbled together until sticky and syrupy.
- Then we fry the chicken until golden and crispy.
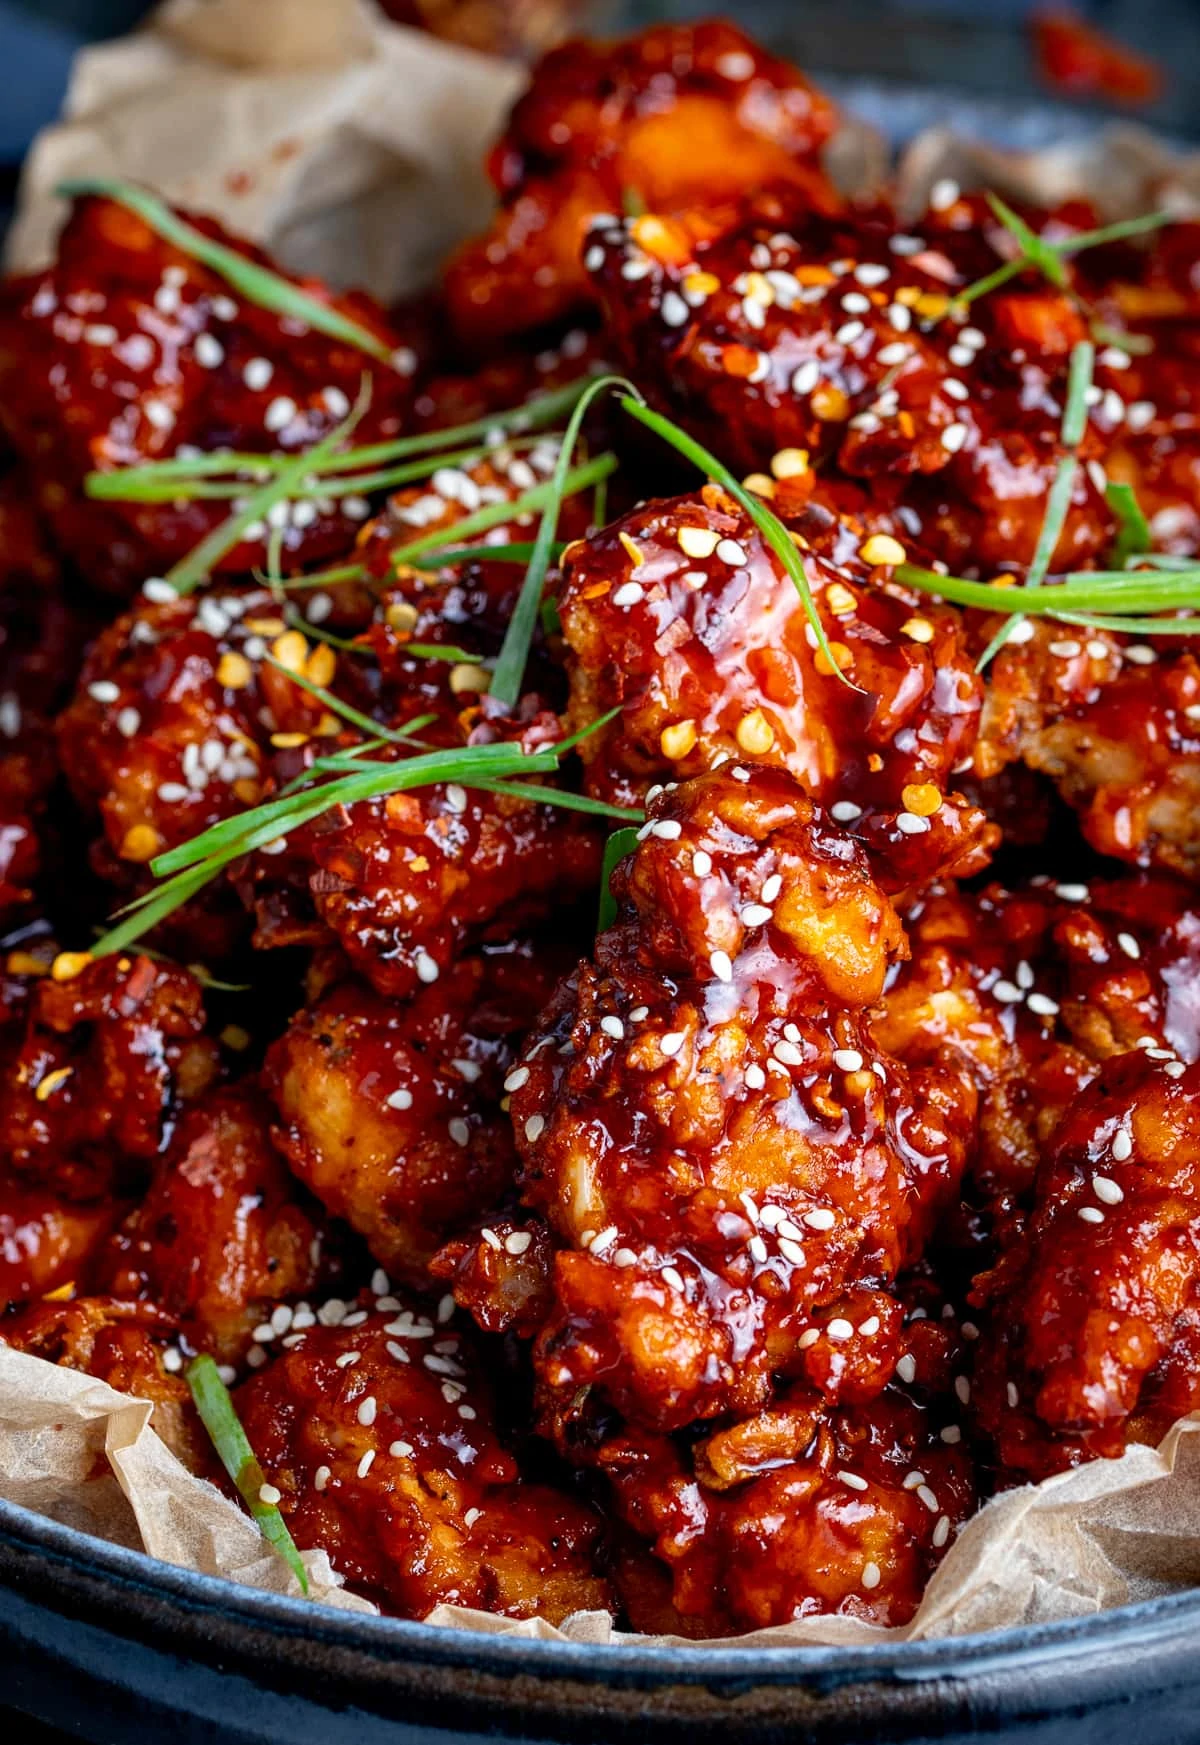
- Pour the mixture over the crispy chicken and top with sesame seeds, spring onions and a few red pepper flakes.
Enjoy silently with no distractions.
Top Tips for Success
Ensuring the coating doesn’t fall off the cooked chicken:
When the chicken comes out of the oil, the coating will be securely adhered to the chicken. However, the longer you leave it before adding the sauce, the more careful you will have to be when tossing with the sauce to ensure the coating stays fully on.
How do you reheat Korean fried chicken?
I prefer this Korean fried chicken served right away, as that’s when the chicken will be at it’s crispiest. However, you can cool, cover and refrigerate the Korean fried chicken (for up to a day), then reheat in the oven (covered) for 10-15 minutes at 190C/380F, until piping hot throughout.
If you want to keep the chicken crispy, then fully cook both the crispy chicken and sauce, then cool and cover (keep the sauce separate from the chicken) and refrigerate for up to a day. Then reheat the chicken in the oven, uncovered, for 10-15 minutes at 190C/380F, until piping hot throughout. Reheat the sauce in a pan until piping hot.
Can I bake the chicken rather than fry it?
If you want baked chicken, then follow the recipe for my baked chicken tenders, and mix with the gochujang sauce.
More Street Food Recipes
- Pork belly Bao Buns (Gua Bao)
- Chicken Satay with Spicy Peanut Sauce
- Pad Thai with king prawns
- Chicken Lo Mein – super easy to throw together
- Pork Gyros
- Asian Sticky Chicken Wings – or cauliflower wings for a vegetarian version
- Malaysian Mee Siam – ready in 30 minutes!
Watch how to make it
Stay updated with new recipes!
Subscribe to the newsletter to hear when I post a new recipe. I’m also on YouTube (new videos every week) and Instagram (behind-the-scenes stories & beautiful food photos).
Korean Fried Chicken
Ingredients
Chicken and marinade:
- 4 chicken breasts sliced into long thick strips
- 240 ml (1 cup) buttermilk
- ½ tsp salt
- ¼ tsp white pepper
- ¼ tsp garlic salt
Crispy Coating:
- 180 g (1 1/2 cups) plain (all-purpose) flour
- 1 tsp salt
- 1 tsp ground black pepper
- ½ tsp garlic salt
- ½ tsp celery salt
- 1 tsp dried thyme
- 1 tsp paprika
- 1 tsp baking powder
- 1 tsp chilli flakes
- vegetable oil for deep frying (at least 1 litre/four cups)
Sauce:
- 2 tbsp gochujang paste
- 2 tbsp honey
- 4 tbsp brown sugar
- 4 tbsp soy sauce
- 2 cloves garlic peeled and minced
- 2 tsp minced ginger
- 1 tbsp vegetable oil
- 1 tbsp sesame oil
- 3 spring onions sliced into thin strips
- 1 tsp sesame seeds
- ½ tsp chilli flakes (red pepper flakes)
Instructions
- Place the chicken in a bowl. Add the buttermilk, salt, pepper, and garlic salt. Mix together, cover and place in the fridge to marinade for at least 1 hour (up to overnight)4 chicken breasts, 240 ml (1 cup) buttermilk, 1/2 tsp salt, 1/4 tsp white pepper, 1/4 tsp garlic salt
- Preheat the oven to a low heat (to keep the cooked chicken warm). Heat a large pan of vegetable oil (or preheat your deep fat fryer) until hot (you can test by dropping a small cube of bread in there, if it rises immediately to the top and starts to bubble rapidly, it’s hot enough). You’ll need at least 1 litre (4 cups) of oil.vegetable oil for deep frying
- Mix together the crispy coating ingredients in a small bowl.180 g (1 1/2 cups) plain (all-purpose) flour, 1 tsp salt, 1 tsp ground black pepper, 1/2 tsp garlic salt, ½ tsp celery salt, 1 tsp dried thyme, 1 tsp paprika, 1 tsp baking powder, 1 tsp chilli flakes
- Take the chicken out of the fridge. Lift a piece from the buttermilk and allow the excess to drip off. Dredge the chicken in the crispy coating mixture – ensuring it’s fully covered. Place on a tray and repeat until all of the chicken is coated.
- Once the oil is hot enough, add in 5 or 6 of the chicken tenders. You can add more or less depending on the size of your pan, just be sure not to overcrowd the chicken.
- Cook for 3-5 minutes until golden brown and cooked in the middle. You can check this by cutting open a piece of chicken, if it’s no longer pink in the middle, it’s cooked.
- Place on a tray in the oven to keep warm whilst you cook the rest of the chicken. **If you want to ensure the chicken stays extra crispy whilst in the oven, see my 'Top Tips for Success' section in the post.
- Meanwhile, make the sauce. Place the gochujang, honey, sugar, soy sauce, garlic, ginger, vegetable oil, and sesame oil in a saucepan and stir together.2 tbsp gochujang paste, 2 tbsp honey, 4 tbsp brown sugar, 4 tbsp soy sauce, 2 cloves garlic, 2 tsp minced ginger, 1 tbsp vegetable oil, 1 tbsp sesame oil
- Bring to the boil, then simmer for 5 minutes until thickened.
- Pour over the crispy chicken and carefully toss together, then top with the spring onions, chilli flakes, and sesame seeds before serving.3 spring onions, 1 tsp sesame seeds, ½ tsp chilli flakes
Video
Notes
If doubling the recipe, please note it will take longer to fry the chicken as you’ll have more batches to fry. How do you reheat Korean fried chicken? I prefer this Korean fried chicken served right away, as that’s when the chicken will be at it’s crispiest. However, you can cool, cover and refrigerate the Korean fried chicken (for up to a day), then reheat in the oven (covered) for 10-15 minutes at 190C/380F, until piping hot throughout. If you want to keep the chicken crispy, then fully cook both the crispy chicken and sauce, then cool and cover (keep the sauce separate from the chicken) and refrigerate for up to a day. Then reheat the chicken in the oven, uncovered, for 10-15 minutes at 190C/380F, until piping hot throughout. Reheat the sauce in a pan until piping hot. Nutritional Information is per serving. This info is approximate, as all of the flour may not be used up in coating the chicken (I’ve counted all of the flour as part of the nutritional info though). Also, I’ve included 1 1/2 tbsp of oil per serving to account for the oil that is absorbed during deep frying (this is an *approximate* amount, the chicken may absorb more or less).
Nutrition
Nutrition information is automatically calculated, so should only be used as an approximation.
Some of the links in this post may be affiliate links – which means if you buy the product I get a small commission (at no extra cost to you). If you do buy, then thank you! That’s what helps us to keep Kitchen Sanctuary running. The nutritional information provided is approximate and can vary depending on several factors. For more information please see our Terms & Conditions.






SO GOOD
Hi! I was looking for a Korean sauce made with gochuchong to go with my chicken wings. I didn’t make the recipes chicken wings, but I did make the sauce, and the taste was *heaven*.
My only comment is that I halved the sauce, which made it really thick following the instruction time. I added a little water and it was fine after, so no biggie.
I made this recipe because of the high reviews but I didn’t enjoy it at all. The coating on the chicken was just like KFC and was not authentic. Authentic Korean batter is very brittle and almost translucent. The sauce was way, way too sweet and cloying. It was quite unpleasant.
You obviously have no taste. We cook this for family and friends and it’s always a hit. Thanks for the recipe and @Suzanne, take your hate elsewhere I’d say.
For the Korean chicken, can I use an air fryer instead of oil? If so, at what temperature and for how long should I air fry the chicken?