


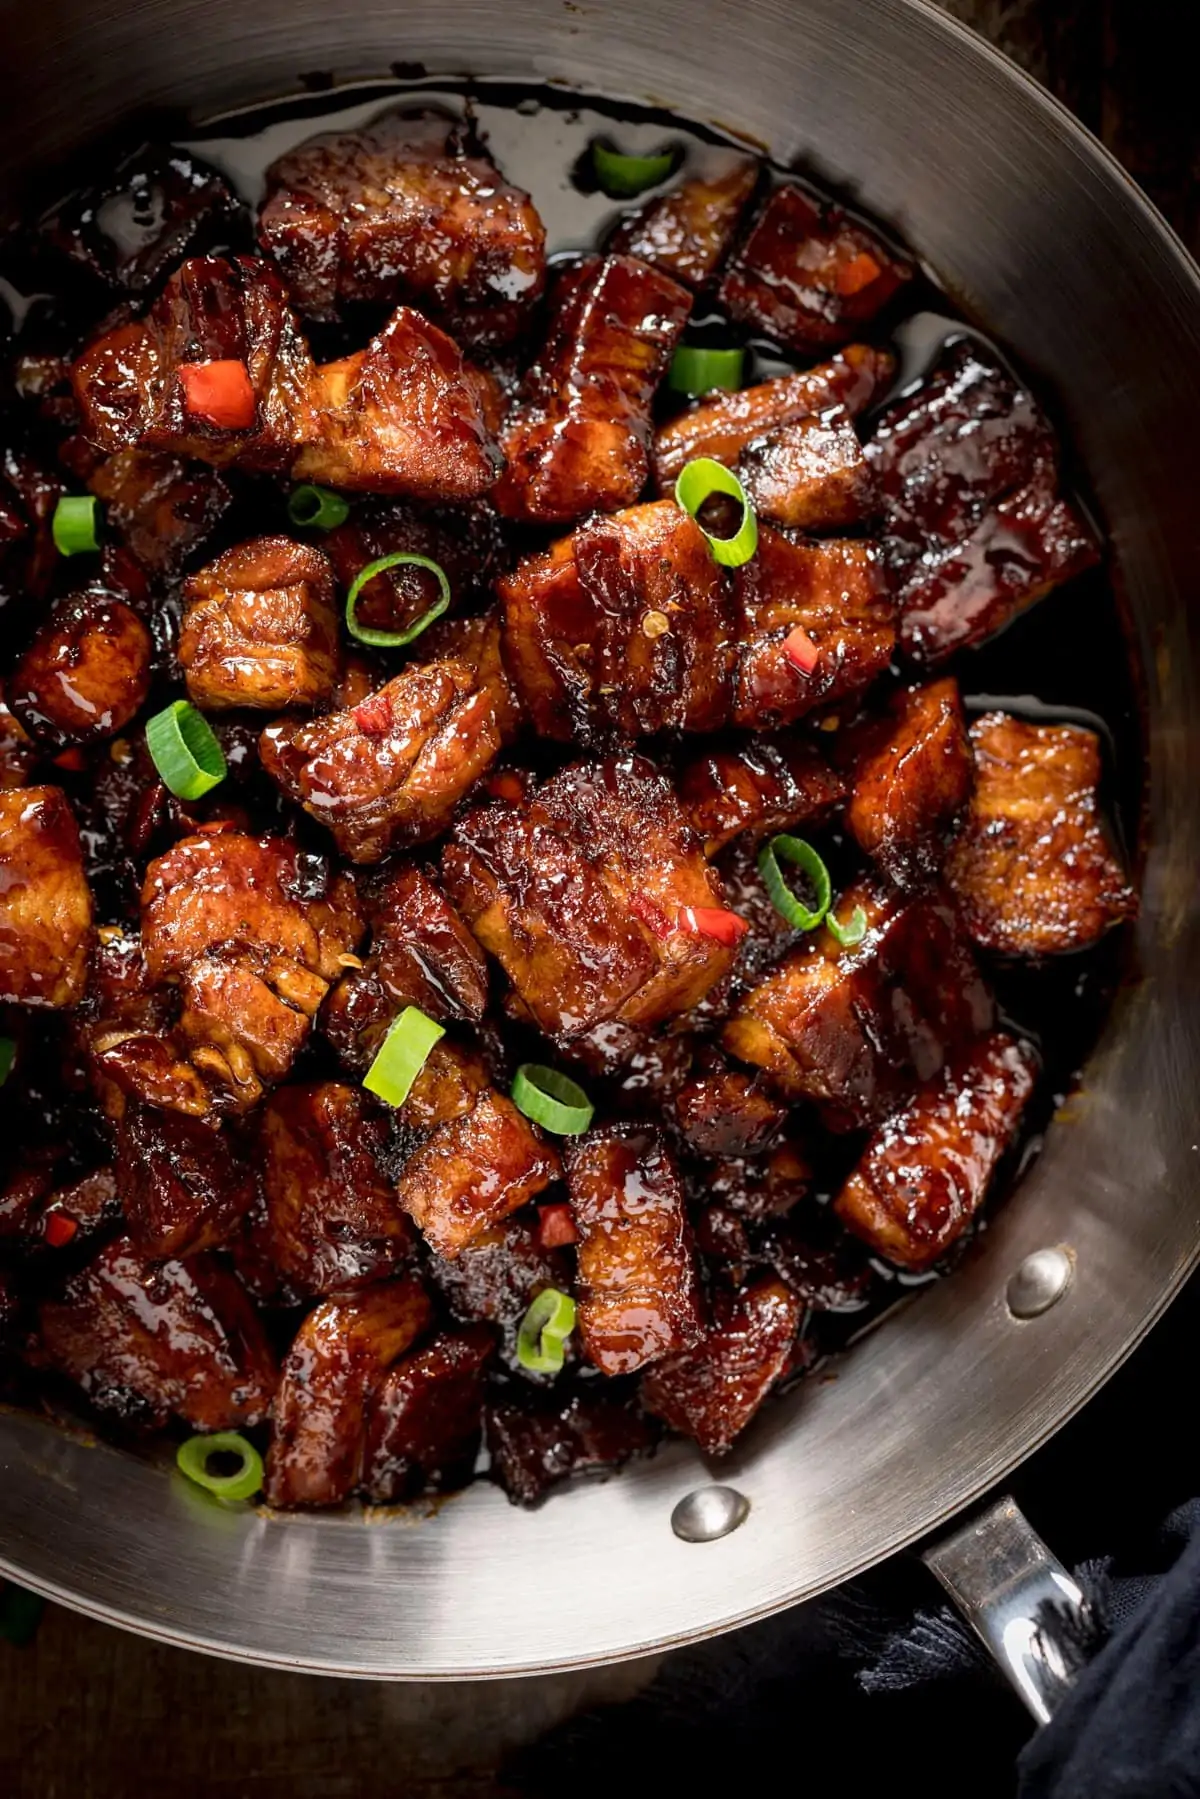
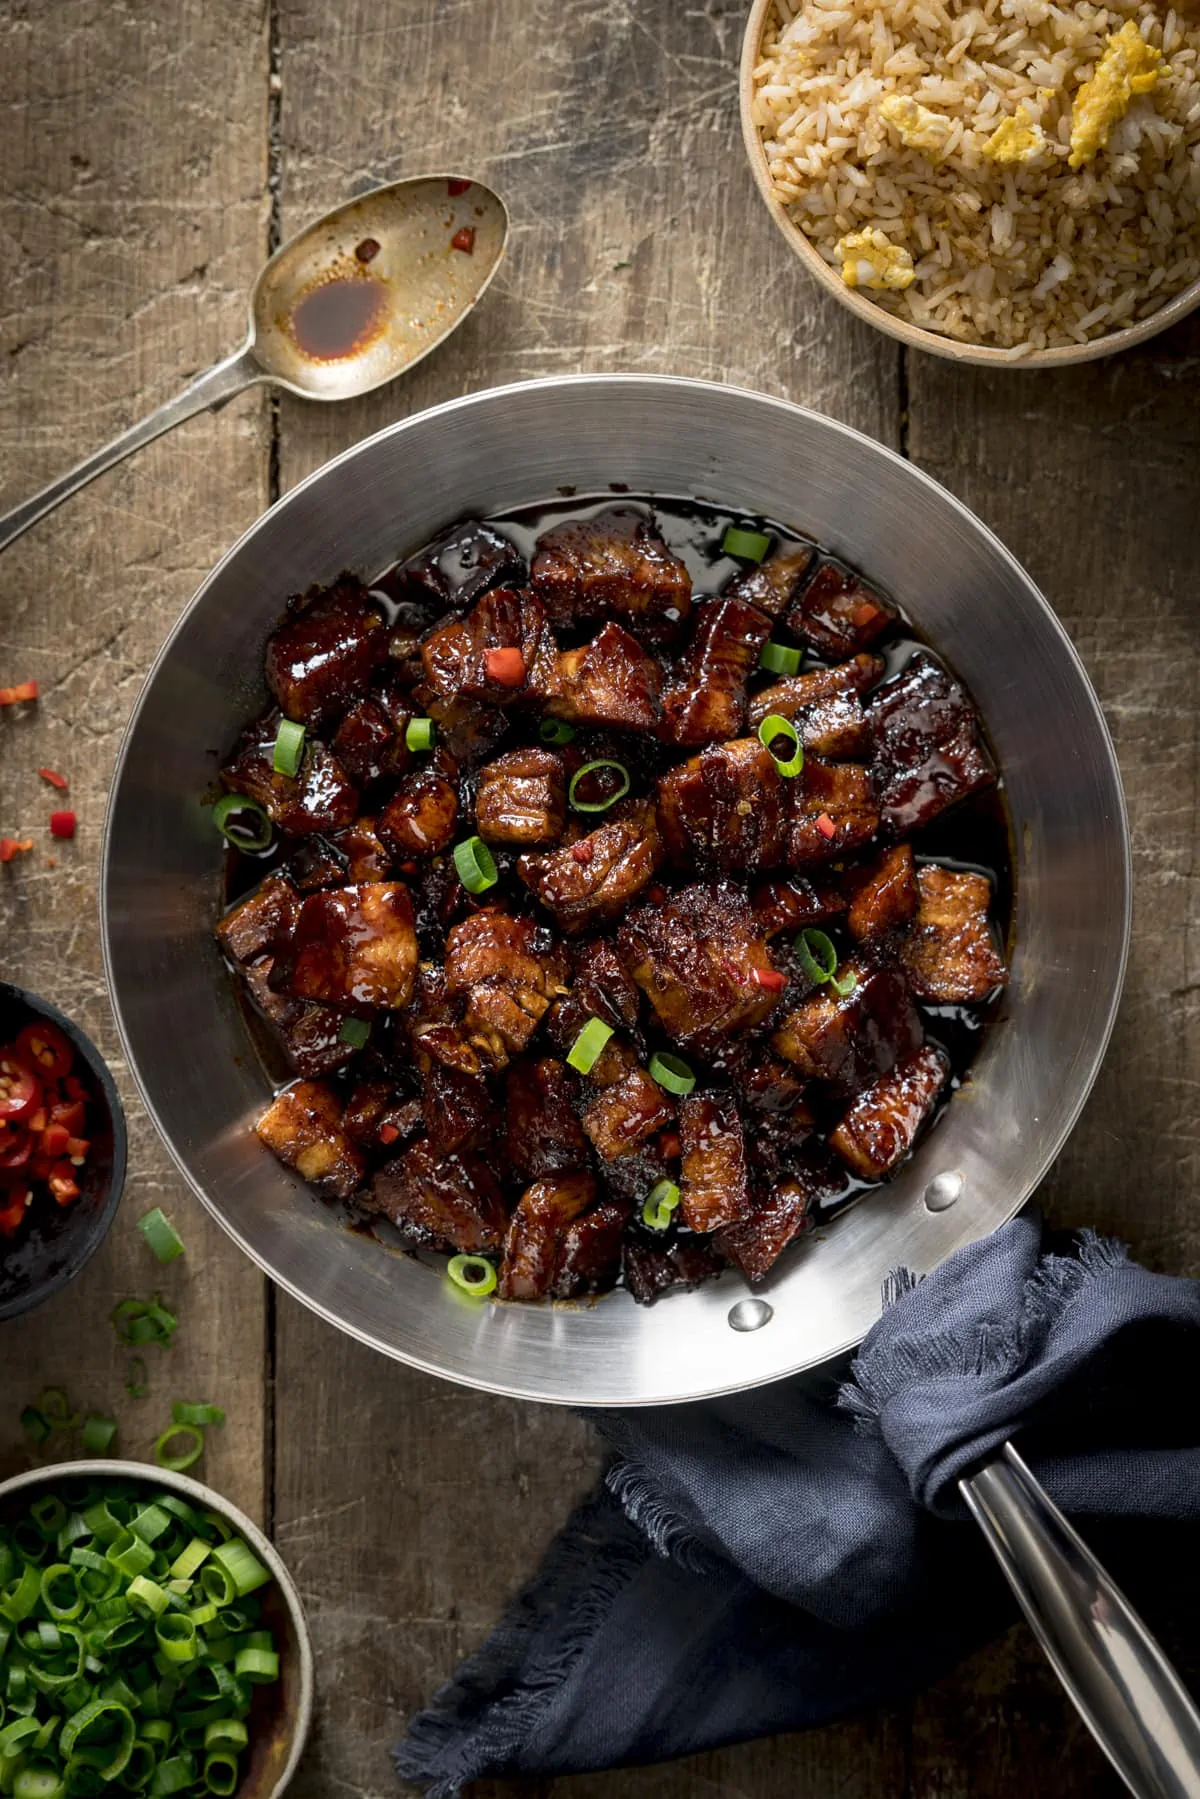
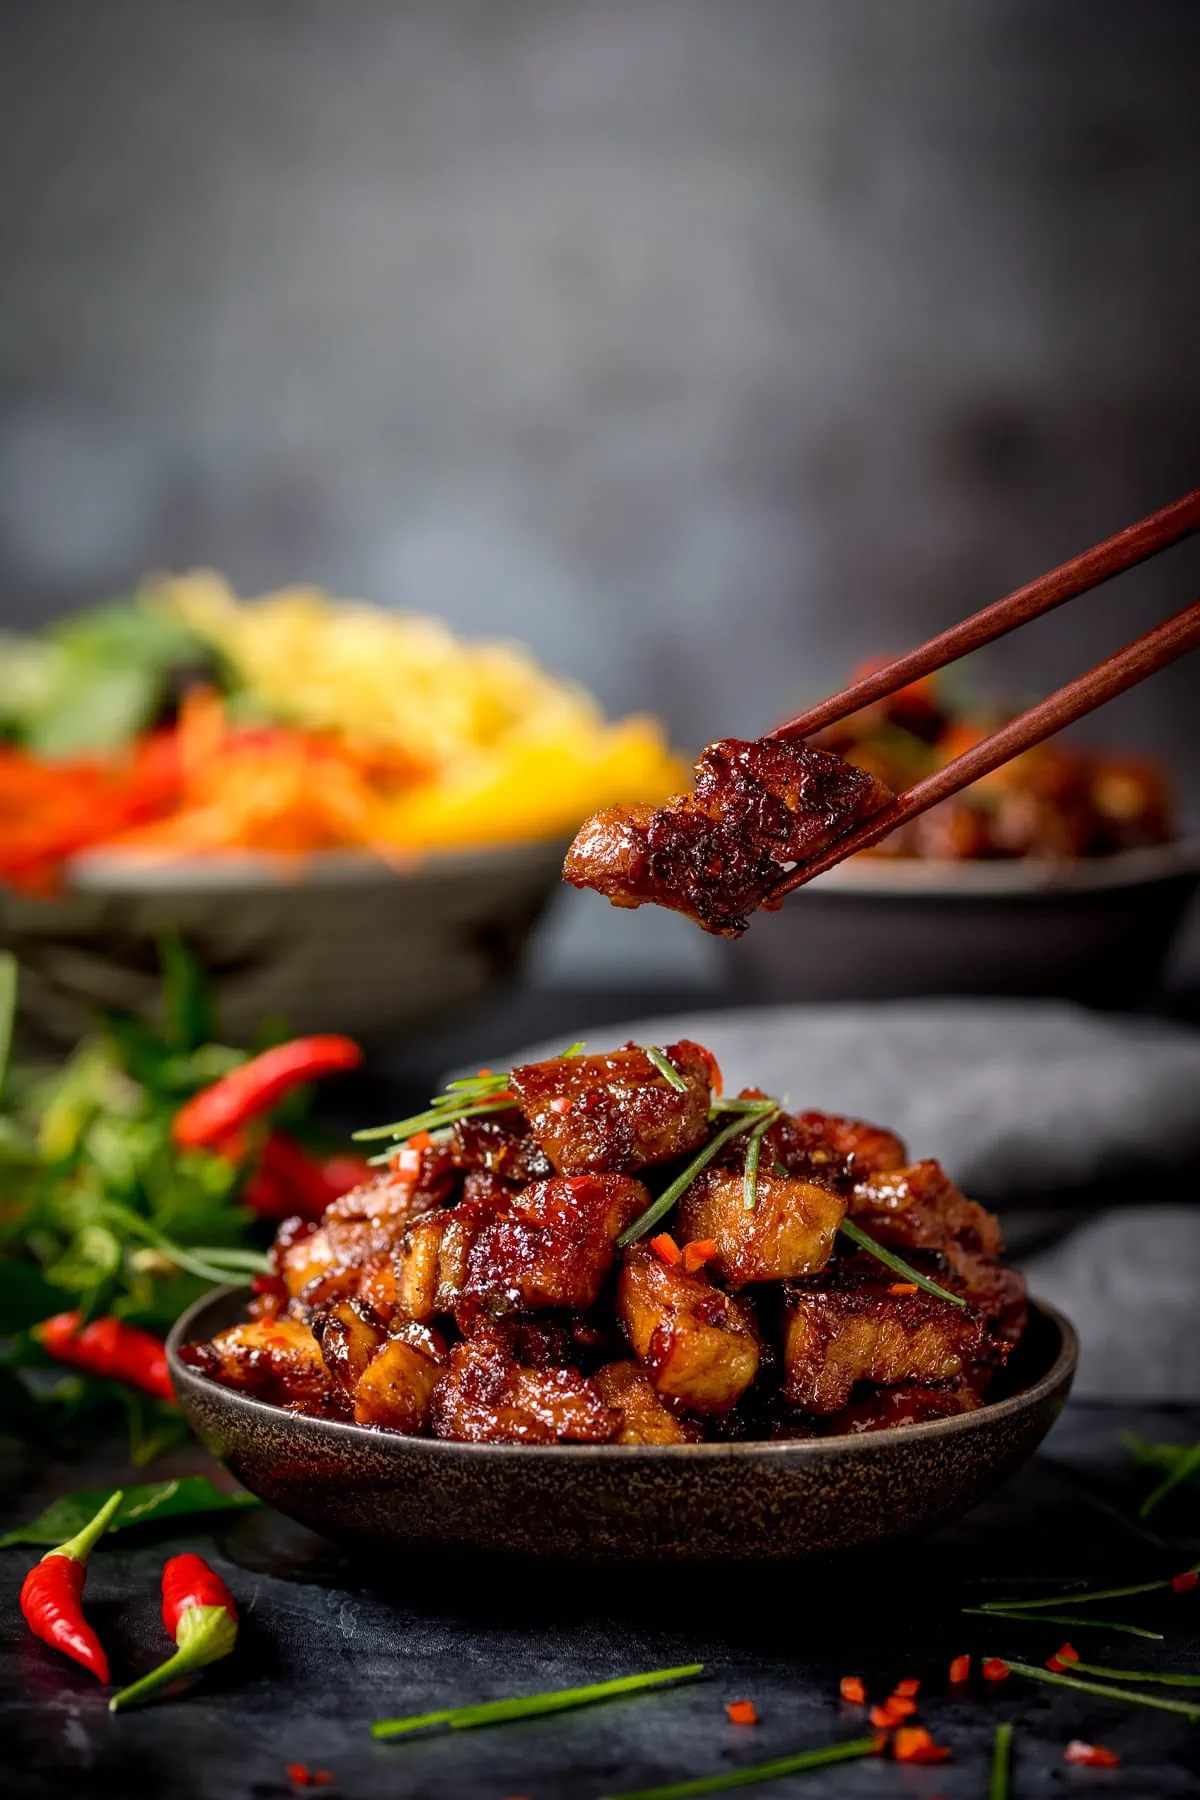
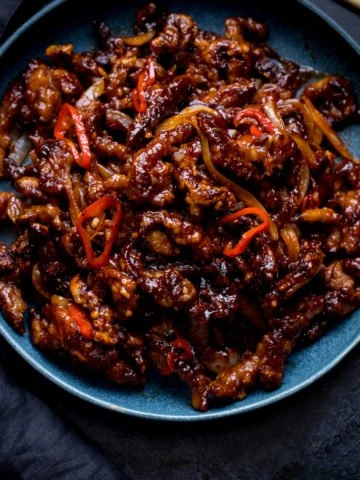
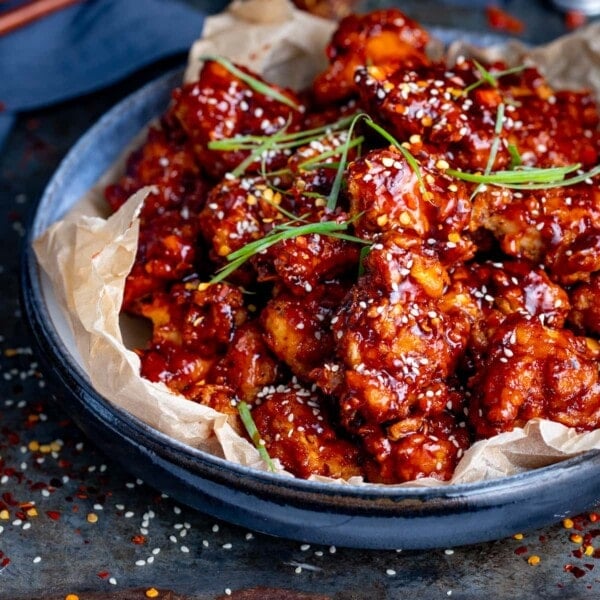
This Sticky Chinese Pork Belly is one of my absolute favourite recipes on the blog. Check out my three step process for pork that’s meltingly tender, with a crispy exterior and gloriously sticky/sweet/spicy coating.
I wonder how many recipes I’ve published with sticky in the title…
Sticky chicken stir fry, Gingerbread cake with Sticky Whisky glaze, sticky Asian sea bass this sticky pork belly and AT LEAST ten others (just did a quick count). I’m all about the sticky. Just call me sticky Nicky.
Actually don’t. That sounds weird.
I sometimes like to kid myself and call it caramelized – like this ‘caramelized beef brisket‘. But at the end of the day, I just mean coated in some kind of sugar and then cooked until you reach the dark brown, shiny stage, creating an intense flavour that takes whatever you’ve just made to a whole new level. How could anything finished in that way not taste amazing?
For this recipe, the sticky layer is added right at the end. Don’t be fooled though. Just because the pork hasn’t been marinating for hours, doesn’t mean it’s not going to taste amazing (I confused myself with double negatives there, but I’m basically saying it tastes amazing even though we’re only glazing at the end).
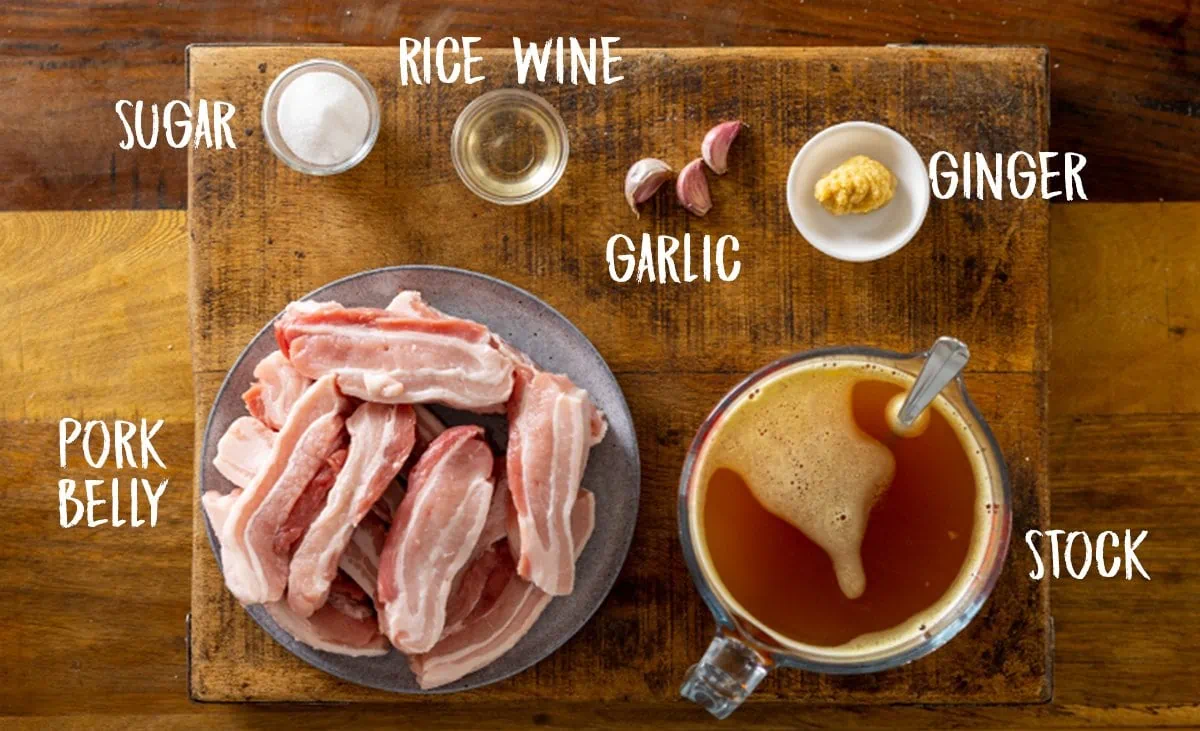
📋 What do we need?
For the slow-cooked pork belly
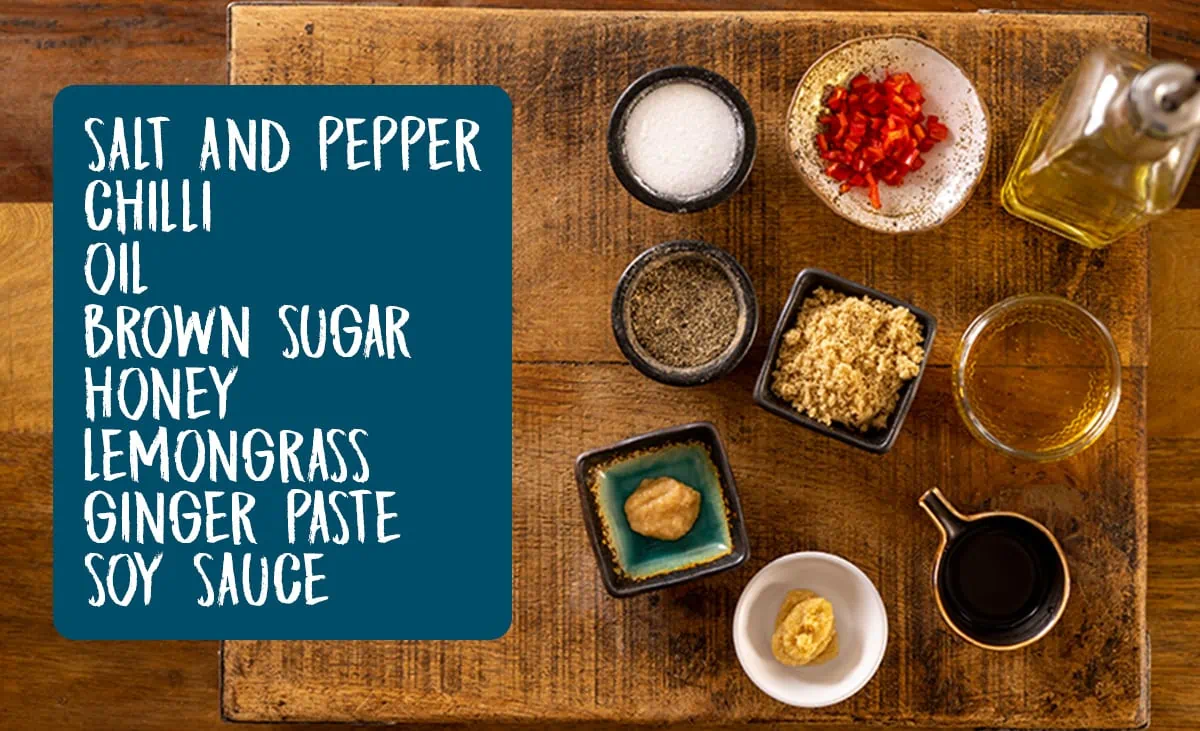
For the sticky glaze
📺 Watch how to make it
Full recipe with detailed steps in the recipe card at the end of this post.
- This pork actually has three layers of flavour. The first coming from being slow-cooked in a pan for 2 hours with stock, garlic, ginger, rice wine and a little sugar:
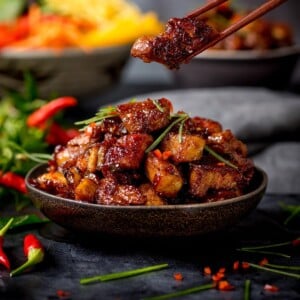
- The second layer comes from being crisped in a pan with a little vegetable oil and seasoning (it’s actually hard not to just stop right here and eat it from the pan like this).
- The final layer coming from the soy/chilli/sugar/lemongrass and a couple of other ingredients that are stirred together, then poured over the fried pork, before bubbling away until thick and glossy.
👩🍳PRO TIP The fat can spit quite a bit at the frying stage so we use a splatter screen/guard (<<– affiliate link) to prevent hot oil spitting out all over the place.
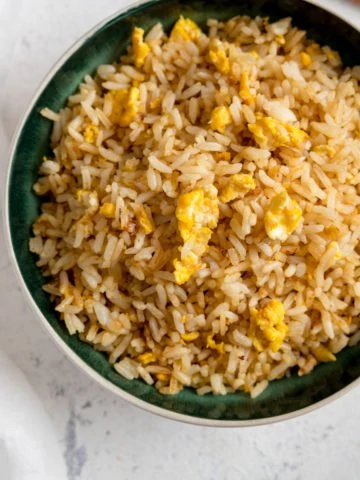
🍽️ What to serve it with
That’s it. Three layers of flavour in a simple recipe that really does take minimal effort.
🍲 More fantastic Chinese recipes


Stay updated with new recipes!
Subscribe to the newsletter to hear when I post a new recipe. I’m also on YouTube (new videos every week) and Instagram (behind-the-scenes stories & beautiful food photos).
Sticky Chinese Pork Belly
Ingredients
Slow Cooked Pork Belly:
- 1 kg (2.2 lbs) rindless pork belly slices chopped in half (each piece being approx. the length of your index finger)
- 1 litre (4 1/4 cups) hot chicken stock
- 1 thumb sized piece of ginger peeled and minced (or 1 tbsp of ginger puree)
- 3 cloves garlic peeled and roughly chopped
- 1 tbsp rice wine
- 1 tbsp caster sugar
Glaze:
- 2 tbsp vegetable oil
- pinch salt and pepper
- 1 thumb-sized piece of ginger peeled and minced
- 1 red chilli finely chopped
- 2 tbsp honey
- 2 tbsp brown sugar
- 3 tbsp dark soy sauce
- 1 tsp lemon grass paste
To Serve:
- chopped spring onions
- chopped red chillies
Instructions
- Add pork belly slices, stock, ginger, garlic, rice wine, and sugar to a heavy-based pan. I use a cast iron casserole pan.1 kg (2.2 lbs) rindless pork belly slices, 1 litre (4 1/4 cups) hot chicken stock, 1 thumb sized piece of ginger, 3 cloves garlic, 1 tbsp rice wine, 1 tbsp caster sugar
- Bring to the boil, then place a lid on, turn down the heat and simmer for 2 hours.
- Turn off the heat, remove the pork from the pan and pat it dry using kitchen towels. You can reserve the liquid if you like (Perfect for a Thai or Chinese noodle soup).
- Chop the pork into bite sized chunks.
- In a small bowl, mix together 1 tbsp of the oil, along with a pinch of salt and pepper, ginger, chilli, honey, brown sugar, soy sauce, and lemongrass paste.pinch salt and pepper, 1 thumb-sized piece of ginger, 1 red chilli, 2 tbsp honey, 2 tbsp brown sugar, 3 tbsp dark soy sauce, 1 tsp lemon grass paste, 2 tbsp vegetable oil
- Add the remaining 1 tbsp of oil to a frying pan and heat over a medium-high heat.
- Add in the pork, along with a pinch of salt and pepper, and fry, turning regularly, until the pork starts to turn golden. Be careful as the oil can splatter at this stage (I recommend a splatter guard).pinch salt and pepper
- Now pour the glaze over the pork and continue to cook for a couple of minutes, turning the pork often, until the pork looks dark and sticky.
- Remove from the heat and serve. I like to top with a few spring onions and chopped chillies.chopped spring onions, chopped red chillies
Video
Notes
Replace the rice wine with sherry (usually gluten free, but best to check).
Also make sure you use gluten free stock. Vegetarian Option? I haven’t tried this with a meat-like alternative, but my Asian-style cauliflower wings make a great alternative. Can I use my slow cooker? Yes, you can do the first stage in the slow cooker. Cook on high for 4-5 hours or low for 6-7 hours. Keep an eye on the level of liquid and top up with a little more if needed. Nutritional information is per serving.
Nutrition
Nutrition information is automatically calculated, so should only be used as an approximation.
This post was first published in March 2015. Updated in October 2018 and then again in July 2022 with new photos, video and some housekeeping.
Some of the links in this post may be affiliate links – which means if you buy the product I get a small commission (at no extra cost to you). If you do buy, then thank you! That’s what helps us to keep Kitchen Sanctuary running. The nutritional information provided is approximate and can vary depending on several factors. For more information please see our Terms & Conditions.
Equipment:
In order to make this recipe you will need:
- A splatter guard/screen – to avoid hot fat spitting when frying the belly pork
- A good Kitchen knife. In the video I use my Leiths knife however I have recently bought this Dalstrong one and love it.
- Chopping Board
- Cast Iron Casserole Dish
- Measuring Jug
- Fying Pan/Skillet or a Wok.
- Wooden or Silicon Coated Spoons. We have just bought these and love them.
- A small mixing bowl to mix the glaze ingredients in. Instead of a mixing bowl we use loads of these for mixing, prepping, and serving.


This was absolutely fantastic- thanks for sharing the recipe!
I’ve made this at least 3-4 times, lovely way to eat belly pork
I made this today and added a little Chinese 5 spice. Delicious!
Fantastic recipe…..I use it weekly
I did not have any rice wine, so substituted with Cooking Sake instead. My son’s (32 and 28) and wife said they are the best BAO and sticky pork they have ever had, will definately be on my new receipt favourites board.
I made this recipe yesterday for dinner.
The first thing I noticed was the similarities to Mongolian pork, which is a recipe I make quite often and both, me and my husband love it.
First I have to note that to say that this recipe requires minimal effort is incorrect.
It takes way more work to do it than it looks like by reading the recipe.
In the end, it looks – and tastes- exactly like Mongolian pork.
Well, why not, if the glaze is exactly the same.
The whole simmering thing for two hours and then pan frying is totally unnecessary.
Just give it a quick coat in flour and fry. Believe me: there is NO NEED to simmer for two hours! I like recipes that are uncomplicated and make your life easier, and unfortunately, this was not one of them.
Just google a good recipe for Mongolian pork and try it for yourself.
This was a total waste of my time.
I’m sorry you felt this recipe was a waste of your time Bianca. I have to disagree about the simmering though – pork belly needs slow cooking to make it tender and to make the fat melt-in-the-mouth. Just frying it will mean the pork belly is chewy and the fat is rubbery.
You could of course use a different cut of pork – such as tenderloin or fillet for quick frying and leave out the simmering part, but you can’t do it with pork belly.
This recipe is specifically for cooking pork belly, so of course, i’m including the slow-cooking part.
I presume you did use pork belly?
Did you actually enjoy the taste of the recipe?
Yes, I did use pork belly. I know the difference between different cuts of meat.
Actually, the reason I picked this recipe was that I had a nice piece of pork belly and I wanted to do something special with it.
Unfortunately, it didn’t work out. Neither of us liked the end result, nor the texture, or the flavor. It was overcooked and again, did not need to be simmered, in my opinion. In the end, it is your recipe, you can call for whatever step you deem necessary.
The recipe gathered quite good reviews, so to each its own.
Not one that I would want to repeat.
Thank you for your reply!
Having made both Mongolian and the Sticky Pork Belly, I disagree. I use cornstarch not flour for the Mongolian, as most recipes suggest. Although the taste is similar, the texture is completely different. I love both, but would not say one recipe can be substituted for the other.
Well I recommend not using the crock pot method for the first step of simmering the pork belly. I was a little worried about this process but my schedule dictated having to use it. I ended up with more of a hash, not the bigger chunks( even after just 6 hours on low but this recipe was still absolutely delicious. Will definitely make again and again when I have time to simmer for two hours on the stove
Thanks, A nice flavour and easy to make. I bbq’d the pork after the final stage to get a slightly crispy texture then used the sauce as a dipping sauce. Awesome – Thank You Nicky
This was absolutely delicious! My husband said he would happily pay money for it in a restaurant! I served it with stir fried veggies and sticky rice. Perfect weekday treat!
Absolutely beautiful, family favourite, children love it xx