
This post may contain affiliate links. Please read our disclosure policy.


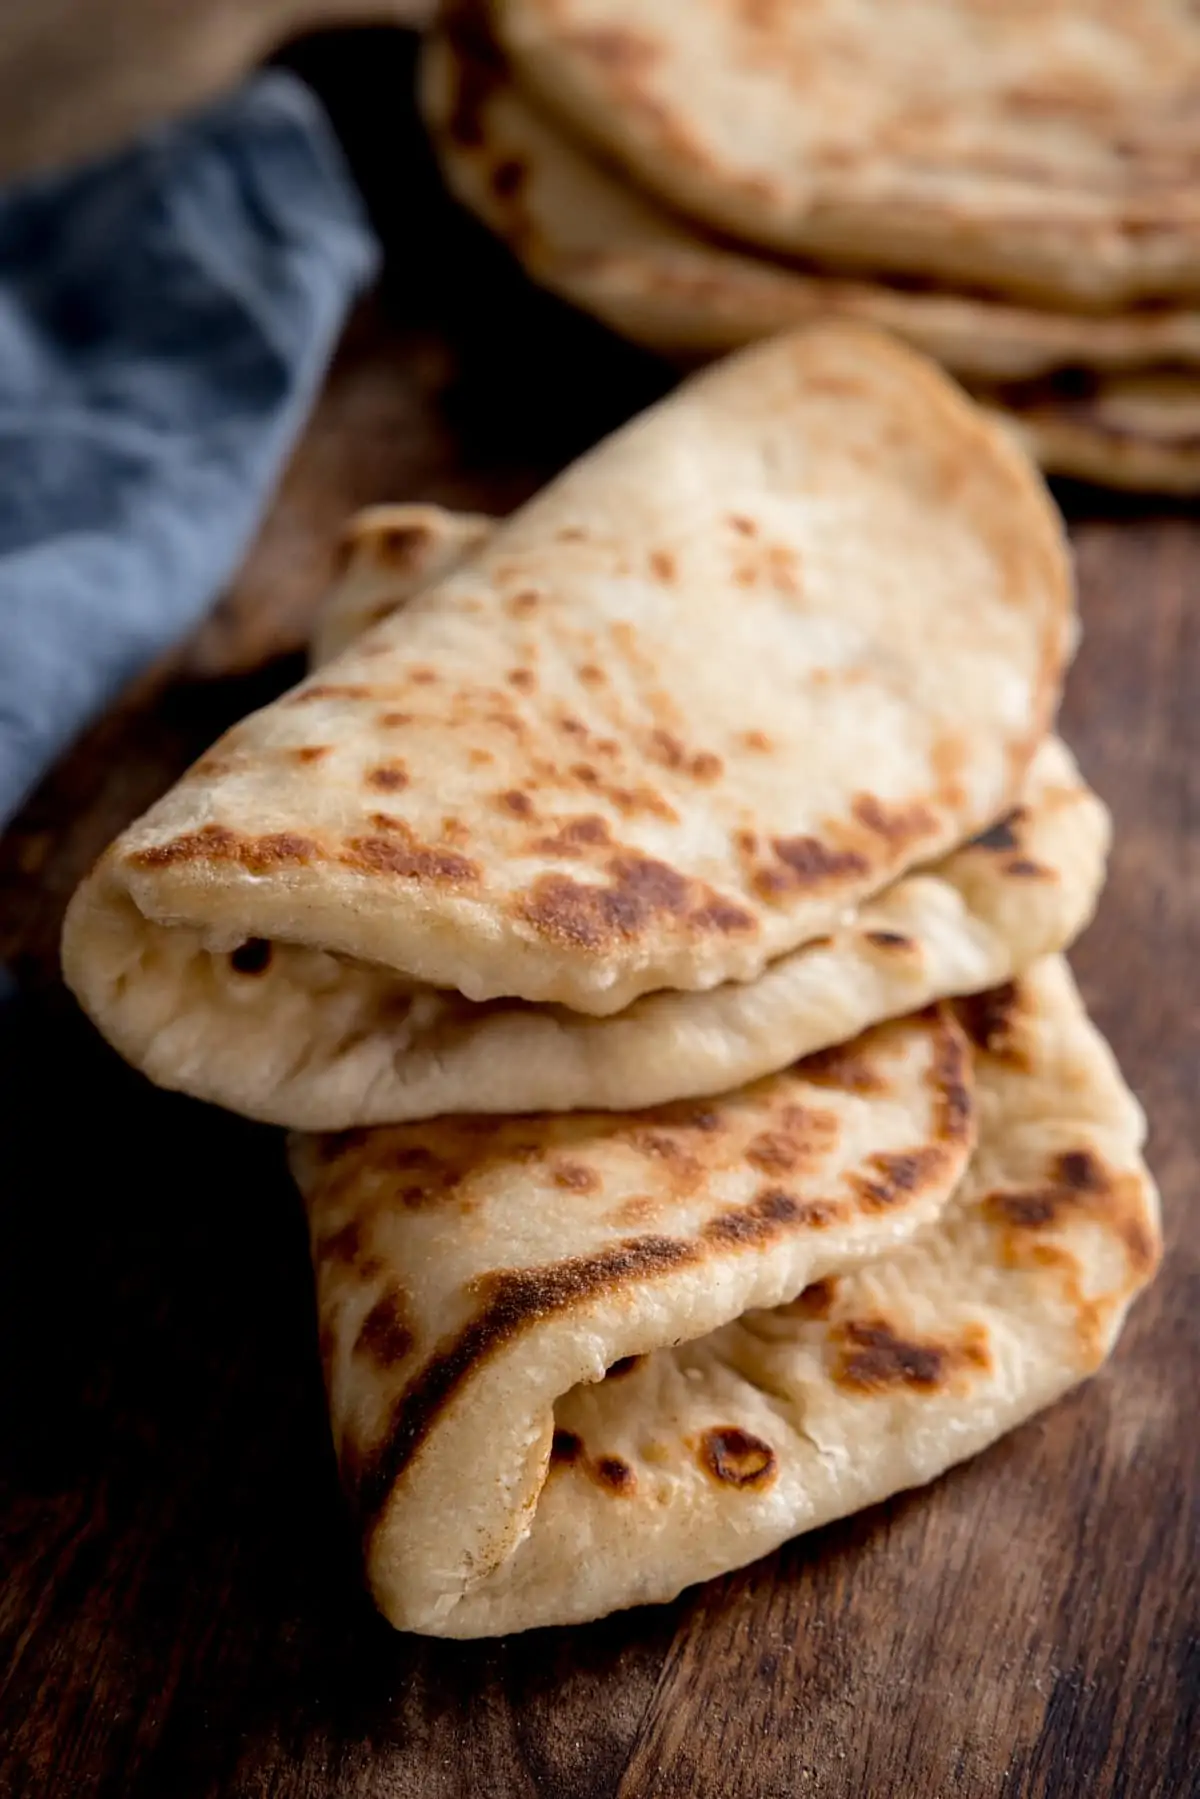
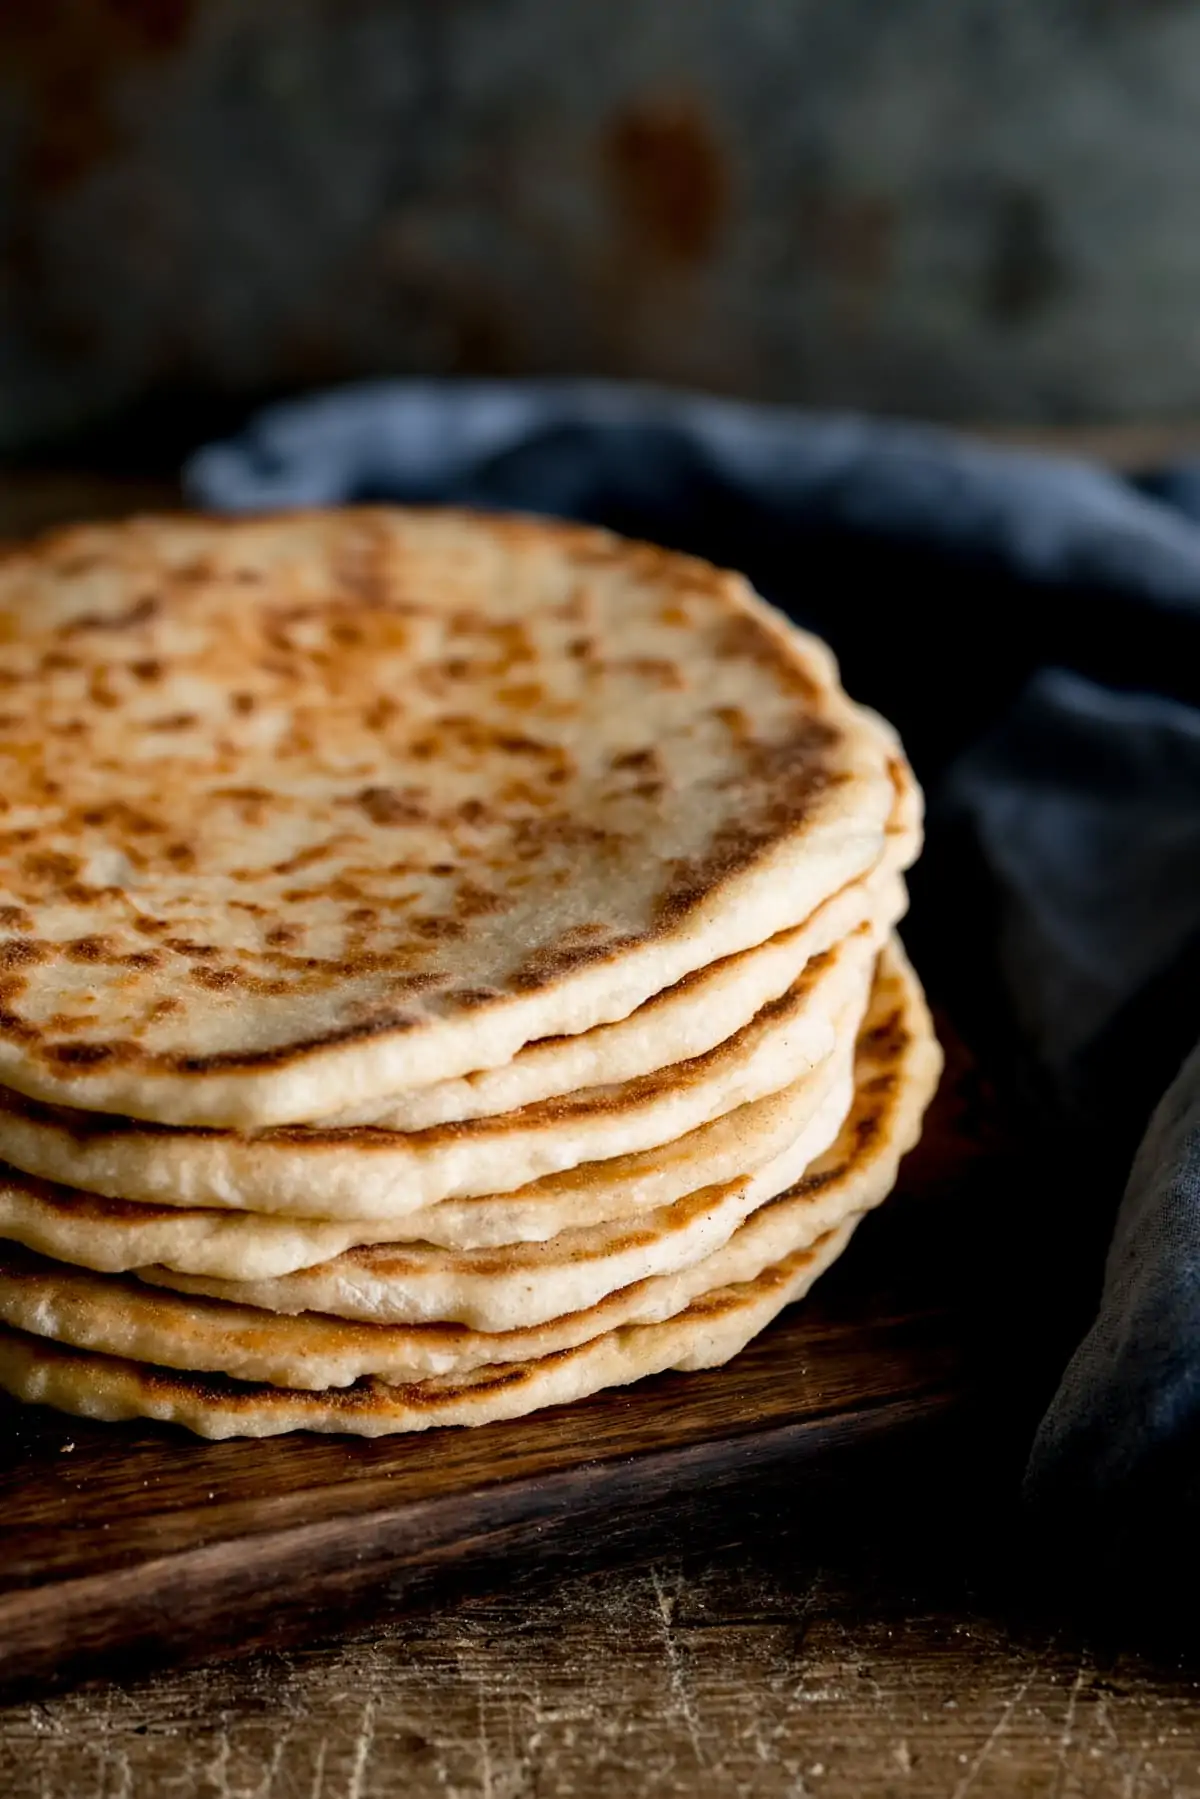
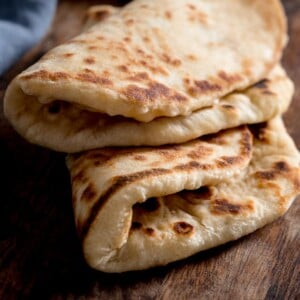
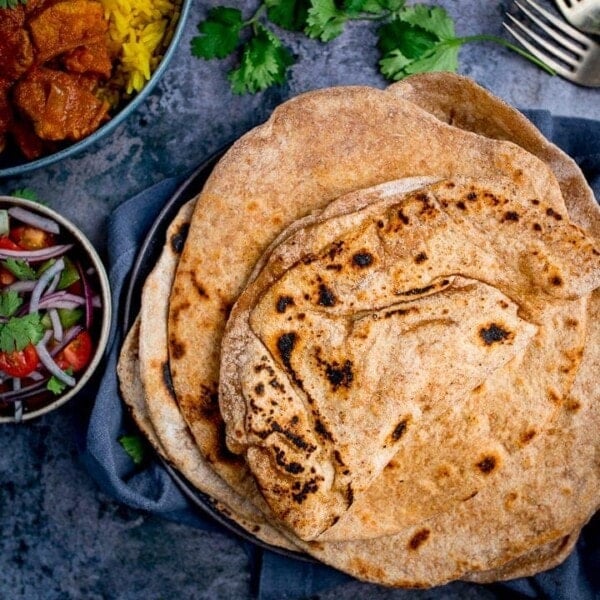
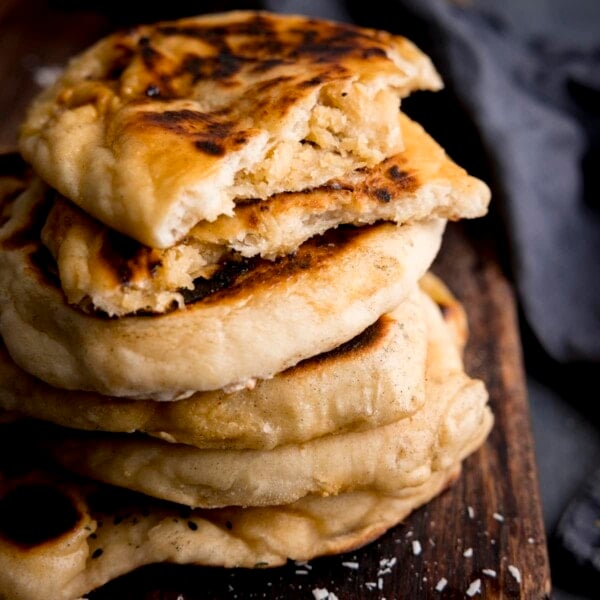
Soft, fluffy Greek pita-style flatbreads (the pocketless kind). I love loading these up to make homemade Gyros or to serve with souvlaki kebabs. They stay soft and pliable, even when cold, so you can roll or fold them without the risk of them breaking.
“These are incredible, turned out perfect and super soft. I stuffed some cheese inside them – super yum. Do you think you can make the dough balls and freeze them at this stage? Dreaming of all the possible stuffings I could come up to pop inside these.”
Nicky’s Notes

Yes these flatbreads need proving and kneading (use my yogurt flatbread recipe for super-quick flatbreads), but the extra time spent it so worth it. Why?
- You’ll get super fluffy, tender flatbreads with that perfect chewiness – thanks to the yeast and proving.
- They have bags of flavour – again the proving time helps the flavour to develop. The flavour is further enhanced because of the cooking method.
- They taste great hot OR cold.
- They don’t break when you fold them.
Table of Contents
Pin this now to find it later
Pin It🔪 How to make them
***Full recipe with detailed steps in the recipe card at the end of this post.***
- Similar to most yeasted bread recipes, we mix together yeast, water, bread flour, sugar and salt. We’re also adding some olive oil to the mixture for extra flavour and tenderness.
- Once they’re mixed, we knead the dough for about 10 minutes, then leave to prove until doubled in size.
- Then we split the dough into 12 pieces, roll each into a ball, and roll out in a flat disk.
- Each flatbread is cooked in a hot, lightly oiled frying pan, until fluffy and golden.
Pro Tip
These breads are cooked one at a time, but you can keep them warm by stacking them on warm plate under a clean tea towel, or placing on a tray (cover it with foil) and place on a very low oven.
🍽️ What to serve these Greek Pitas with:
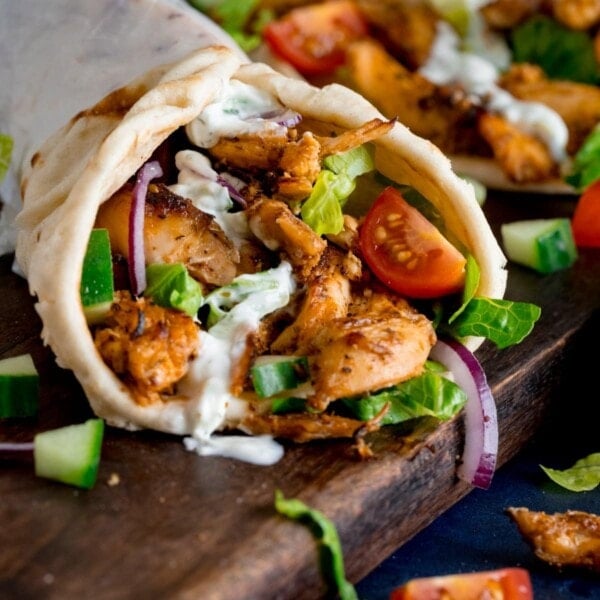
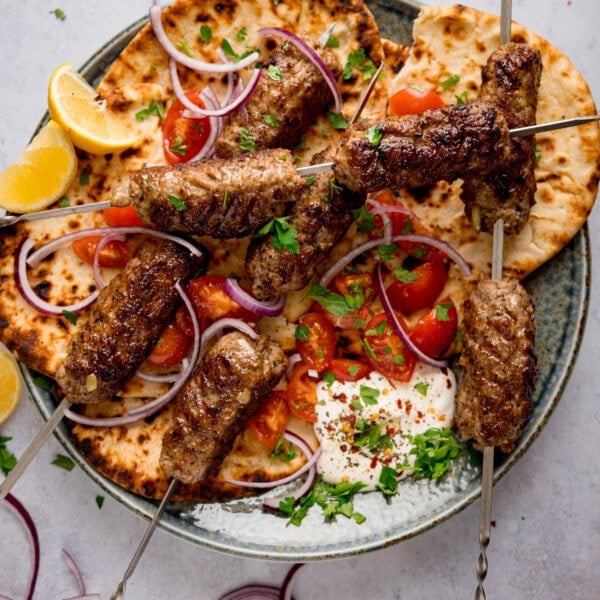
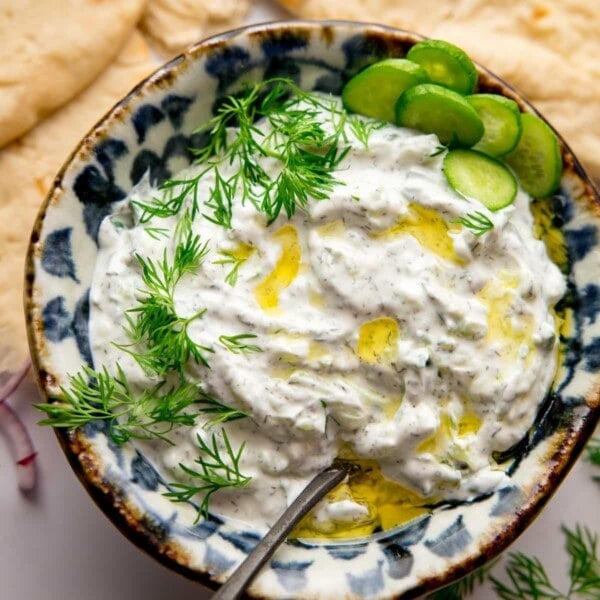
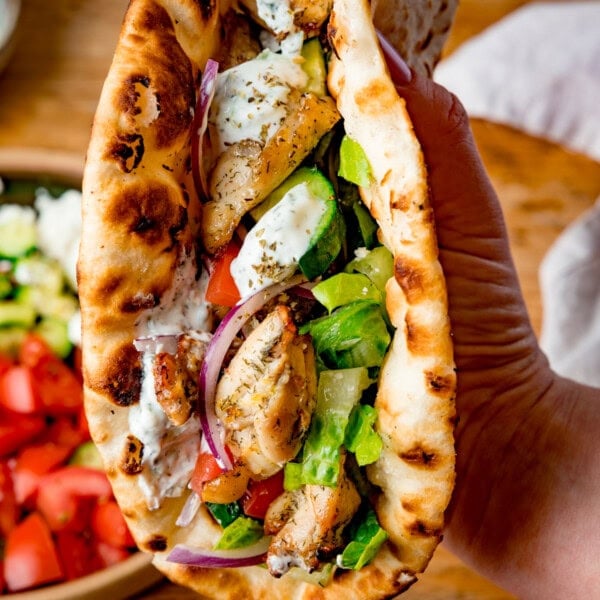
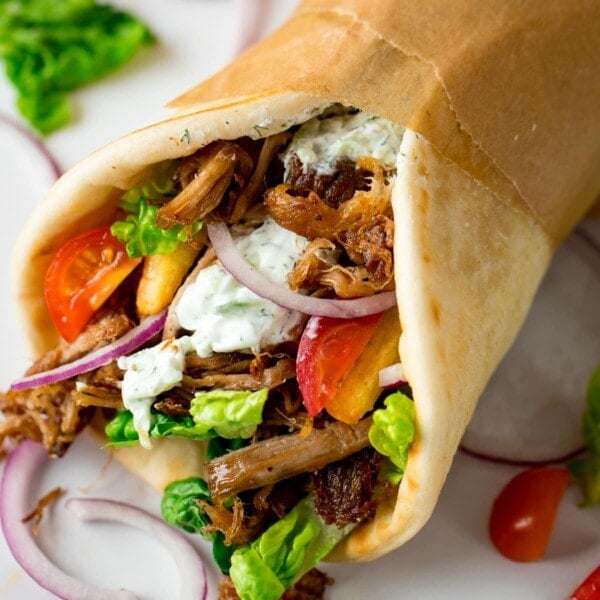
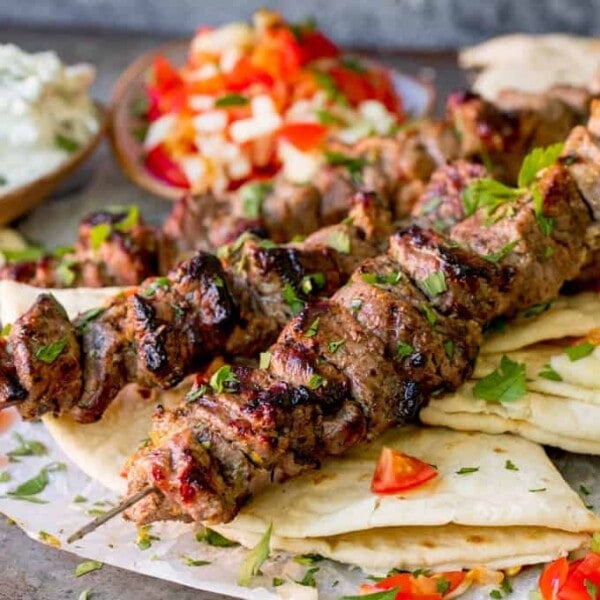
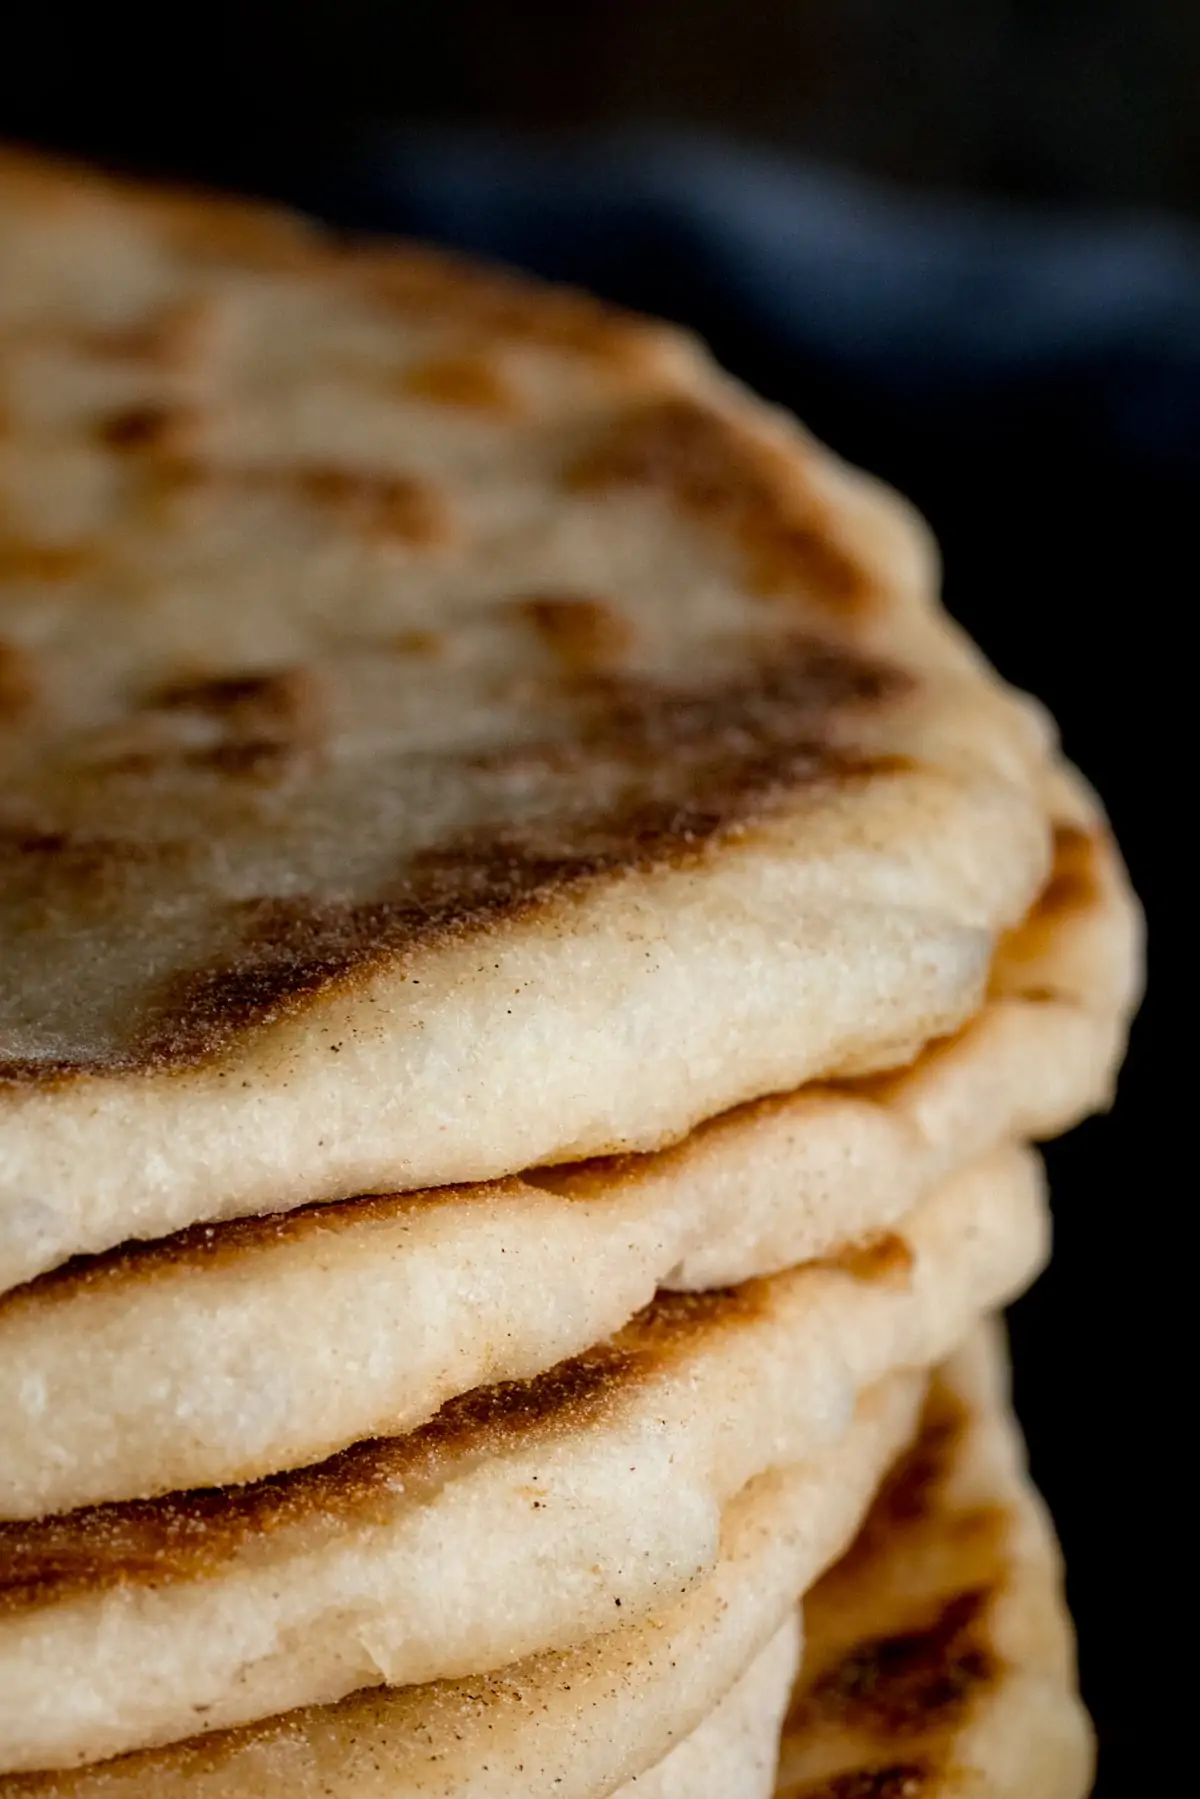
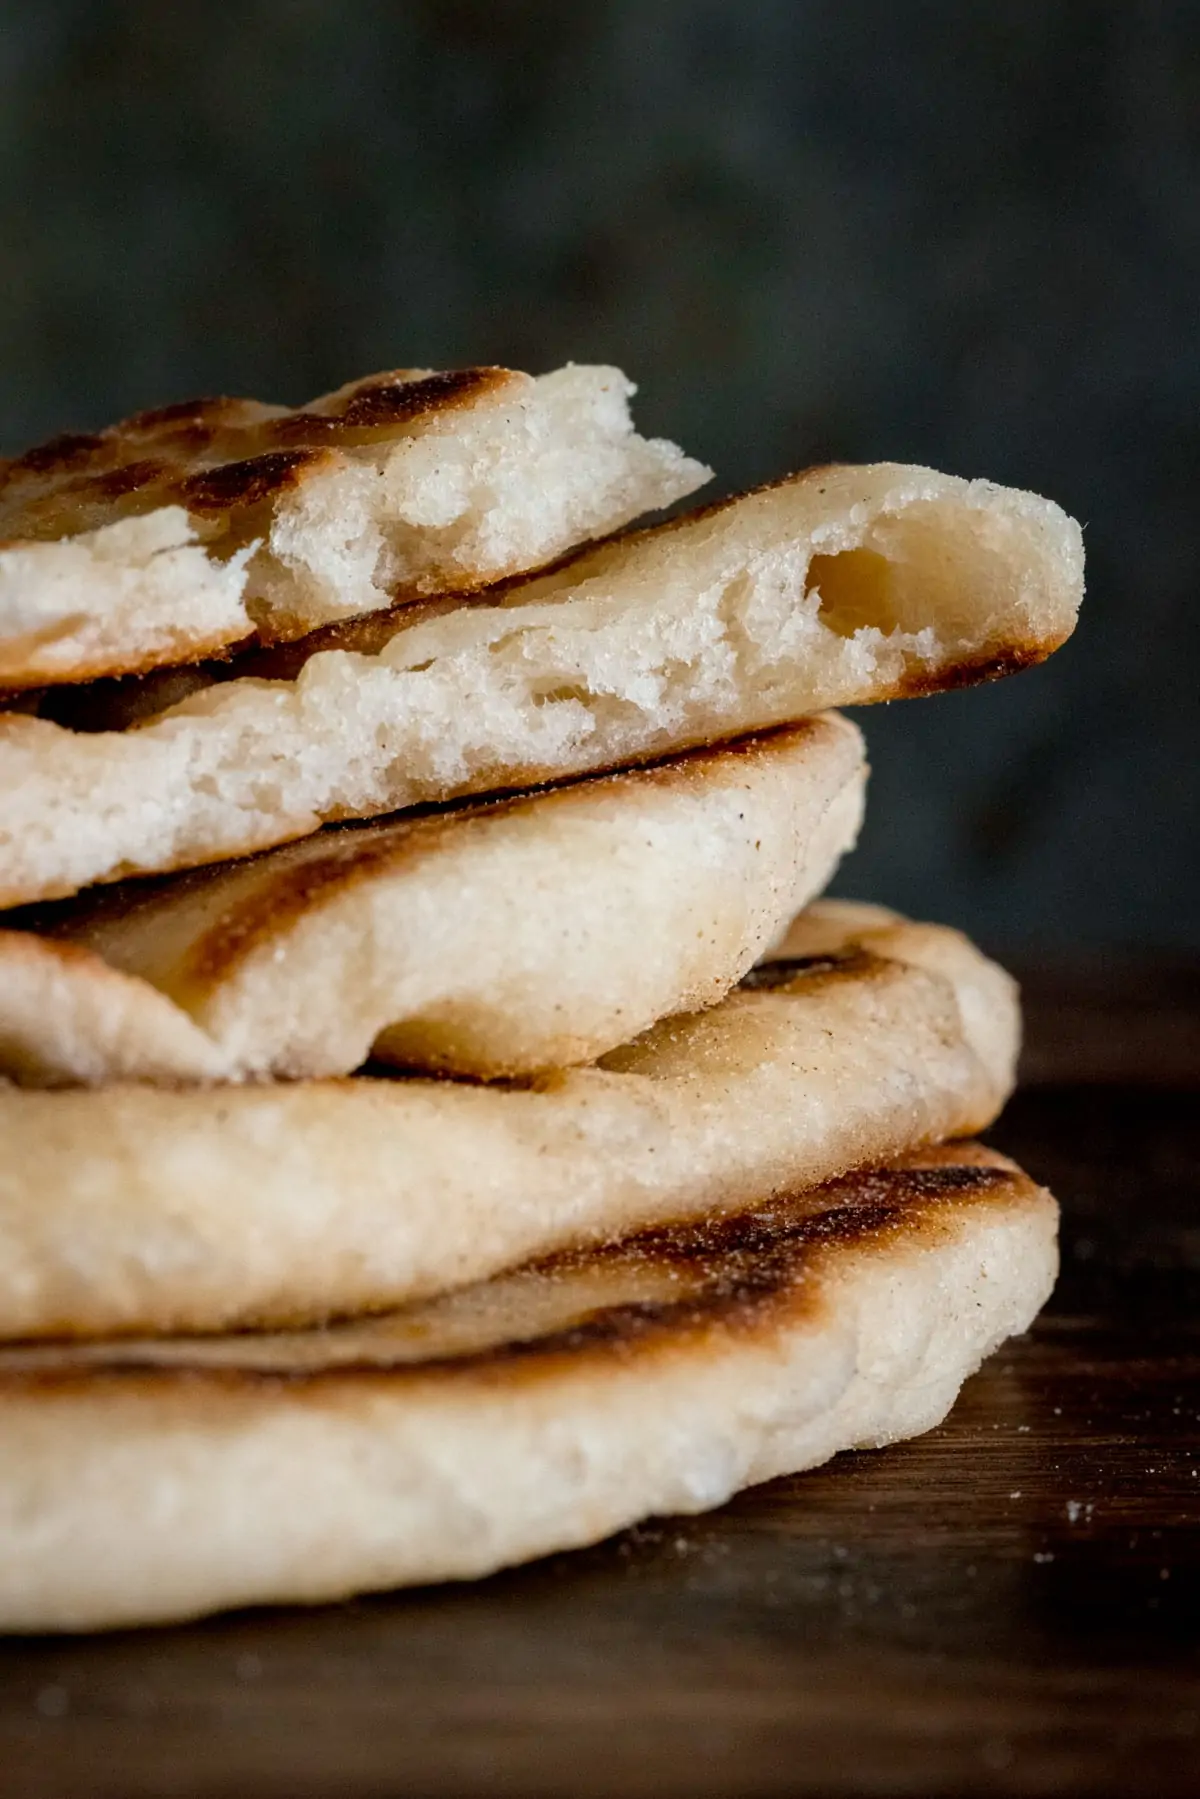
Just look at how deliciously fluffy they are inside!
Try these on the BBQ
Whenever we’re planning a BBQ I always whip up a batch of these flatbreads, they taste soo good cooked over hot coals. This is a bonus pro tip, try them, you wont regret it 😋
Make ahead and Freezing Guide
- To make ahead, make the pitas, cool them and place on a plate. Cover with foil or clingfilm. They should keep at room temperature for 2 days, or in the fridge for 3-4 days.
- If freezing, place in a freezer bag with a piece of baking parchment between each pita (to stop them sticking together). Defrost at room temperate before serving.
Reheating:
The flatbreads can be served at room temperature, or if you want to warm them through, sprinkle with a little water and place in the oven at 180C (350F), on a baking tray (uncovered), in a single layer for 2-3 minutes.
📺 Watch how to make them
Homemade Flatbread Recipe
Ingredients
- 7 g (2 tsp) instant dry yeast
- 480 ml (2 cups) warm water
- 4 tbsp olive oil plus extra for brushing (approx 2-3 tbsp)
- 780 g (6 ½) cups strong bread flour plus extra for rolling (approx 60g or 1/2 cup)
- 1 ½ tsp sugar
- 1 ½ tsp table salt
Instructions
- Place the yeast in the bowl of a stand mixer (or a large bowl) and add the warm water. Stir together and leave for 5 minutes, until foam appears on top of the water.7 g (2 tsp) instant dry yeast, 480 ml (2 cups) warm water
- Add the olive oil, flour, sugar, and salt to the yeast mixture.4 tbsp olive oil, 780 g (6 ½) cups strong bread flour, 1 ½ tsp sugar, 1 ½ tsp table salt
- Mix the dough together using either using a stand mixer with a dough hook (recommended) or your hands, until combined.
- Once combined, knead the dough for 10 minutes using the stand mixer with a dough hook or by hand. The mixture will be quite sticky, so if you’re kneading by hand, it’s a good idea to coat your hands and work surface in a little olive oil to stop it sticking.
- Place the dough in an oiled bowl, cover with a damp cloth or clingfilm and allow to prove for 60-90 minutes, until doubled in size.
- Lightly flour the work surface.
- Divide the dough into 12 equal pieces. If you want to take your time you can shape into balls and place on a tray or board with a damp cloth over the top to rest for a few minutes, while you prepare to start cooking them.
- Take one of the dough balls, and roll it into a flatbread shape, about 19cm (7.5 inches) in diameter and ½ cm (just under ¼ inch) thick.
- Brush or spray a medium-sized frying pan (cast iron gives you the best results) with a little oil (just 1/4 tsp or so) and place over a medium-high heat to heat up.
- Toss the pita back and forth a couple of times in your hands to remove excess flour, then place the pita in the pan.
- Cook for about 60-90 seconds, until bubbles start to appear. Then turn over a cook for a further minute. Whilst that's cooking roll our the next flatbread.
- Place on a plate, cover with a clean tea towel and then repeat, brushing the pan with oil after every 3 or 4 pitas.
- Stack the flatbreads on the plate (stacking them helps to keep them soft), laying a tea towel over them to keep warm until you’re ready to serve.
Video
Notes
Make Ahead
To make ahead, make the pitas, cool them and place on a plate. Cover with foil or clingfilm. They should keep at room temperature for 2 days, or in the fridge for 3-4 days.Freezing
If freezing, place in a freezer bag with a piece of baking parchment between each pita (to stop them sticking together). Defrost at room temperate before serving.Reheating:
The flatbreads can be served at room temperature, or if you want to warm them through, sprinkle with a little water and place in the oven at 180C (350F), on a baking tray (uncovered), in a single layer for 2-3 minutes. Nutritional information is approximate and is per flatbread.Nutrition
Nutrition information is automatically calculated, so should only be used as an approximation.
This post was first published in July 2021 and has been updated with a video, FAQ’s and for housekeeping reasons in August 2024. Updated since with recipe improvements and for housekeeping reasons.
🍞 More fantastic Bread recipes
Some of the links in this post may be affiliate links – which means if you buy the product I get a small commission (at no extra cost to you). If you do buy, then thank you! That’s what helps us to keep Kitchen Sanctuary running. The nutritional information provided is approximate and can vary depending on several factors. For more information please see our Terms & Conditions.













I used 3.5 cups of flour and knew to cut all the other ingredients to scale and added some herbs and garlic for a wonderful flatbread.
Much thanks – Pete
Hi Nicky,
Have you tried any gluten free options? The flatbreads look amazing.
Hi Lesley,
Thank you 😊 I haven’t tested a gluten-free version unfortunately, and I wouldn’t want to recommend a straight flour swap without testing it first. Sarah at The Gluten Free Blogger has a gluten-free flatbread recipe that looks like a great option though: https://www.theglutenfreeblogger.com/gluten-free-flatbread/
Intensely chewy, fluffy and pliable flat bread. I have made them twice this month and this will certainly be my forever recipe! Thank you for sharing this gem.
I might suggest taking another look at the ratios in this recipe. The amount of flour seemed quite high to me, but I decided to trust the recipe and go with it. Unfortunately, the dough ended up being so dense that it actually broke my KitchenAid mixer. I just wanted to mention it in case the measurements need a little adjusting!
Hi Sabrina, I’m sorry to hear you had a problem with the dough.
The dough definitely shouldn’t be that dense – it should actually be quite a sticky dough, as mentioned in the recipe. I’ve made these many times using these quantities and we’ve also had lots of readers make them successfully, so I’d love to work out what might have happened here.
Did you weigh the flour (780g) or use the cup measurement? Flour can vary quite a lot when measured in cups, particularly if it’s scooped directly from the bag, as it can become compacted and you can end up with significantly more flour. If using cups, I recommend spooning the flour into the cup and levelling it off rather than scooping.
Also, can I check that you used strong bread flour and the full 480ml (2 cups) of water? If you let me know, I’ll see if I can help figure out what went wrong.
Do you have a whole grain recipe?
Thank you , Nicky. I have finally found the best Greek pita to go with my favourite homemade tzatziki recipe! They are gorgeous, soft, wonderfully flexible, and chewy, such a nice chew. I made them last month when my wife was away, and had them with tzatziki. Yum! Next day I made gyros and they were especially good. I made them again today, as well as some Tzatziki, for happy hour so my wife could enjoy them too (and she did). Tomorrow, gyros!
Both times I’ve made them I have made half white/half whole wheat, and kneaded by hand. I cook them on a round cast iron griddle drizzled with EVOO.
Thanks for the recipe, Nicky, one that I have searched for for 40+ years.
I tweaked the quantities so the dough would be more pliable, with an option to have thinner pita. 500ml water and 730g flour 000 do the trick. Great recipe, thanks for posting
Made these tonight, absolutely lovely ! thanks for the recipe 🙂