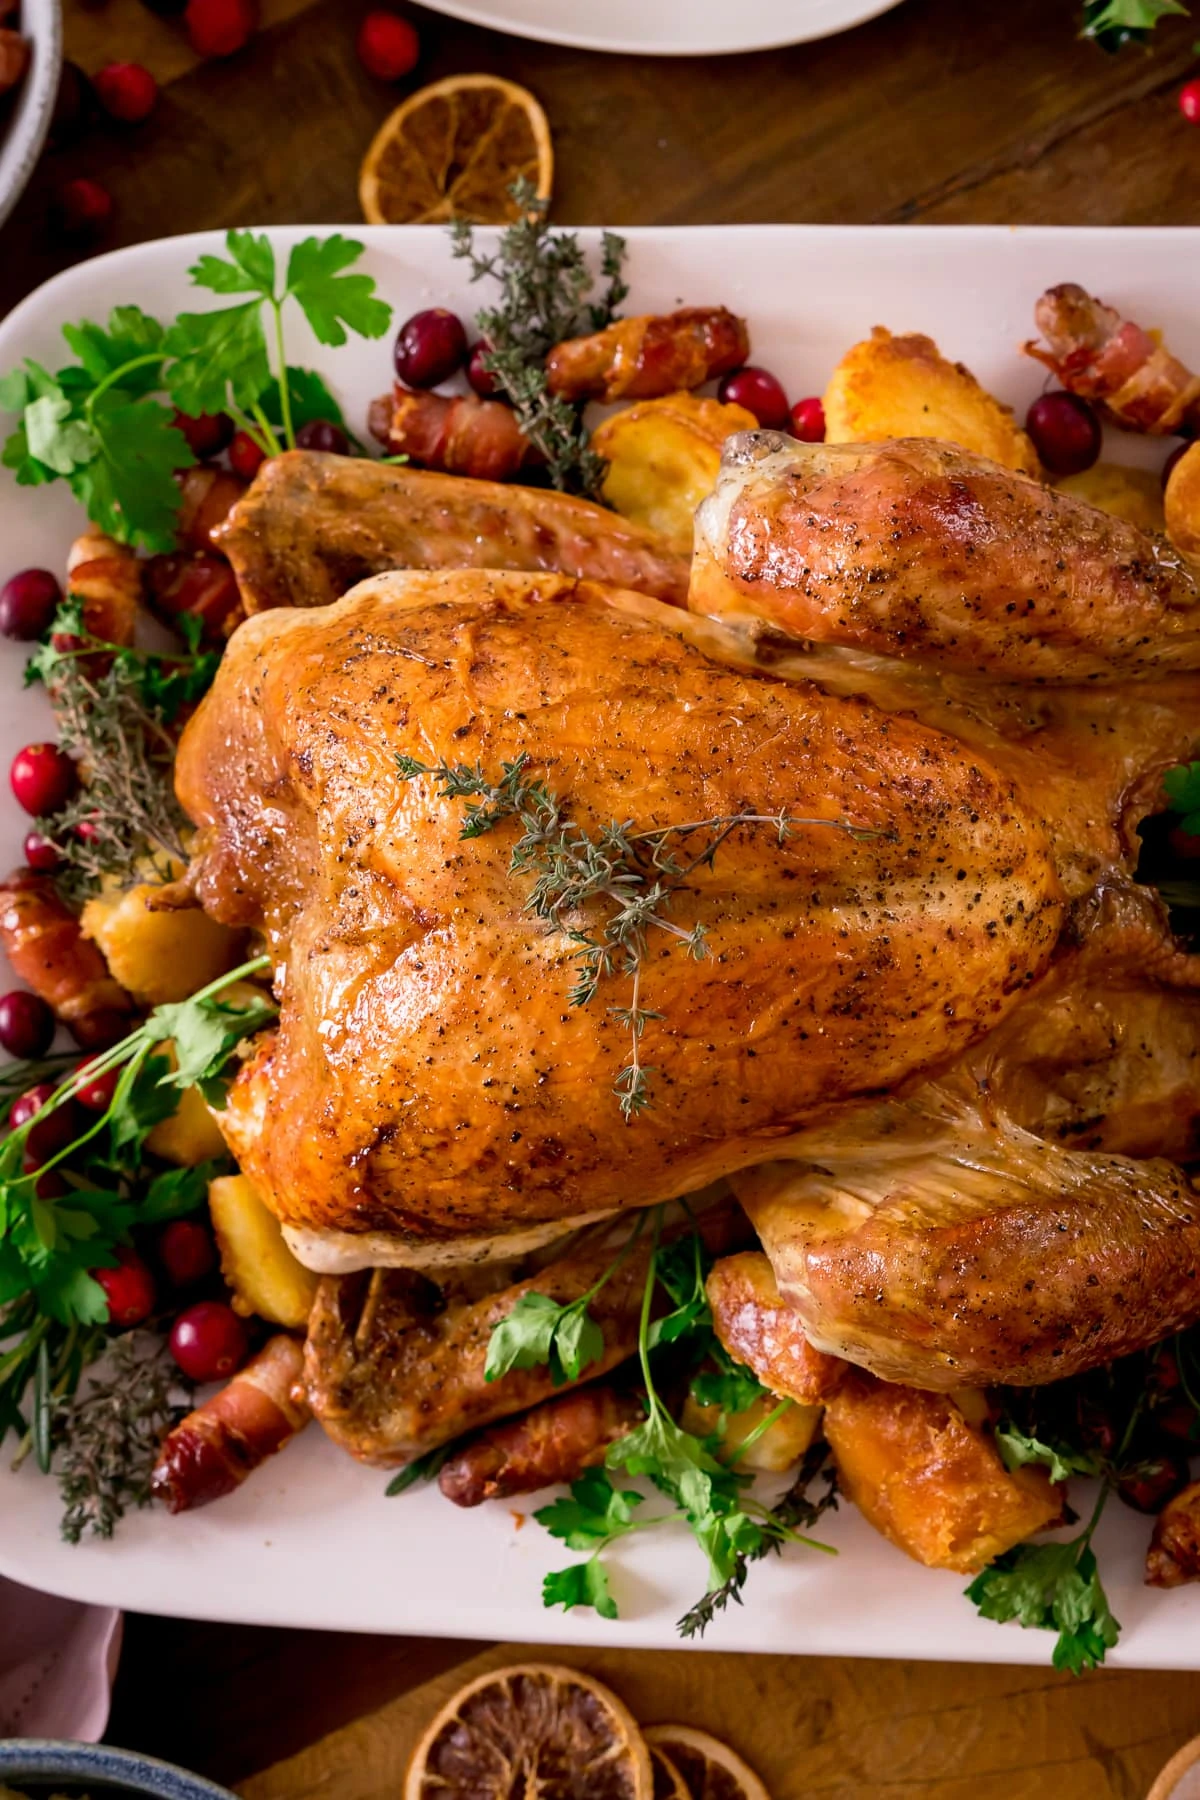
This is the method I use every year for the perfect roast Turkey, No brining, no basting and no stuffing – this is my easy, fuss-free roast turkey recipe that really lets the flavour shine, and ensures the turkey is lovely and juicy.
Whether you’re cooking a small or a larger turkey this year (we always go large because we LOVE turkey leftovers), I’ll show you how to roast a turkey without the stress.
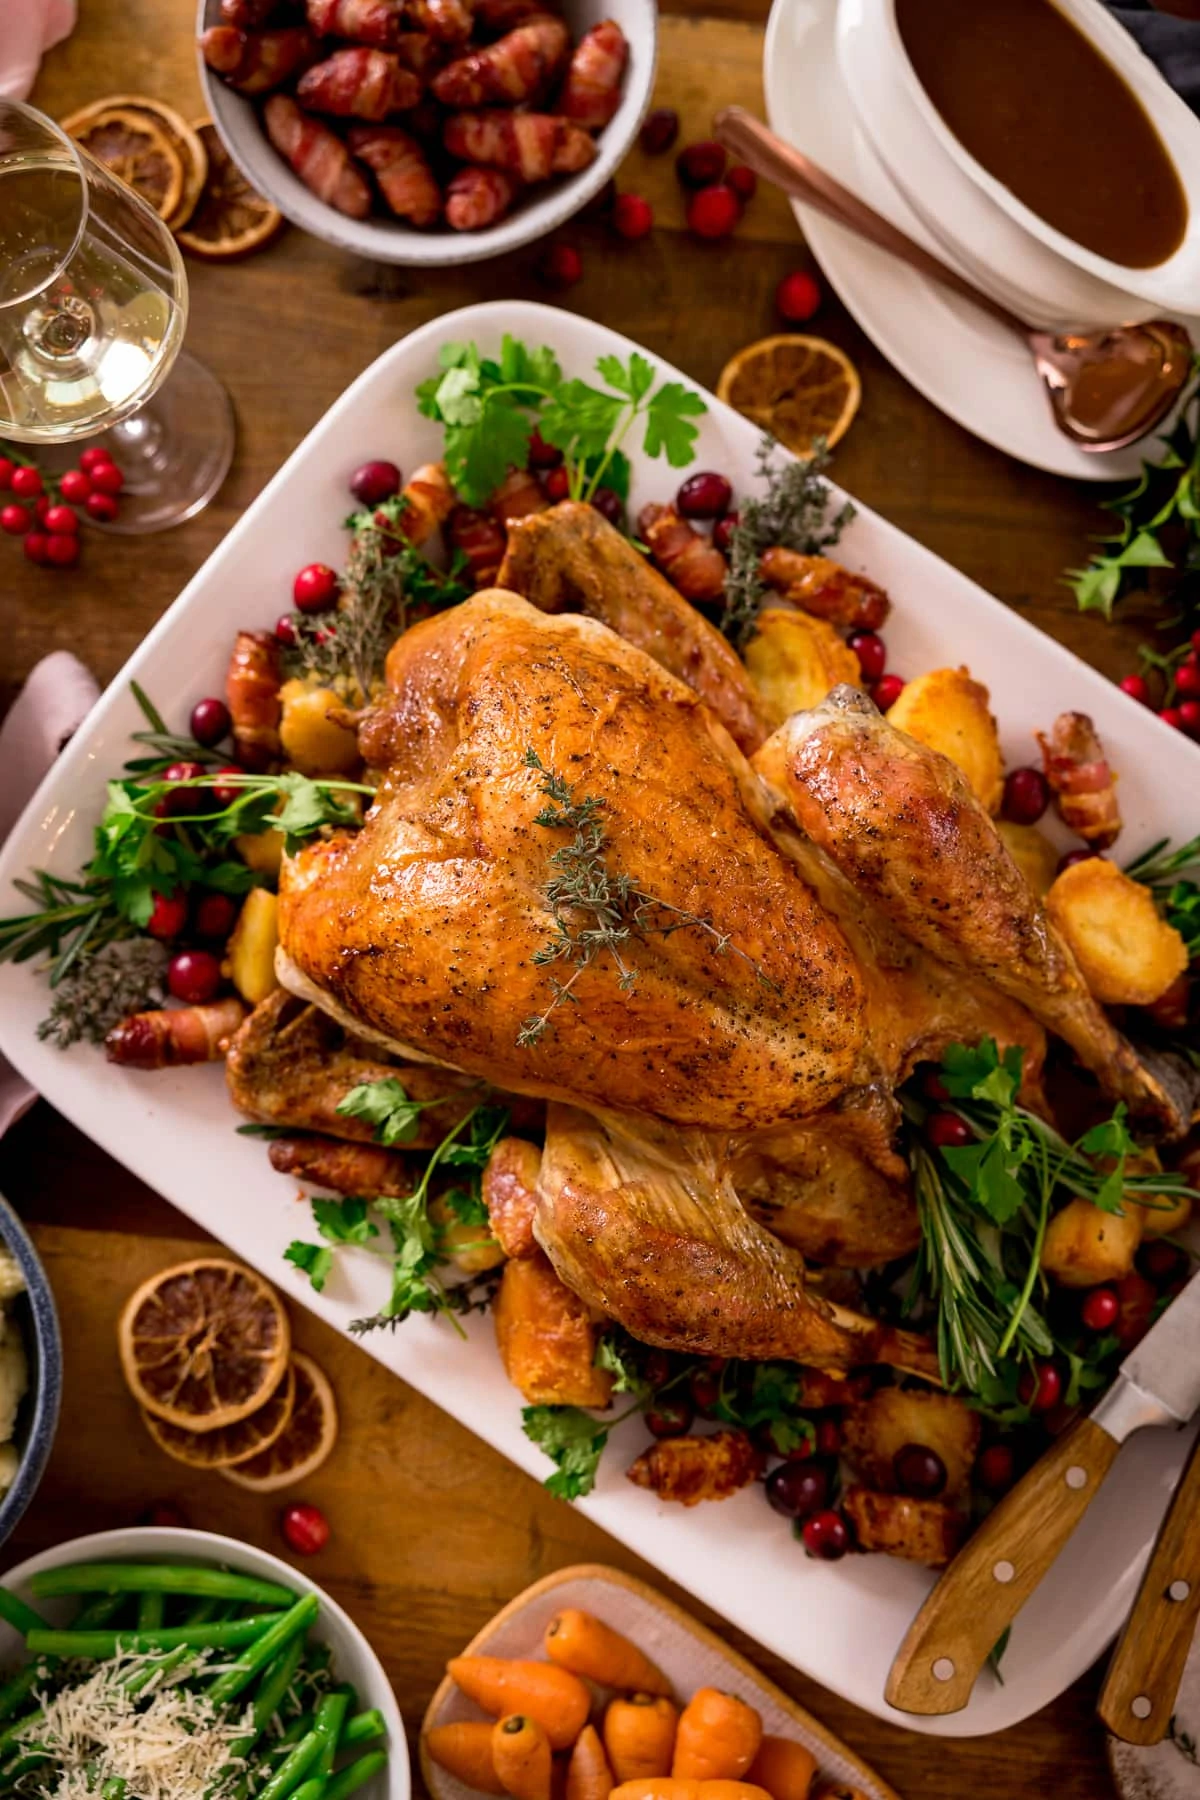
After years of roasting turkeys, I’ve come to the conclusion that it’s best to keep it simple. A flavourful turkey, with any energy for fancy stuff being saved for the side dishes!
Table of Contents
- 🦃 Why I don’t stuff my turkey
- 📋 What do we need?
- 🔪 How to roast a turkey
- 🌡️ How to check the turkey is cooked
- ⏲️ Turkey Roasting Time
- 🫗How to make the turkey gravy
- 🍽️ What to serve it with
- 📺 Watch how to make it
- 🧑🍳 Ideas for an easy holiday roast dinner
- 🙋♀️ Frequently Asked Questions
- Easy Roast Turkey Recipe Recipe
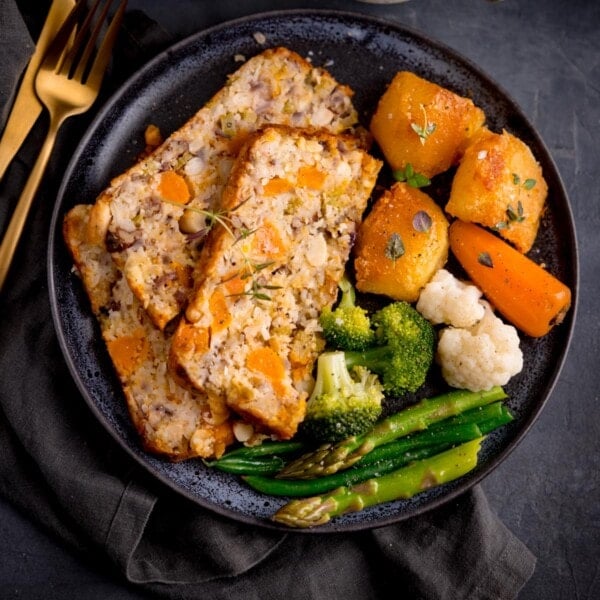
- 🎄 Alternative to roast turkey for the holidays
🦃 Why I don’t stuff my turkey
I’m just going to come out here and say it – I don’t stuff my turkey! In addition I don’t brine it, baste it, lay it on piles of vegetables, cover it in bacon or smother butter under the skin.
Why? You might ask?
| Turkey Faff Suggestion | Reason I don’t do it |
|---|---|
| Stuff turkey | I don’t like soggy stuffing (crunchy coating is better IMHO) and stuffing the inside of the bird increases roasting time – which will make the meat drier. |
| Brine turkey | I’ve never noticed a significant difference to taste in the turkey after wet brining. It does increase moisture slightly, but the moisture is just water – which dilutes the flavour of the meat. |
| Baste turkey | Every time you open the oven to baste, the oven cools = longer to roast the turkey! Also it softens the skin, and the flavour of the meat juices doesn’t sink into the meat (only the skin). |
| Lay turkey on veggie trivet | I don’t want those veggies sucking up all that turkey flavour, to then have to spend 10 minutes squeezing it all out of the veggies at the end of cooking. Too much faff. |
| Cover turkey in bacon | It looks good, but the bacon itself loses its flavour. The salty flavour goes into the turkey skin (which is a small benefit), but that flavour doesn’t penetrate the meat. When everyone goes to grab a bit of bacon, and that bacon is flavourless, it’s so disappointing! |
| Smother butter under skin | There’s a risk of tearing the skin, and also the water in the butter can make the browning of the skin uneven. |
📋 What do we need?
For this roast turkey recipe we’re going to keep it really simple, so we’ve got:
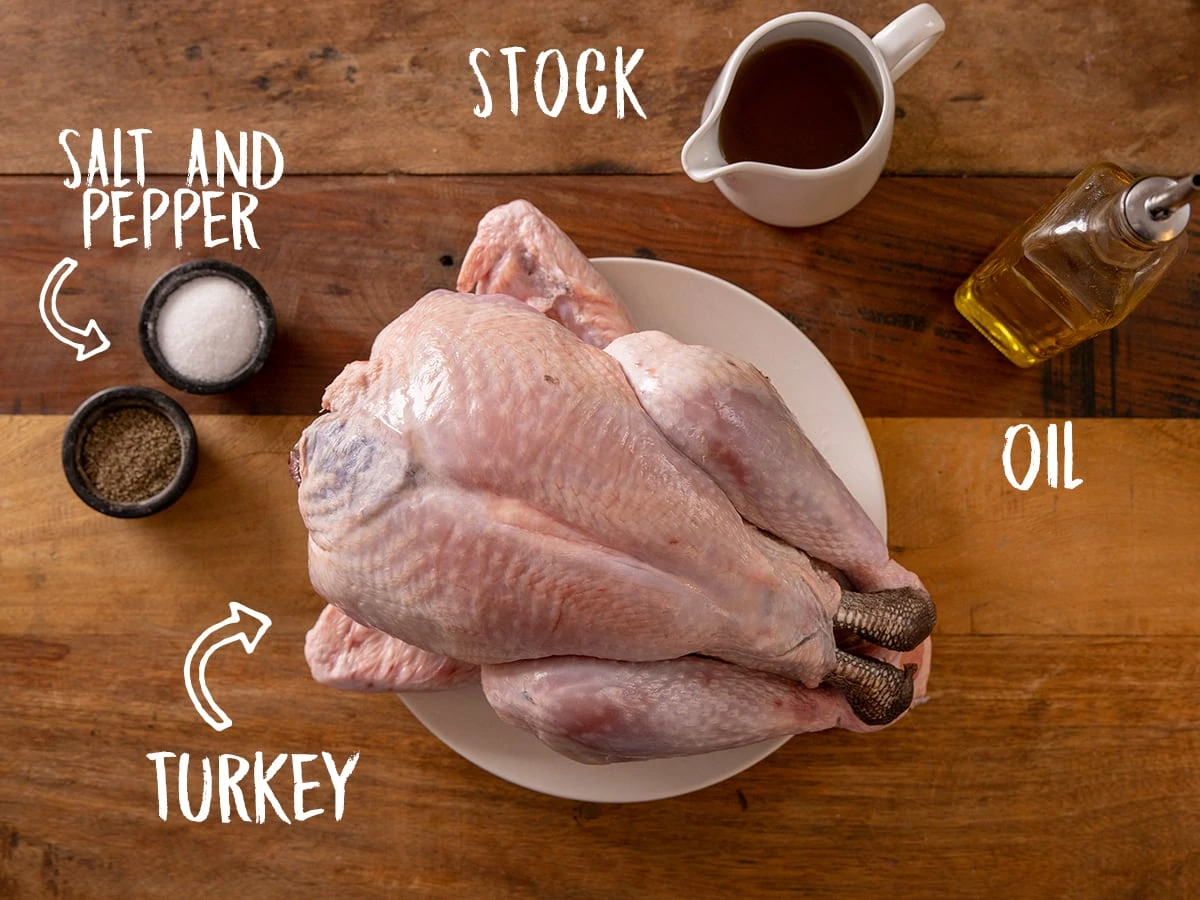
- Turkey – This is a 4.5kg (10 pound) bronze turkey. I’ve include a little table further down this post with info on using different weights of turkey.
- Seasoning – I’m using olive oil salt and pepper
- Stock – I’ve got some chicken stock (chicken broth) and this is one of my top tips for a moist roast turkey.
🔪 How to roast a turkey
**Full recipe with detailed steps in the recipe card at the end of this post.**
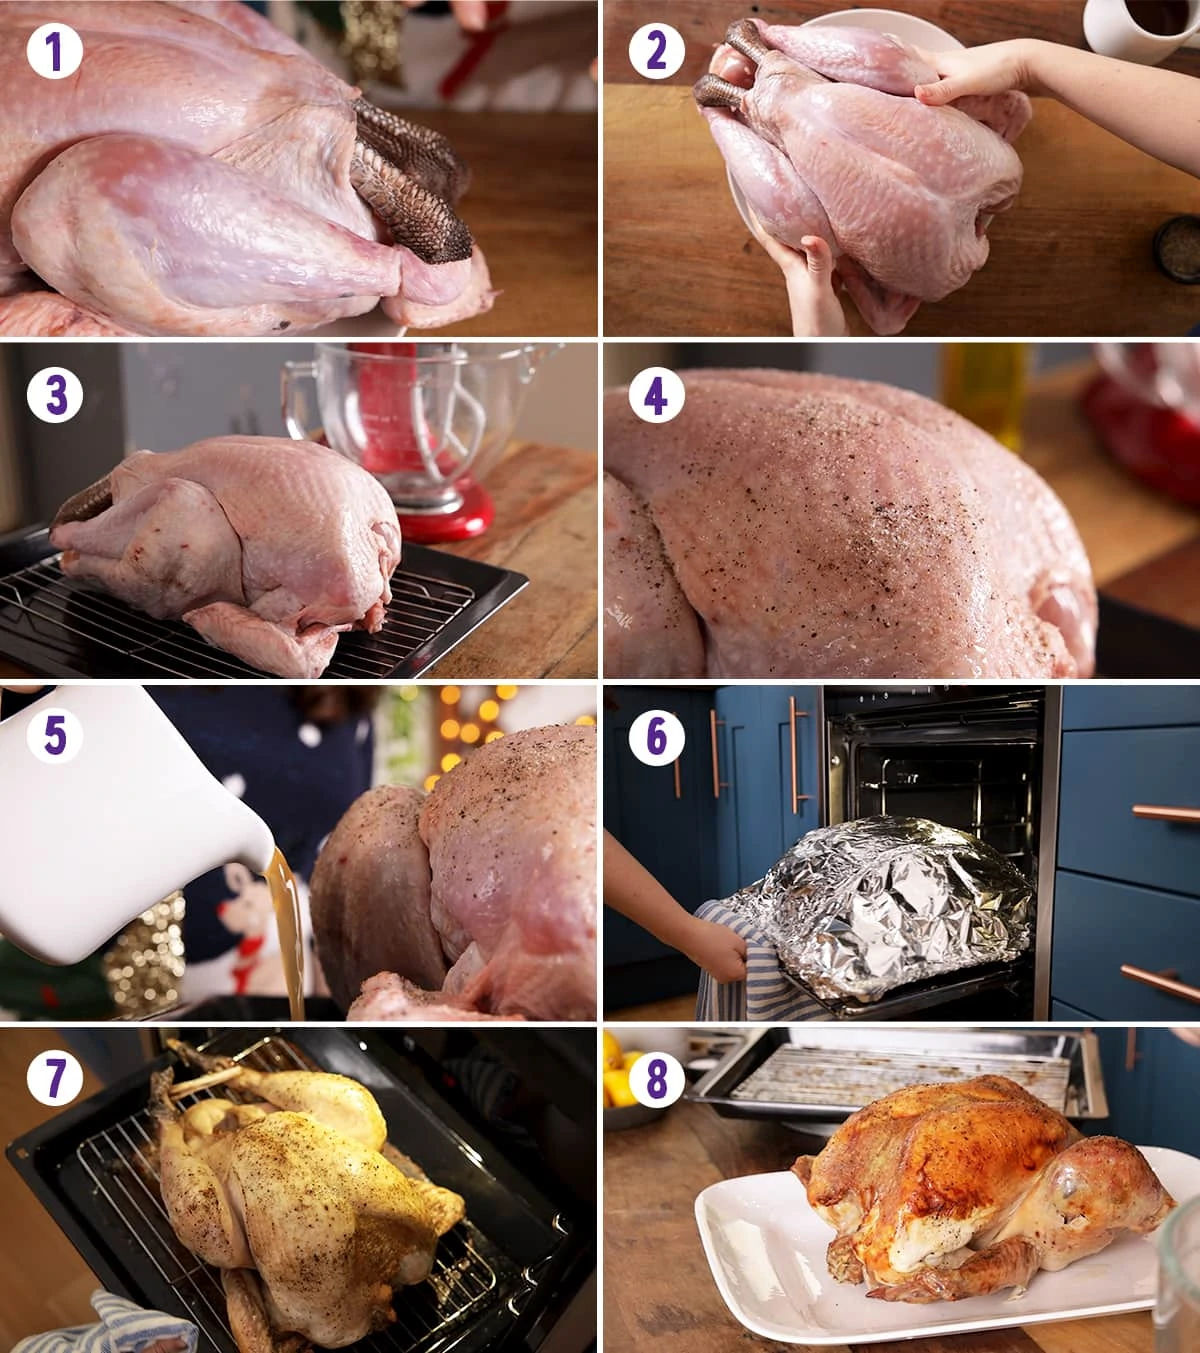
These are the KEY steps to roast a turkey and keep it moist:
- Take the Turkey out of the fridge 1-2 hours before you want to cook to bring it up to room temperature.
- Place the turkey on a large wire rack on top of a large roasting pan, then rub all over with oil and season with plenty of salt and pepper.
- Pour a cup of chicken stock into the base of the roasting tray and cover the turkey and the tray with foil – tenting the foil over the turkey, so it’s not touching. The stock is going to provide some flavourful steam which penetrates the turkey as its cooking and helps with keeping it lovely and moist.
- Roast the turkey according to the cooking times in the table further below, removing the foil for the last hour of cooking.
- Transfer to a warm serving plate and leave to rest for 30-60 minutes.
🌡️ How to check the turkey is cooked
Check the turkey is done by piercing the deepest part of the meat with a skewer – the juices should run clear, not pink. Give it a little longer in the oven if the juices are still a little pink.
If you have a meat thermometer, the temperature should read 70C/158F. Test the thickest part of the thigh and the thickest part of the breast. The temperature will rise a little further when it’s resting.
Pin this now to find it later
Pin It⏲️ Turkey Roasting Time
Note: this is a whole turkey (NOT turkey crowns or turkey breast).
For turkeys under 4kg (8.8lbs), this is 20 minutes per kg (2.2lbs) plus 70 minutes.
For turkeys 4kg (8.8lbs) and over, this is 20 minutes per kg (2.2lbs) plus 90 minutes.

Time planning tip:
It’s a good idea to work out your time plan backwards from the time you want to serve.
You’ll need to consider not only the roasting time, but also taking the bird out of the fridge 1-2 hours before roasting, and then resting the bird after roasting before carving.
So if you want to serve at 2pm (and you have a 4.5kg/10lb bird) it would need to come out of the fridge at 9:15am. Then it would go into the oven at 10:15am. It would be done by 1:15pm, and can rest for 45 minutes before serving at 2pm.
🫗How to make the turkey gravy
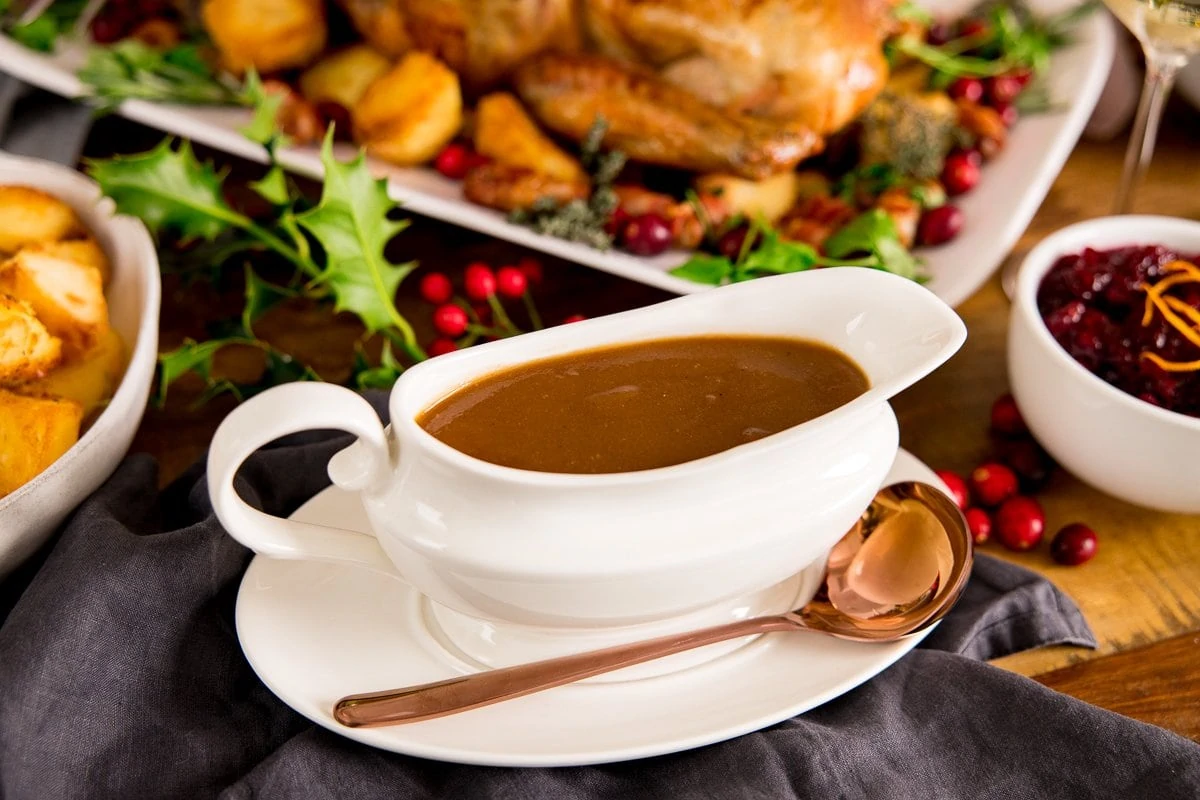
Whilst the Turkey is resting then this is the time for you to make the gravy. Use the juices in the bottom of the tray to make gravy.
My top tip for AMAZING gravy is to make the gravy ahead then add any juices and turkey drippings to gravy you’ve made ahead.
I’ve got a post about how to make the gravy ahead to ensure you’ve got that amazingly flavourful gravy because nobody wants a bad gravy at Christmas!
🍽️ What to serve it with
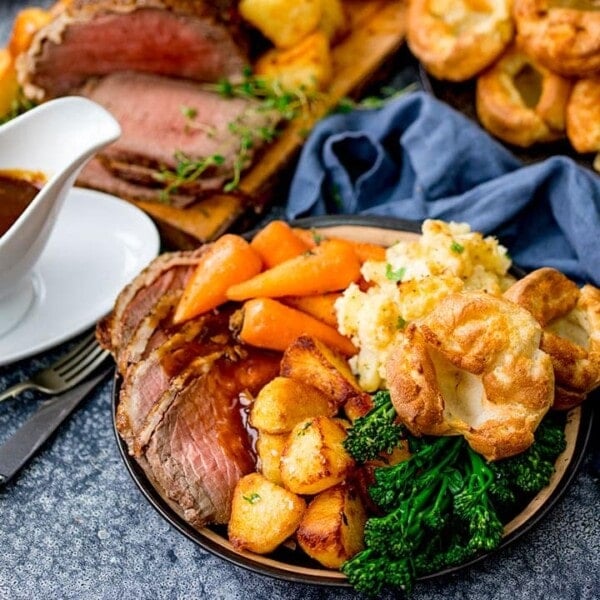
It wouldn’t be turkey dinner without all the trimmings. You’ve got to have:
- Pigs in a Blanket
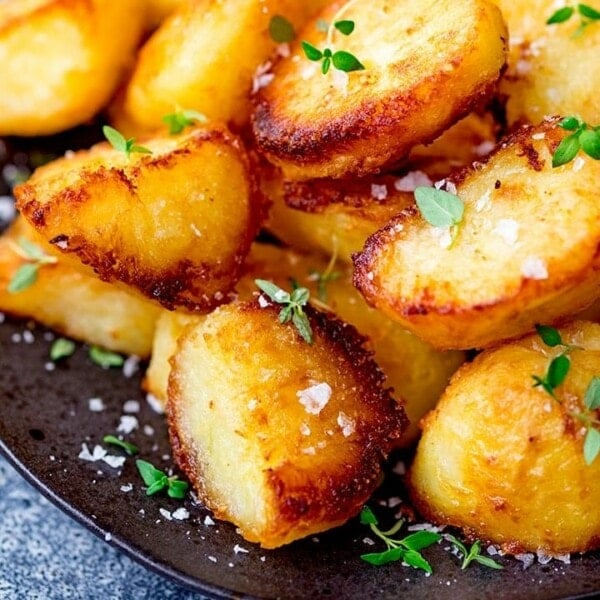
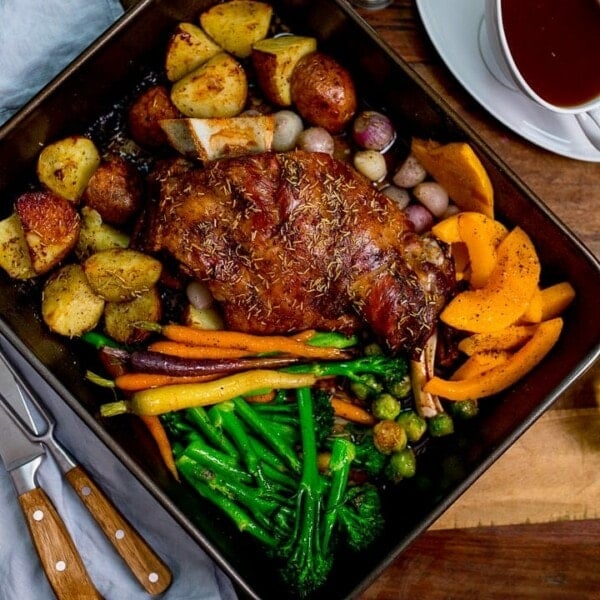
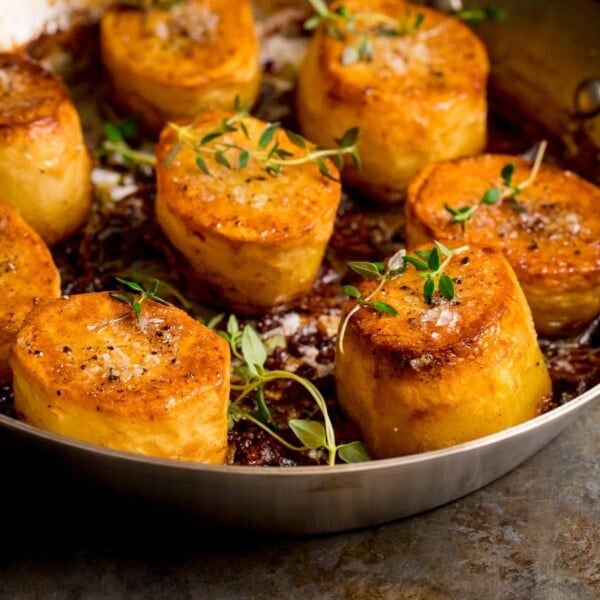
- Roast Potatoes, Fondant Potatoes or Mashed Potatoes
- Simple Butter Pepper Carrots
- Green Beans with Parmesan and Garlic
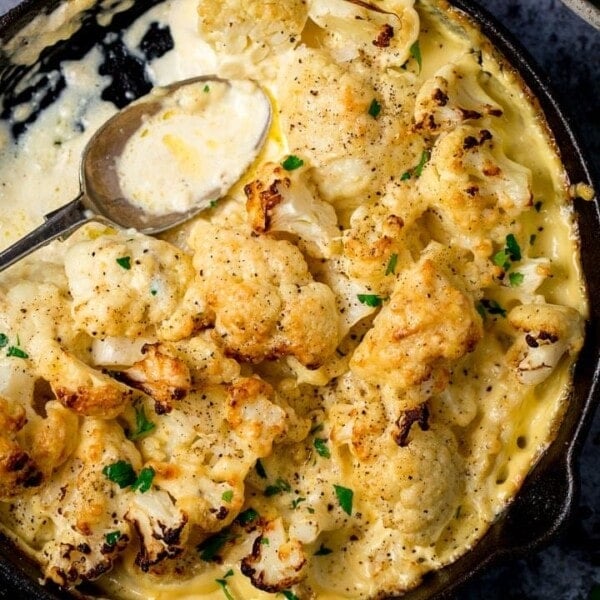
- Cauliflower Cheese
- Sprouts < try these baked parmesan sprouts
- Homemade cranberry sauce
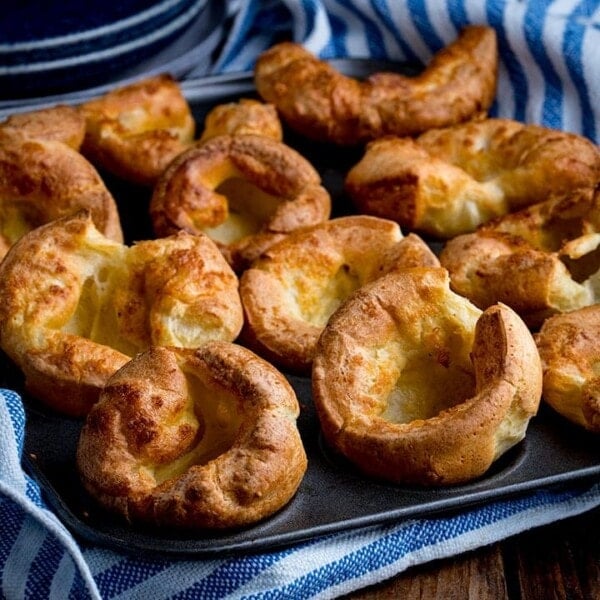
- Yorkshire Puddings < I know my family always have to have them for any roast dinner.
- Why not finish off with my make-ahead Chocolate Cherry Cake!
📺 Watch how to make it
🧑🍳 Ideas for an easy holiday roast dinner
If you want some more ideas for making Thanksgiving or Christmas dinner a whole lot easier then check out my top 10 tips for a stress free christmas dinner. I use these every year!
🙋♀️ Frequently Asked Questions
Yes this should work just fine, but make sure to thaw the turkey thoroughly following the instructions on the packaging.
Yes you could use this method for a crown, but you’ll need to adjust the cooking time to the instructions on the pack, as turkey crowns cook quicker.
I like to keep it covered but ‘tented’ with foil, so the foil isn’t pressed against the turkey, for the initial part of the cooking. This allows the steam to fully surround the turkey as its cooking keeping it moist.
I’ll then remove the foil for the last hour of cooking to give the turkey that lovely golden collouring.
We love leftover turkey and have some ideas for you here > turkey leftovers.
And don’t forget to make some stock (you can follow my homemade chicken stock recipe for that) with the leftover carcass, it will make amazing turkey soup.
Stay updated with new recipes!
Subscribe to the newsletter to hear when I post a new recipe. I’m also on YouTube (new videos every week) and Instagram (behind-the-scenes stories & beautiful food photos).
Easy Roast Turkey Recipe
Equipment
- Large roasting tin
- Roasting rack
- Non-stick tin foil.
- Meat thermometer (if possible)
Ingredients
- 1 turkey – approx 4.5kg/10lbs see notes for different size turkeys
- 2 tbsp olive oil
- 1 tsp salt
- 1 tsp black pepper
- 240 ml (1 cup) chicken stock this can be warm or cold
Instructions
- Preheat the oven to 160C Fan/180C/350F/Gas mark 4.
- Remove the giblets and neck (you can save these to make stock another time), tuck the tips of the legs into the cavity and tuck the tips of the wings underneath the bird.1 turkey – approx 4.5kg/10lbs
- Place the turkey on a large wire rack on top of a large roasting tray.
- Rub the oil all over the turkey, then sprinkle on the salt and pepper.2 tbsp olive oil, 1 tsp salt, 1 tsp black pepper
- Pour the stock into the base of the roasting tray.240 ml (1 cup) chicken stock
- Brush or spray the foil with a little more oil, then tent the foil over the turkey and the tray so there are no gaps. Try not to let the foil touch the turkey – this will allow steam to circulate around the turkey as it’s cooking. You will probably need to connect a couple of large pieces of foil together so it will fit – just roll and then scrunch the edges of the pieces of foil together so they stay connected.
- Place the turkey in the oven and roast for 2 hours.
- Remove the foil roast for a further hour.
- Once the turkey is lovely and golden brown, remove from the oven and transfer to a warm serving plate.
- Leave to rest for 30-60 minutes (I usually rest mine for about 45 minutes). This is ultra-important if you want a juicy turkey. The turkey will still be warm after this period (plus if you’re serving on warm plates with hot gravy you have nothing to worry about at all). There is no need to cover the turkey (unless you’re in a really cold room) during this time, as the internal temperature tends to rise a little more during the resting period, and covering with foil would just cook the turkey further and the skin will soften.
- If you need more time to make roasties etc after the turkey comes out of the oven and think you might need to let the turkey rest for 60-90 minutes, then tent foil over the top, leaving space between the turkey and the foil (this is so any trapped steam on the foil isn’t touching the skin – which would make it go soggy).
- Use the juices in the bottom of the tray to make gravy (or add these juices to gravy you’ve made ahead – check out my video for make-ahead Christmas gravy).
- Serve with all of those wonderful side dishes for an amazing Christmas dinner.
Video
Notes
Nutrition
Nutrition information is automatically calculated, so should only be used as an approximation.
This easy roast turkey recipe was originally published in Dec 2020, updated with additional information, a replacement video and for housekeeping reasons in Dec 2024.
🎄 Alternative to roast turkey for the holidays
If turkey is not your thing for Christmas or Thanksgiving then thats not a problem, I’ve got you covered, why not try one of these instead:
Some of the links in this post may be affiliate links – which means if you buy the product I get a small commission (at no extra cost to you). If you do buy, then thank you! That’s what helps us to keep Kitchen Sanctuary running. The nutritional information provided is approximate and can vary depending on several factors. For more information please see our Terms & Conditions.




this is now the only way I will ever roast a turkey .our 19lb bird was cooked to perfection with only the minimum of preparation required . it was a massive hit with everyone round the table . I am going to use some of the leftovers in your excellent chicken dhansak recipe which is a firm favourite
Thanks a million 😊 🙏 ❤️
Yummy recipe!! Moist and delicious. This is how my mother always made hers!!!🦃❤️
Hi do you think this would work with a capon. We are only two for Christmas so turkey would be too much and it’s quite difficult to find turkey crown. Thanks.