No-bake Salted Caramel Cheesecake bites – great for parties!
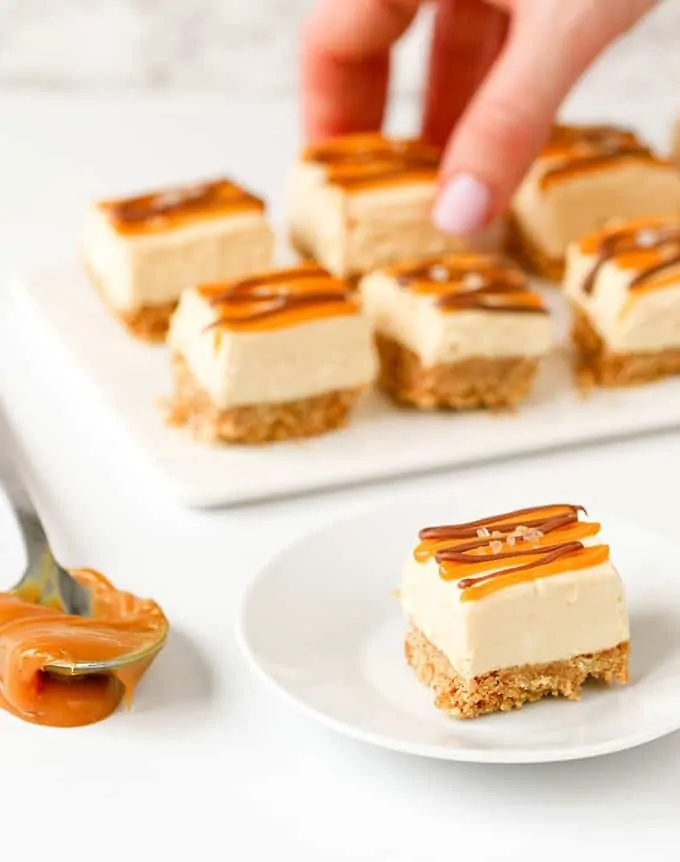
Are you a salted caramel lover?
I think everyone’s a salted caramel lover aren’t they? How did we ever survive before it was invented!
You may think that this stuff has only been around for 4 or 5 years, but actually it was invented over 3 decades ago in 1980 by French chocolatier Henri Le Roux. He first created in when making salted butter caramel with crushed nuts (yum!!).
It’s fairly easy to make at home (check out my recipe here), but you can also take advantage of the amazing jars of salted caramel you can buy in the supermarket – which means these cheesecake bites can be prepared without the need for melting, boiling, baking or any form of heat whatsoever!
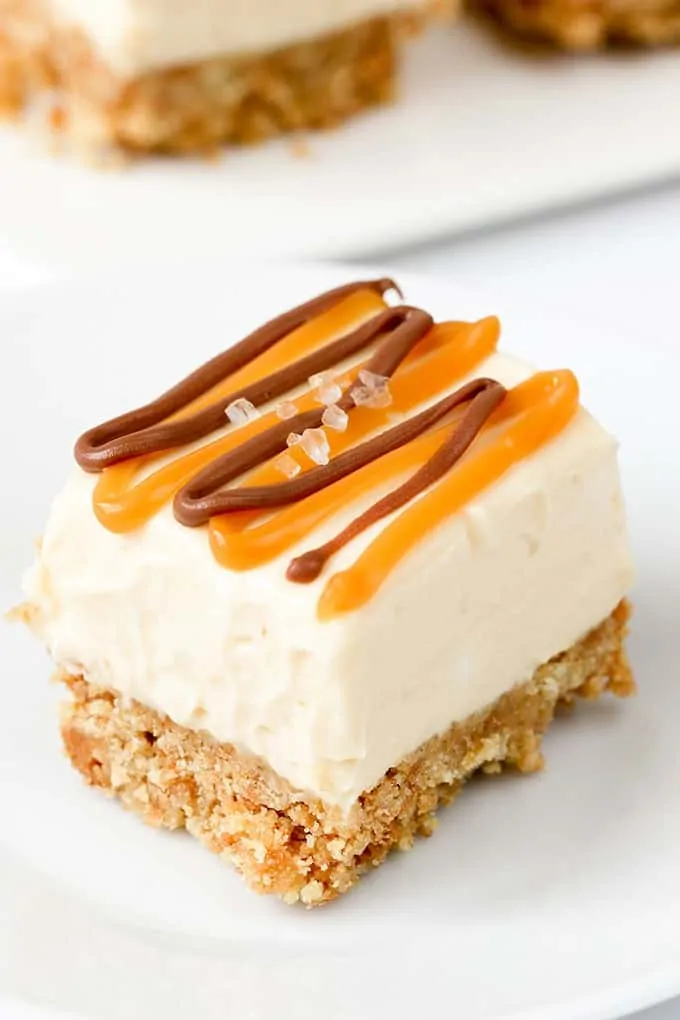
Most of the caramel sauce goes into the creamy cheesecake mixture, with the rest being drizzled on top, along with a little melted chocolate and a tiny pinch of coarse sea salt.
I made this recipe first for DIYs.com (check them out for some fab recipe and craft ideas), and I’ve been looking forward to sharing with you guys too. If only we could have a brew and share an actual plate of them! I guess we’ll just have to share them virtually!

A party dessert – or one to serve on game day – it can be made ahead (sprinkle on the salt just before serving), covered and stored in the refrigerator for up to two days.
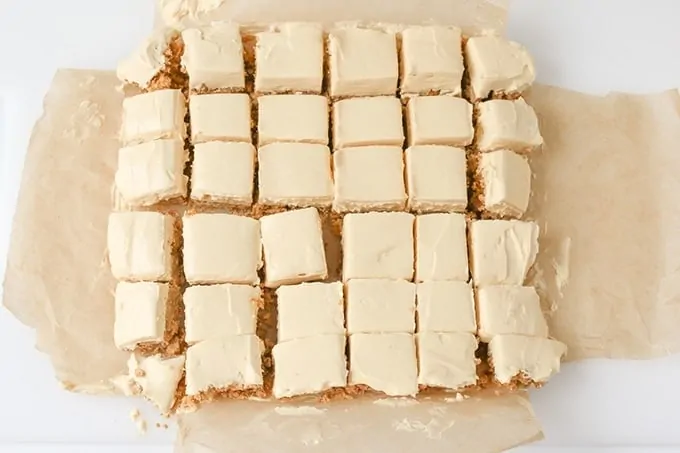
Although this recipe makes 36 bites, I’d probably count on each person having at least 3 – they’re so moreish!!
More Cheesecakes
Are you after a bit more cheesecake inspiration? Then why not try one of these:
Strawberry and vanilla Cheesecake
Strawberry and Rhubarb Cheesecake Bars
blueberry and blackberry mason jar cheesecakes
Spiced Pecan Caramel Cheesecake
The No-Bake Salted Caramel Cheesecake Bites Recipe:
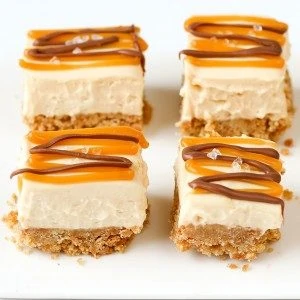
No-Bake Salted Caramel Cheesecake Bites
Ingredients
- 200 g digestive biscuits or graham crackers (use gluten free digestives if required)
- 110 g unsalted butter, melted
- 150 ml double (heavy) cream
- 300 g cream cheese (I used Philadelphia)
- 60 g confectioners’ sugar
- 1 tsp vanilla extract
- 250 g store-bought thick salted caramel sauce (it needs to be the spreadable kind from a jar - like this one. If it's not thick the cheesecake mixture will be too runny)
- 55 g melted milk/semi-sweet chocolate (check for gluten free if required)
- 1 tbsp coarse rock salt
Instructions
- Put the biscuits into a large sandwich bag and crush into crumbs using a rolling pin.
- Place the crumbs into a bowl and mix in the melted butter until thoroughly combined.
- Spoon into a 20cm x 20cm loose-bottomed baking tin that has been lined with parchment paper and use the back of a spoon to pack it down tightly. Place in the fridge whilst you start on the next layer.
- Add the cream to a large bowl and whisk to until the cream holds it’s shape. Add the cream cheese, vanilla extract, confectioners’ sugar then whisk again until combined.
- A little at a time, fold in half of the salted caramel sauce. You want to make sure the cheesecake mixture remains thick and spreadable (so it can hold it's shape), so you may want to add in less caramel sauce if it looks like it's going to thin out the cheesecake mixture too much.
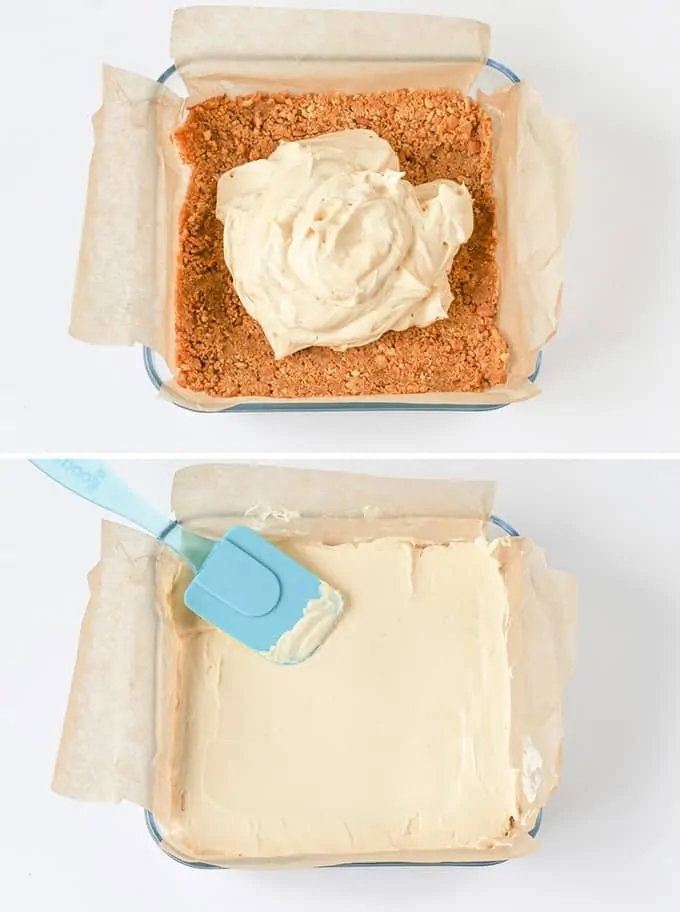
- Take the biscuit base out of the refrigerator and spread this layer on top. Put back in the fridge for an hour. This will help it to firm up a little bit more.
- Take out of the refrigerator and lift out the cheesecake using the parchment paper as a handle and place on a chopping board. Carefully slice into 36 pieces (6x6 squares). The cheesecake mixture will be delicate, so cut carefully.
- Spoon the salted caramel into a piping bag or plastic sandwich bag. Spoon the melted chocolate into another bag. Cut the tips off and drizzle each cheesecake square first with salted caramel and then with melted chocolate. Place a tiny pinch of coarse rock salt on each square, then serve.
Notes
Nutrition
Nutrition information is automatically calculated, so should only be used as an approximation.






This is my fave cheesecake recipe. I’ve made it (at an estimate of) 5 times now and I change it to make it better for the ones I’m making it for, such as:
Adding chocolate -any chocolate bar or biscuit- into the cheese /cream filling. It tastes absolutely fantastic! <3
Putting fruit into the cream/cheese filling. Healthier! <3
Loving your modifications, Really glad you are enjoying the recipe 🙂
The recipe looked very promising, however, I have already left my bites in the fridge for 8 hours and they are still as gooey as they were before. I used the exact US measures and I don’t understand what I did wrong. I did let the cream get a bit too thick. Could that be the problem? I thought it would just cause a thicker texture.
Hi Maria,
The cheesecake part of the bites are soft (you can’t get them as firm as a baked cheesecake without baking them), but they should still hold their shape when you slice them. Did they hold their shape or where they so soft that they collapsed?
They collapsed. I am going to try making it again. I have been spooning out the cheesecake from the pan because it’s really good so I think its definitely worth a shot:) I’ll let you know what happens.
I had the same issue. Did you figure out what the problem was?
I love small desserts like this, means I can try different ones if there’s a choice or more of the same.????
Can these be made in advance and fozen???
Hi Amy, Although I haven’t tried it, I don’t think it would work. I think the cream cheese mixture would separate when defrosting.
You could make them a day ahead and refrigerate though.
How far in advance can you make them.
Hi Julie, You can make them up to a day in advance, then cover and refrigerate.
Hi! Can these be made ahead of time and keep in the freezer? And then adding the salt and caramel topping once thawed, prior to serving?
What’s confectioners sugar please?
Hi Angela – Confectioners’ sugar is the same as icing sugar. Hope that helps 🙂
This looks delicious. Thanks for sharing the recipe.
Thanks for stopping by Ria 🙂
What type of cream cheese are you using. Ricotta, Mascarpone, quark?
Hi Charlie, thanks for the question. I used Philadelphia. I’ve updated the recipe to state that too now.
Thank you
These are so cute and I love the way you decorated the top!
Thanks Karen, glad you like them 🙂