
This post may contain affiliate links. Please read our disclosure policy.
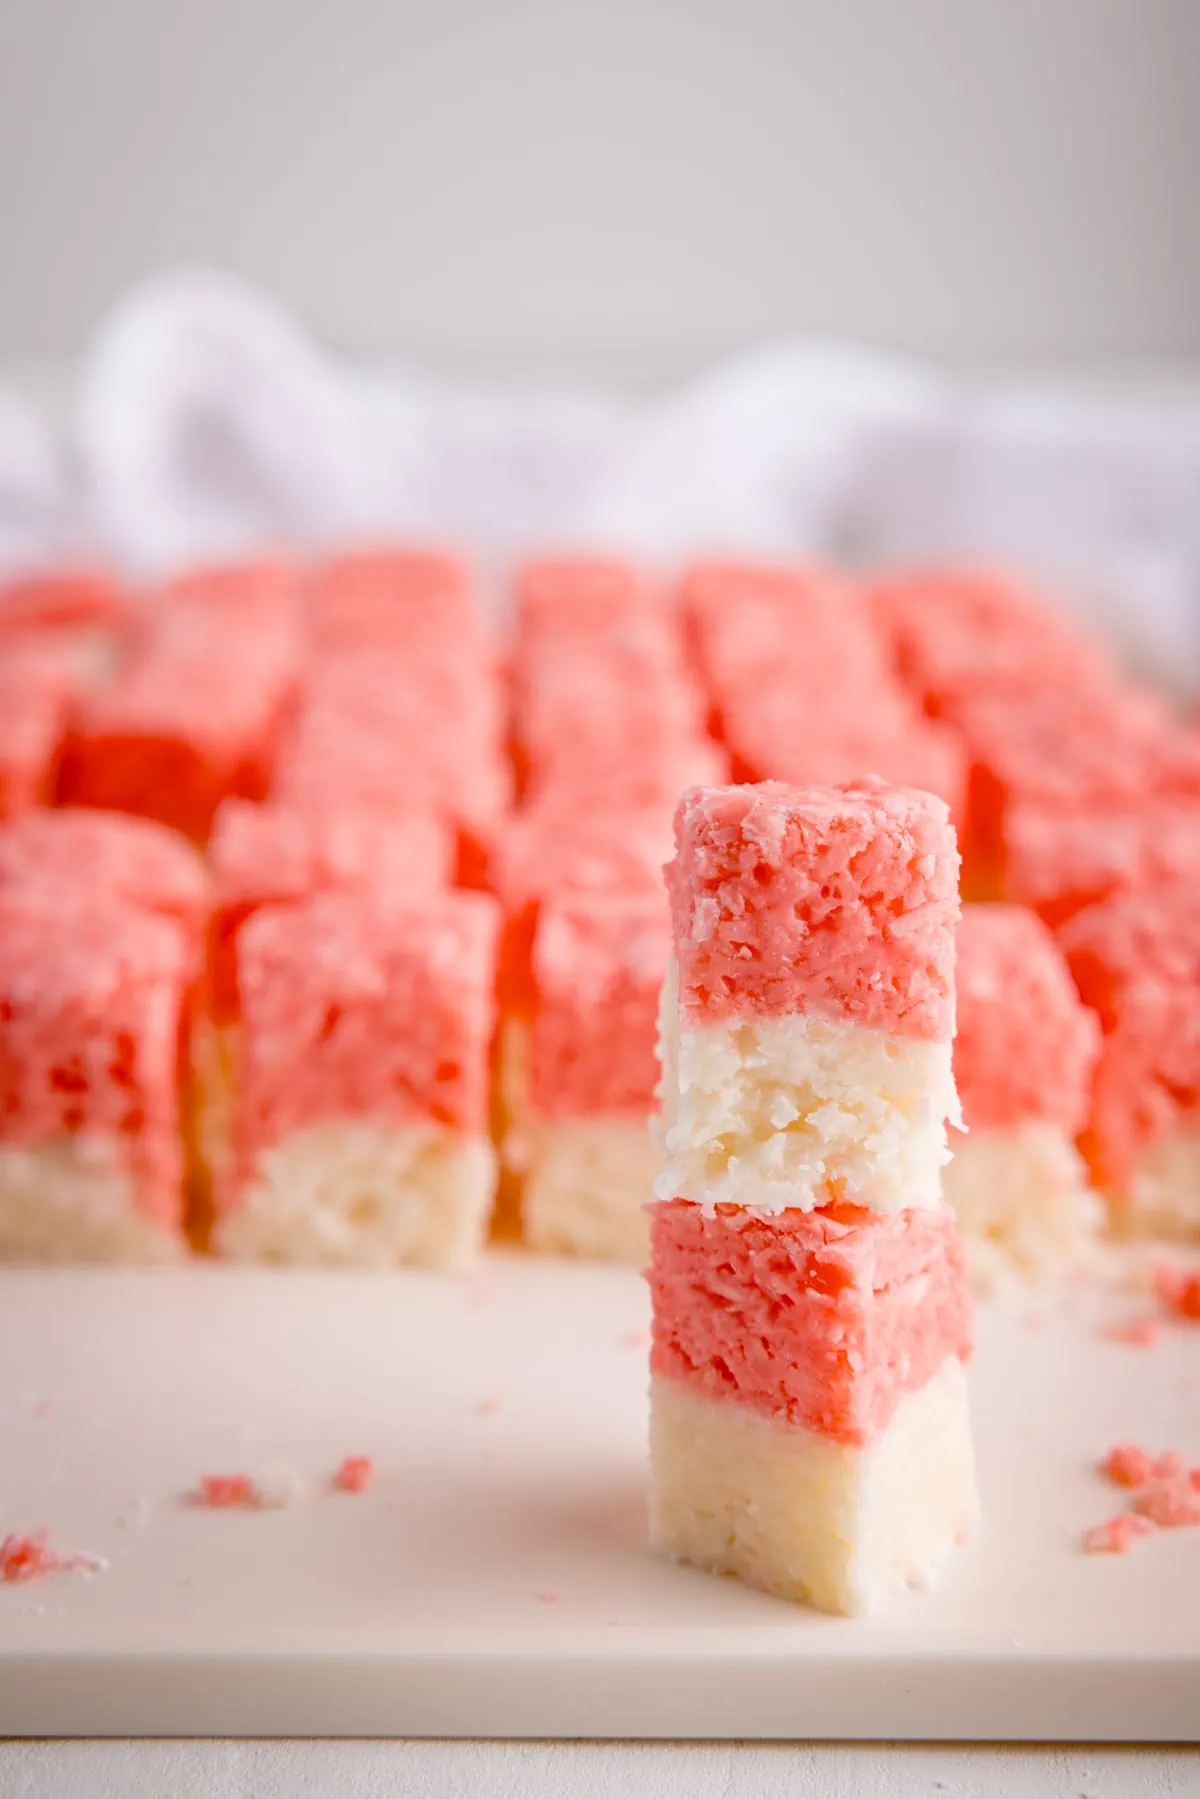
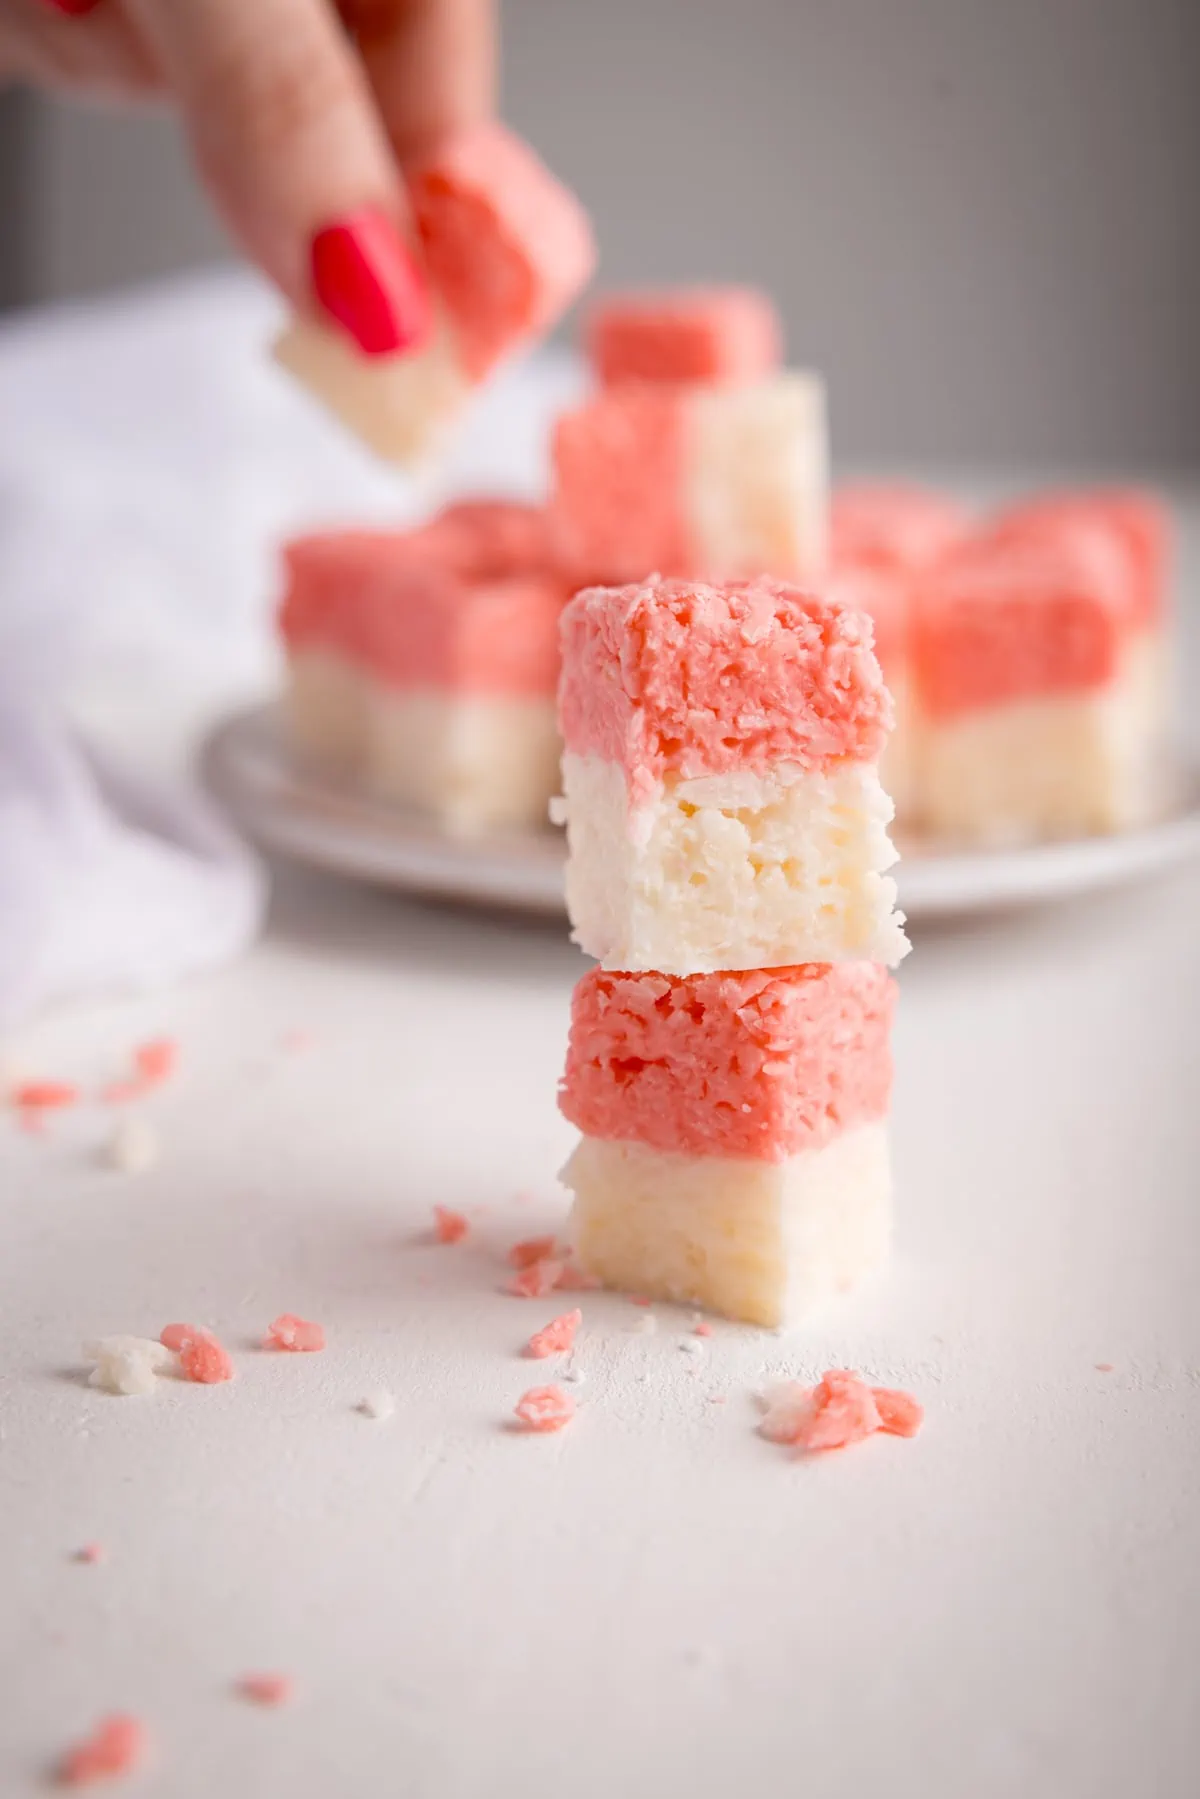
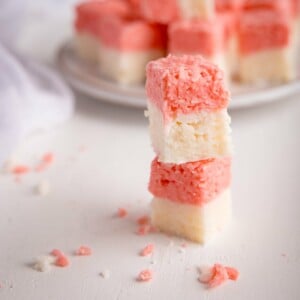
Deliciously sweet and simple to make. These easy coconut ice bites are so addictive.
Only 4 ingredients required. No baking, no specialist equipment – this is a brilliant recipe to make with the kids!
A lovely nostalgic treat that will take you right back to your childhood.
Chris and I have always loved coconut ice. Whenever we used to visit the coast, we always made a point of wandering around the sweet shops to find homemade fudge or coconut ice. Now we live on the coast, we’re in danger of eating this sweet treat for every snack!
It’s so easy to make at home – we’re talking:
- 4 ingredients
- No special equipment
- No heating or baking
The method basically consists of mixing and roughly shaping. This means that the only difficult part is waiting for the uncut slab of coconut ice to dry before cutting into it and devouring that delicious coconut flavour.
📋 Ingredients for coconut ice
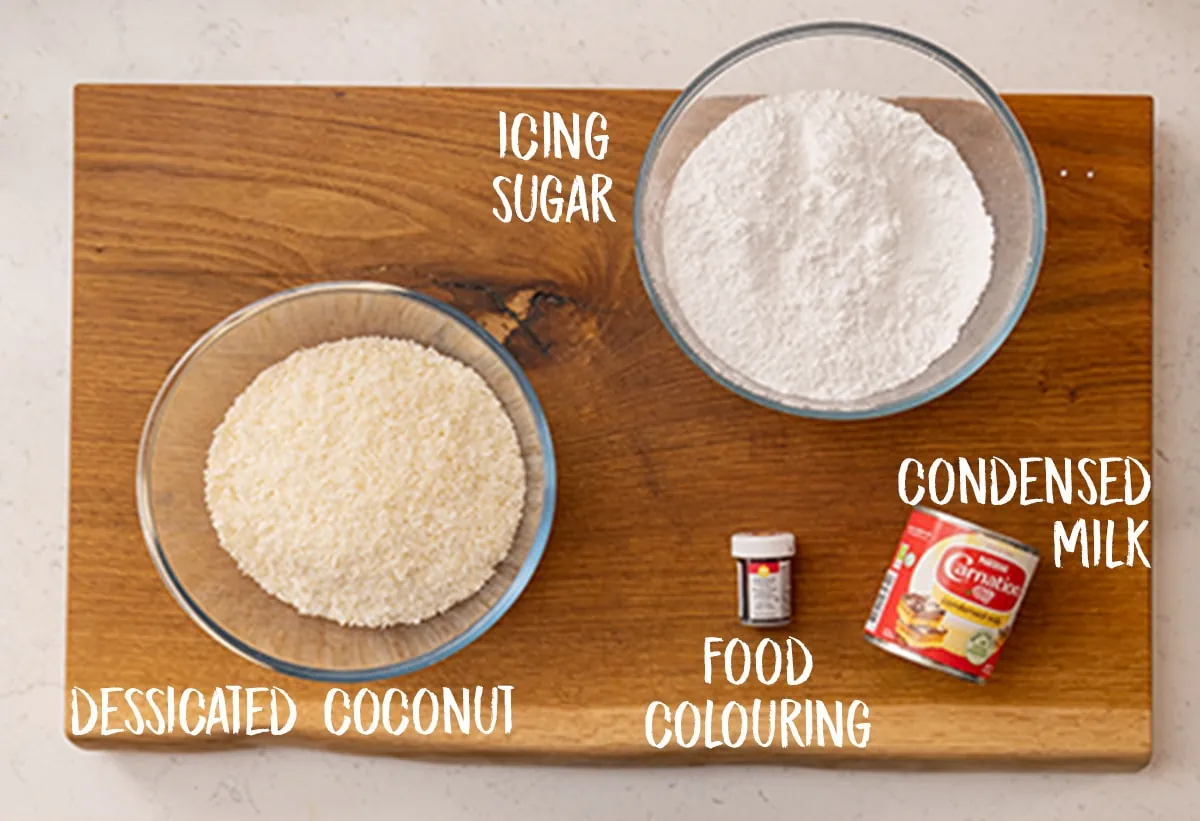
- Icing sugar (also known as confectioners’ sugar)
- Sweetened condensed milk
- Dessicated coconut (unsweetened – this recipe is sweet enough!)
- Red food colouring – use food colouring gel for the most vibrant colour
📺 Watch how to make it
Full recipe with detailed steps in the recipe card at the end of this post.
👩🍳PRO TIP I leave mine to dry out in a cupboard, or I place a fly net on top – just to stop any flies getting near it!
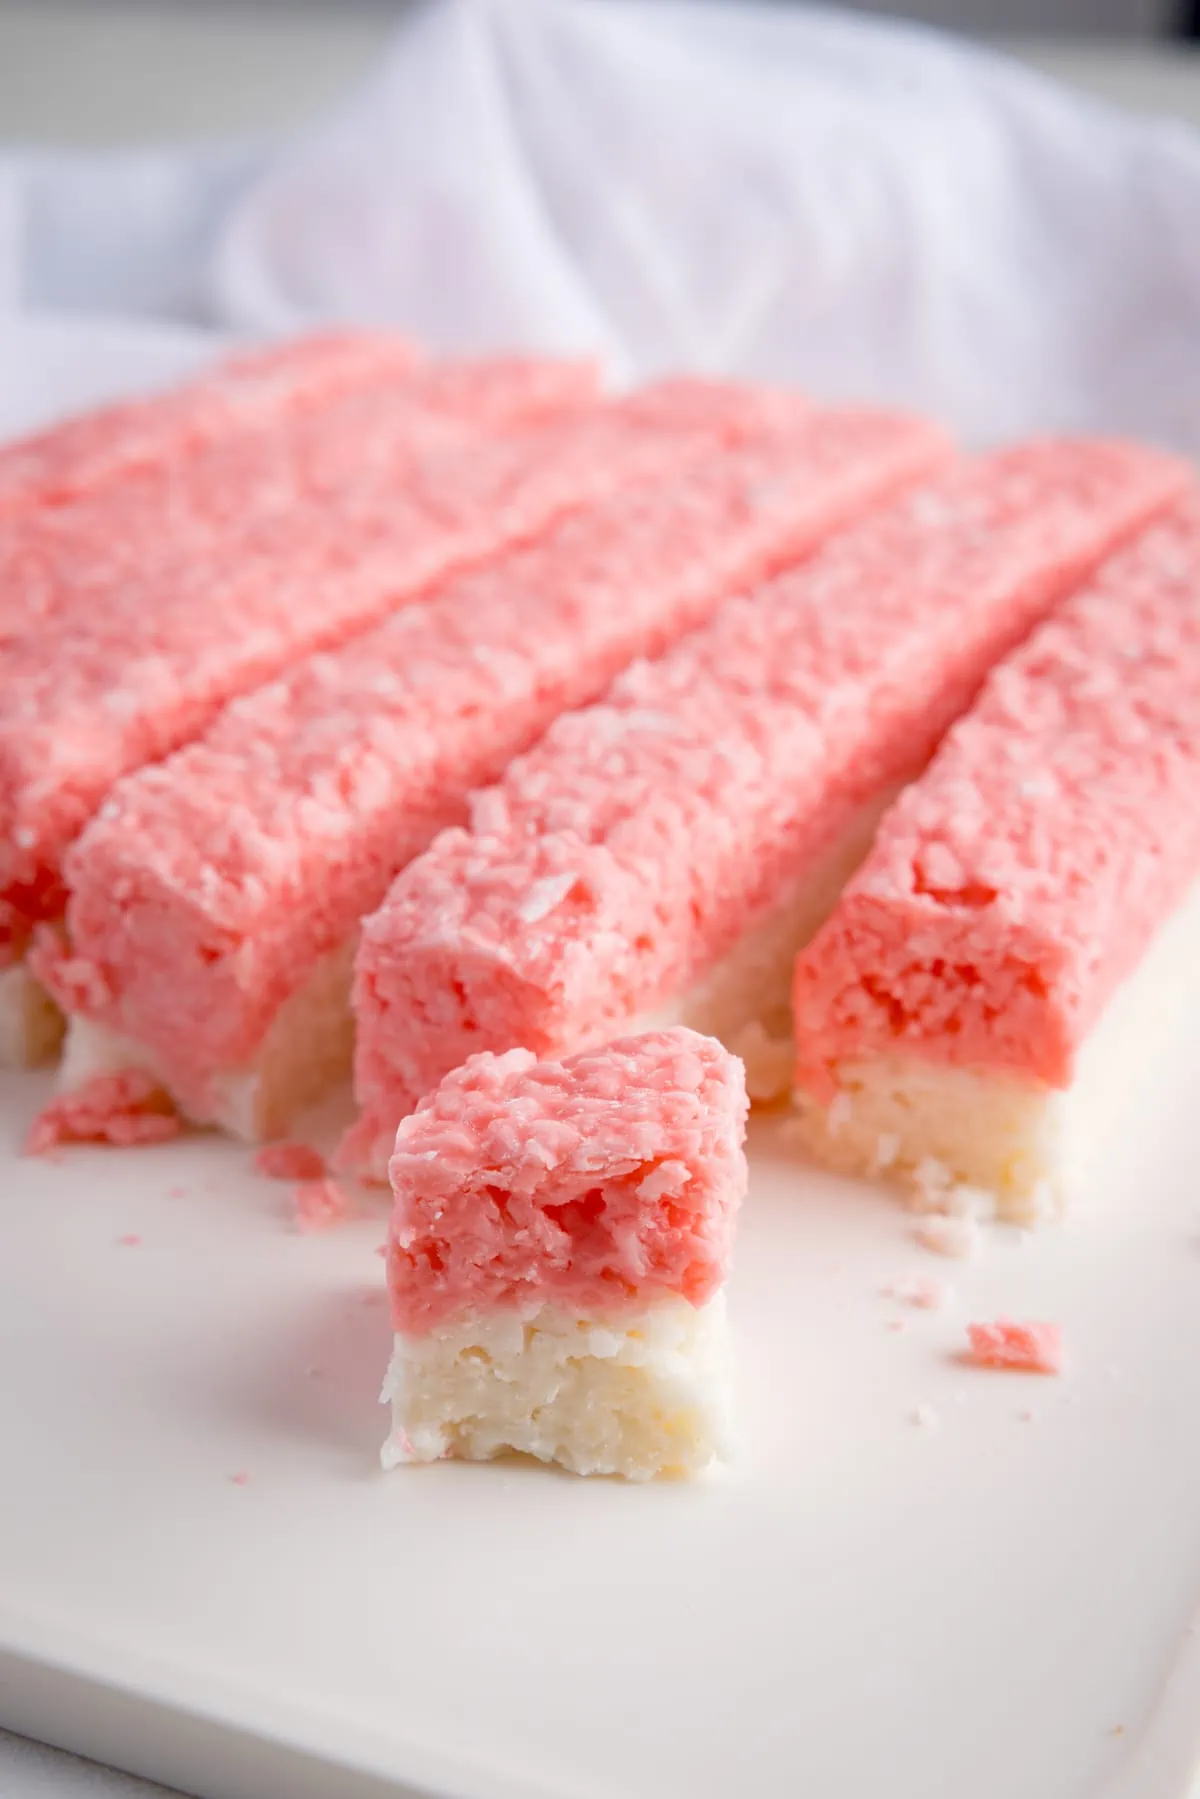
I find it’s easier to slice these coconut ice squares using a gently sawing motion, rather than pushing the knife directly down. Pushing the knife down can cause some of the pink layer to transfer onto the white when you cut.
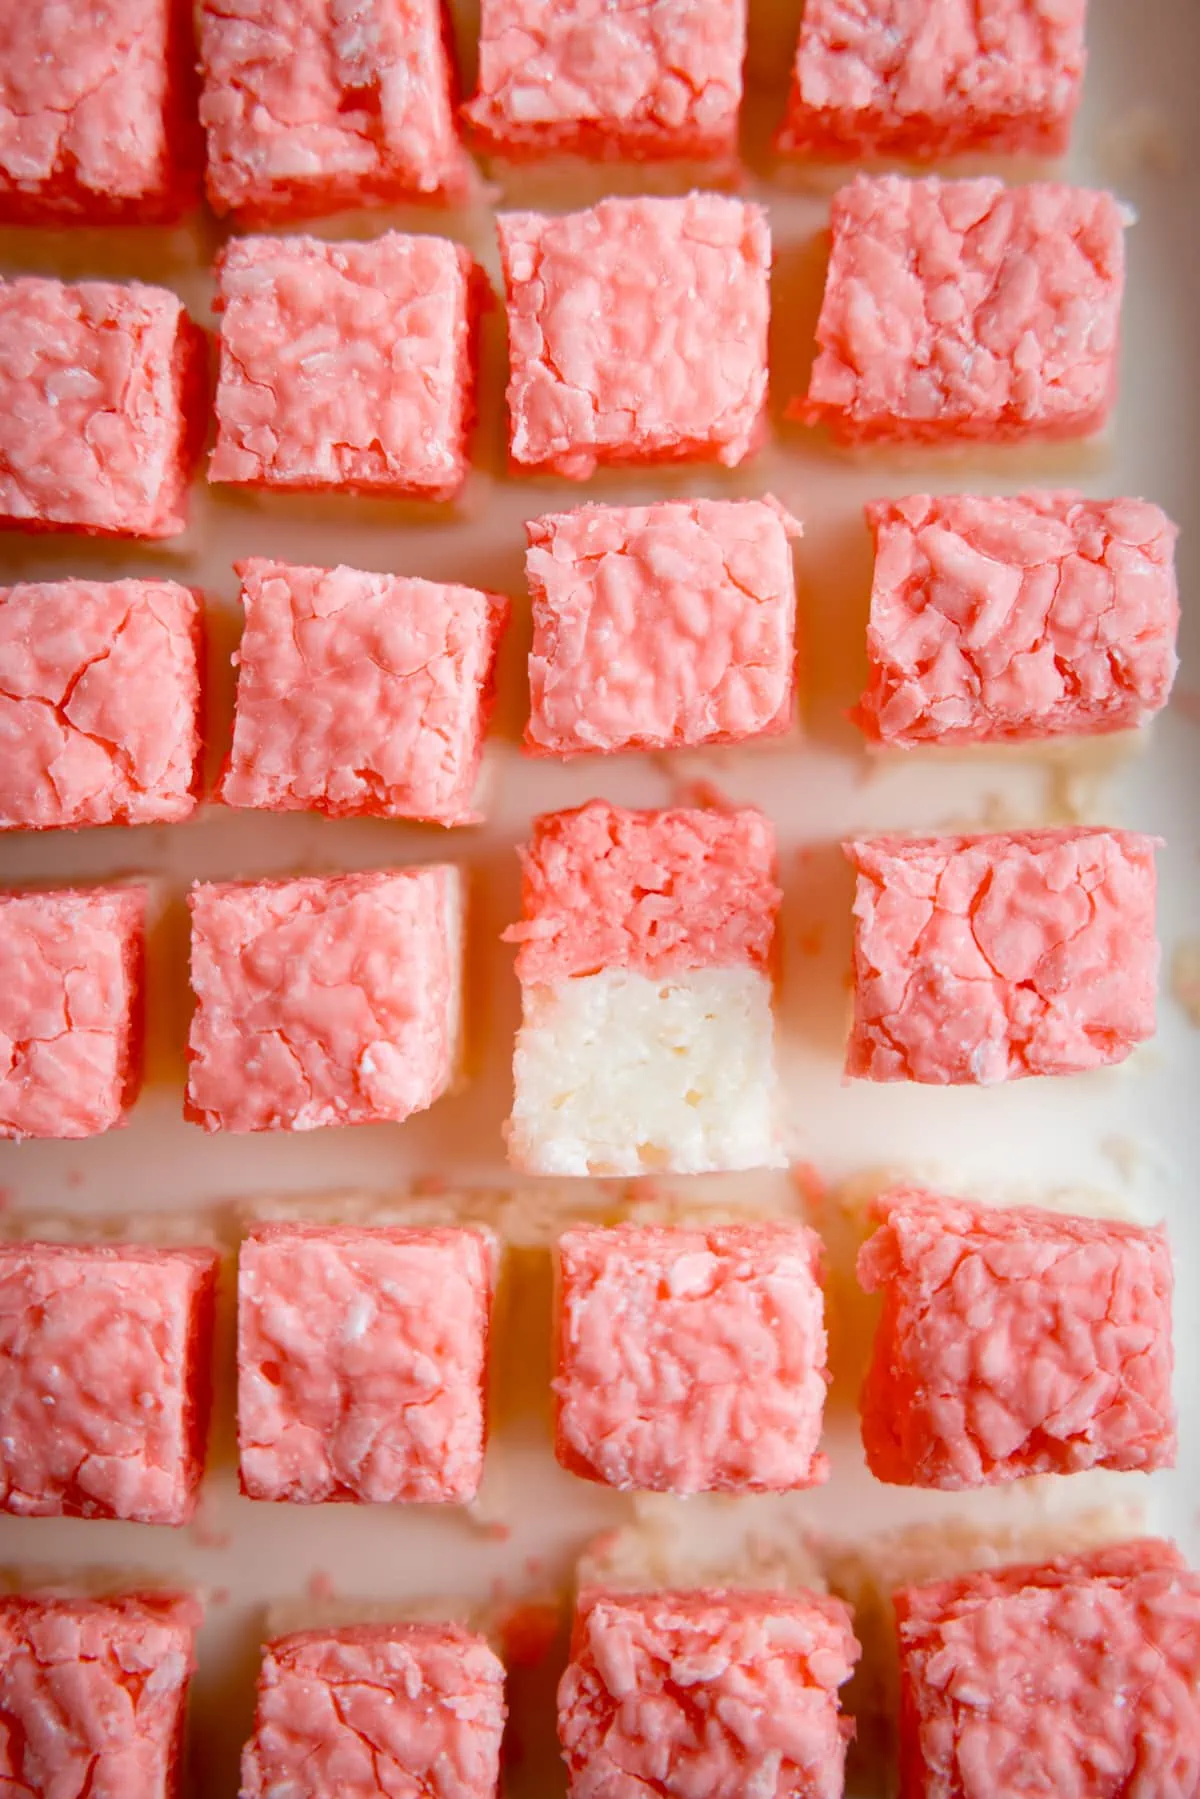
These little cubes are super coconutty and very sweet, so it’s a good idea to cut into small cubes. One or two cubes with a cup of tea is perfect!
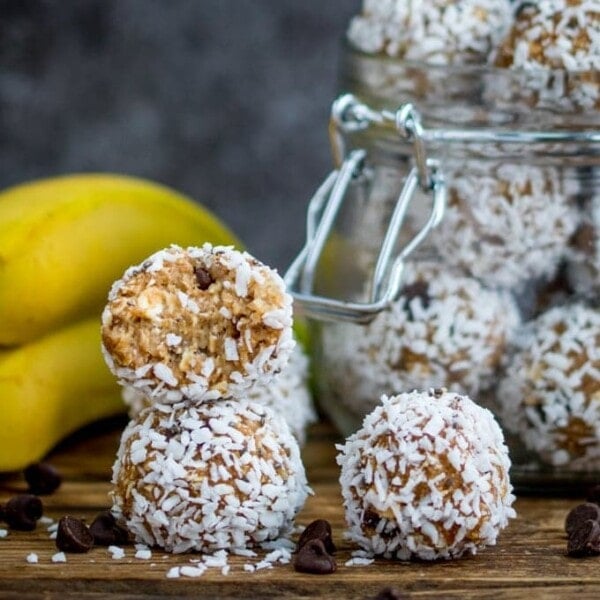
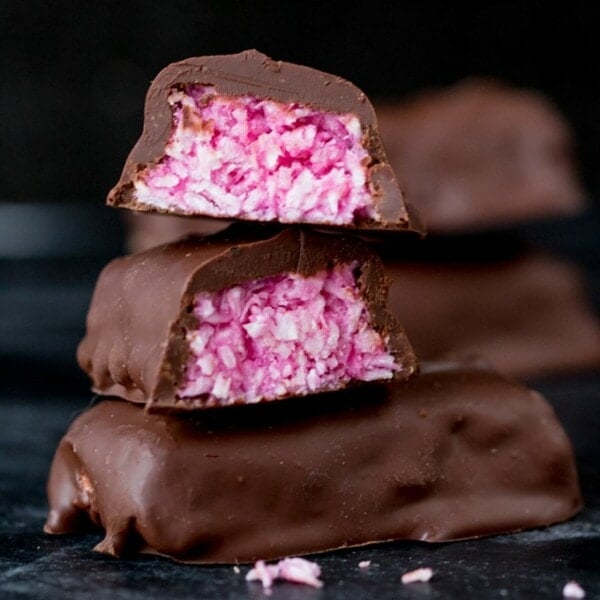
🍲 More bite-sized treats

Stay updated with new recipes!
Subscribe to the newsletter to hear when I post a new recipe. I’m also on YouTube (new videos every week) and Instagram (behind-the-scenes stories & beautiful food photos).
Easy Coconut Ice
Ingredients
- 397 g (14 oz) tin of condensed Milk
- 2 drops red food colouring gel
- 400 g (3 1/4 cups) confectioners' sugar (icing sugar) sifted (plus extra for rolling/shaping)
- 320 g (3 1/4 cups) desiccated coconut
Instructions
- Split the condensed milk between two medium-sized bowls, and mix the red food colouring into one of them.397 g (14 oz) tin of condensed Milk, 2 drops red food colouring gel
- Add half of the confectioner’s sugar to one bowl and half to the other, and stir each bowl.400 g (3 1/4 cups) confectioners' sugar (icing sugar)
- Add in half of the desiccated coconut to one bowl and half to the other and mix each bowl again using a fork.320 g (3 1/4 cups) desiccated coconut
- The mixtures should come together into a shape-able ball at this point.
- Line a board or tray with baking parchment paper and dust it with a sprinkling of confectioners' sugar (icing sugar).
- Tip the white mixture out onto the baking parchment and sprinkle a little more confectioners' sugar on top. Use your hands to shape the mixture into a square or rectangle that is about 3/4" thick. You can use a rolling pin to ensure the top is flat.
- On a separate board, shape the pink mixture – ensuring the square/rectangle is approx. the same length/width as the white one. *see Note1
- Transfer the pink slab on top of the white slab (use the baking parchment and flip the pink layer over carefully on top of the white layer, or use a large spatula to transfer). Squash it down very slightly so that the pink and white layers stick together.
- Leave, uncovered, to dry for 3-10 hours, and then cut into small cubes. I cut into 48 cubes – (6 cubes by 8 cubes) * see Note2
Video
Notes
Nutrition
Nutrition information is automatically calculated, so should only be used as an approximation.
This post was first published in June 2015. Updated in July 2023 with new photos, video and a bit of housekeeping.
Some of the links in this post may be affiliate links – which means if you buy the product I get a small commission (at no extra cost to you). If you do buy, then thank you! That’s what helps us to keep Kitchen Sanctuary running. The nutritional information provided is approximate and can vary depending on several factors. For more information please see our Terms & Conditions.


Very sadly, my layers didn’t stick together. I would almost suggest just doing one layer. Also, don’t make this in the eat of summer!
The layers didn’t stick togetherher