
This post may contain affiliate links. Please read our disclosure policy.
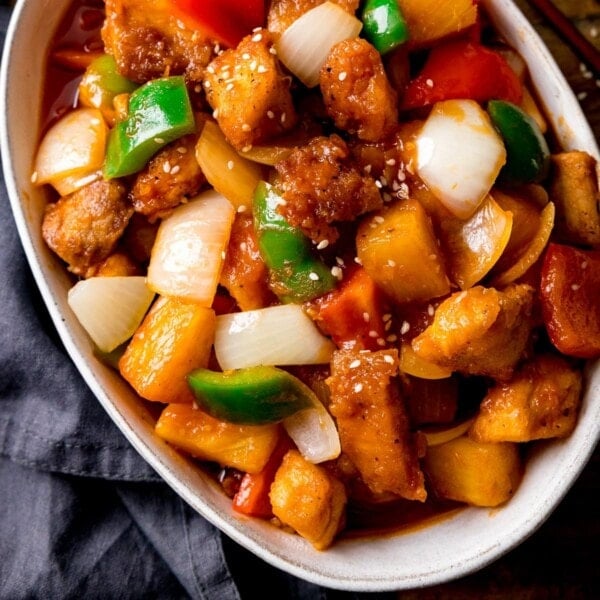
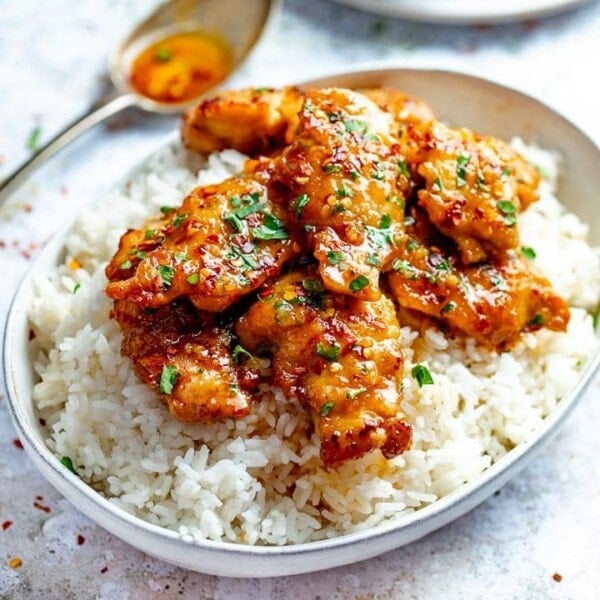
Perfectly crispy and yet tender chicken with a delicious and sweet and tangy sauce, my Baked Sweet and Sour Chicken is easy, delicious, and all done in the oven without the excess oil. It’s sure to be a hit with the whole family!
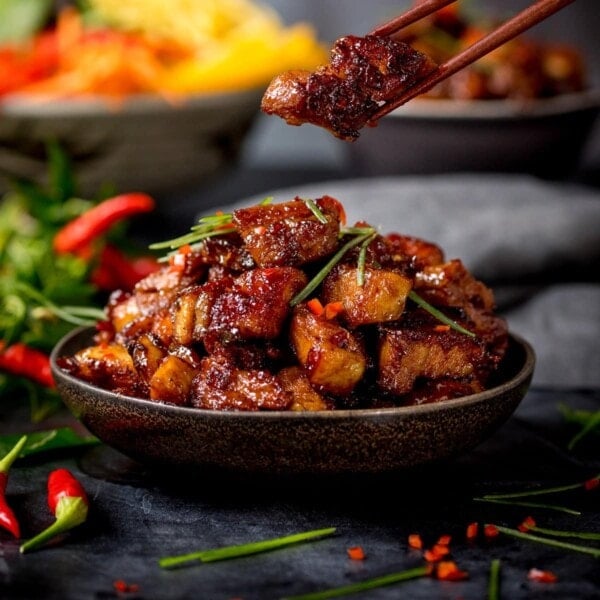
Sweet and Sour Chicken is one of my favourite Chinese takeout dishes, along with Crispy duck, and Crispy Chilli Beef 😋.
This baked version is based off my popular sweet-and-sour chicken. In that one, I fry the coated chicken, but with this baked sweet and sour version we’re achieving a nice crispy coating and delicious sauce – but it’s all baked in the oven, without the need for frying in oil.
👩🍳 How to make it
Full recipe with detailed steps in the recipe card at the end of this post.
- The chicken is covered in a light crispy coating that’s baked in the oven at 190C (375F) for 20-25 minutes.
- It’s got a good portion of your 5 a day – peppers, onions and loads of pineapple.
- We’re cooking the sauce and the chicken in the oven at the same time but in different trays.
- It’s ready in less than half an hour – that’s probably less time then it takes to order your takeaway and get it delivered!
- At the end of the initial cooking period add the cooked crispy chicken into to the sauce and serve.
👩🍳PRO TIP I use skinless chicken thighs rather than breast meat, as it’s much more moist and tender, and it lends itself well to being baked in the oven in small pieces.

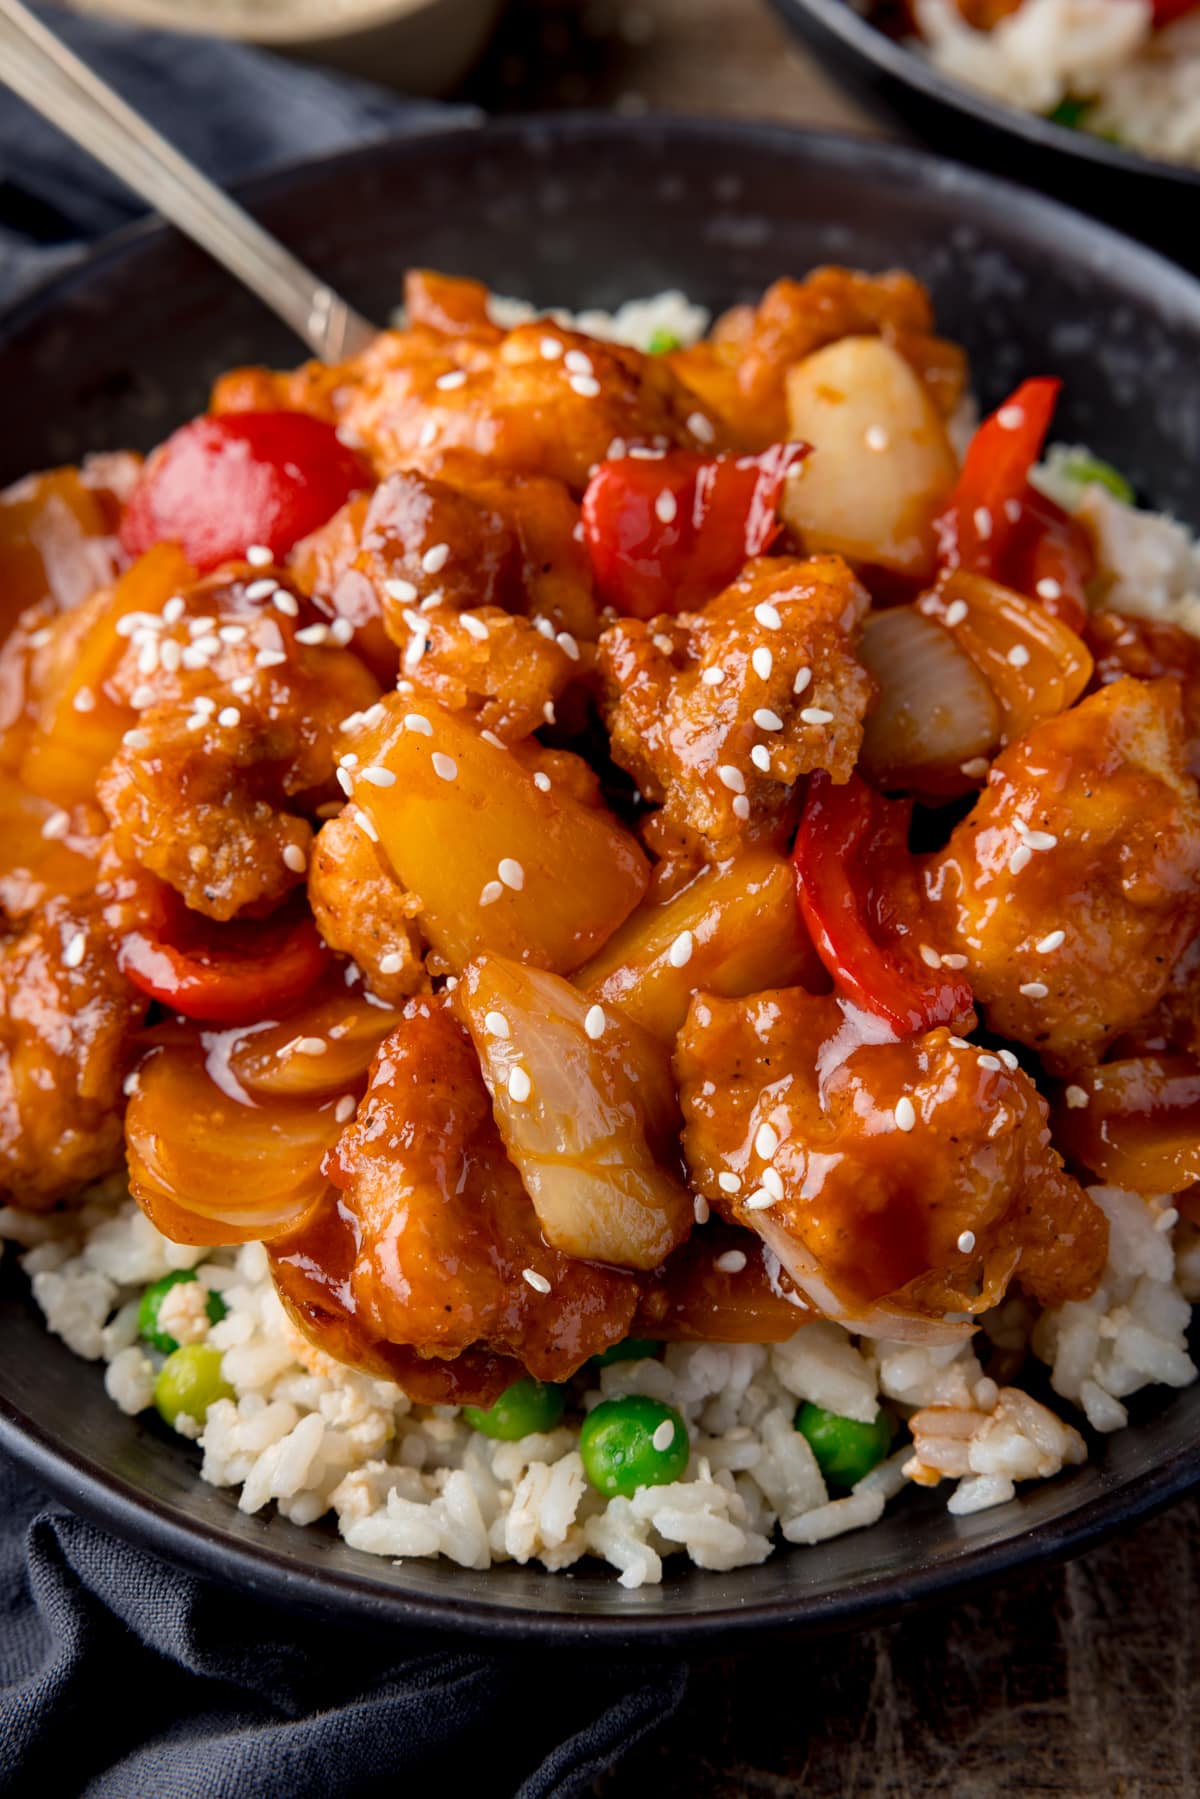
🍽️ What to serve it with
I love to serve this baked sweet and sour chicken with:
- Egg fried rice
- or fluffy boiled rice
- Or if you’re after a low carb version then my Cauliflower fried rice is a great side dish
- If you don’t fancy rice, why not serve it with some spicy Salt & Pepper Chips!
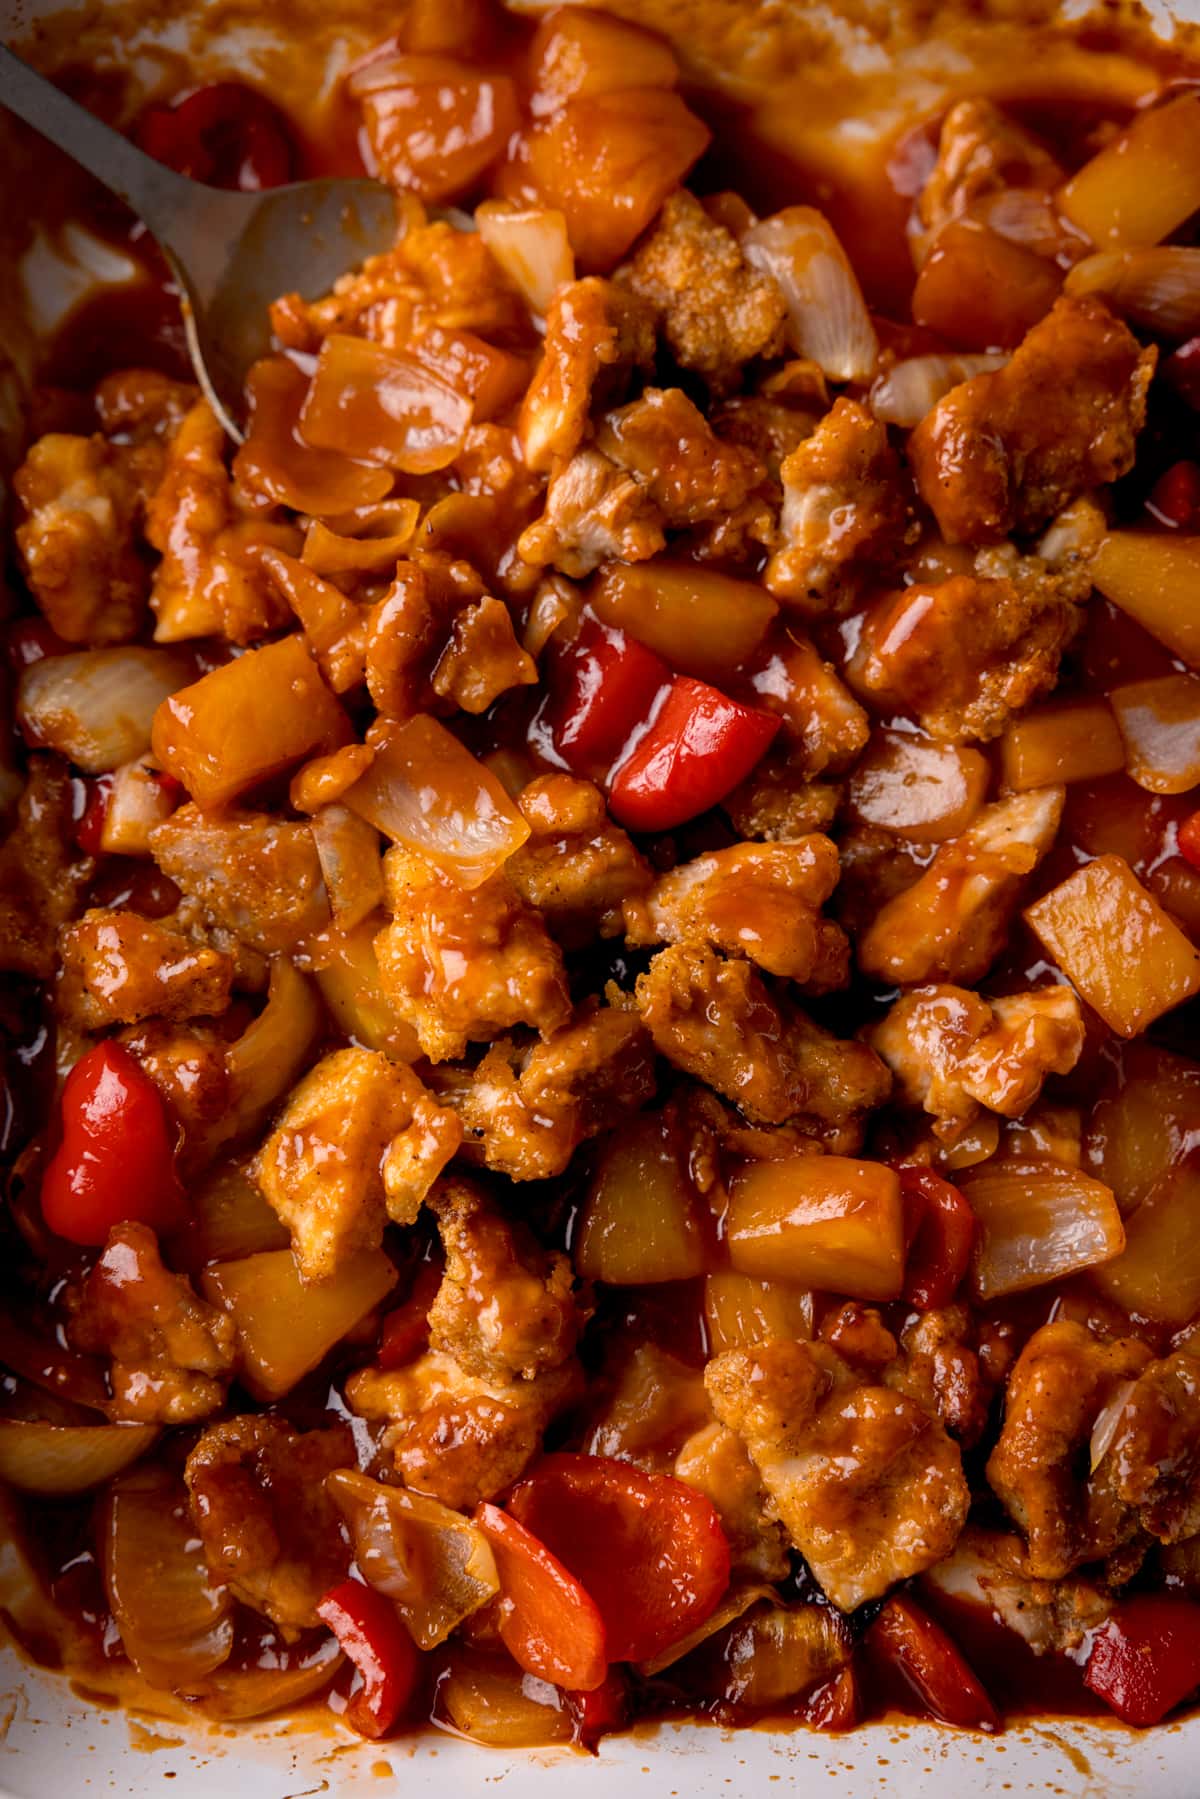
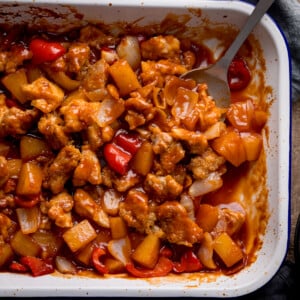
Although this recipe takes two baking dishes (one for the chicken – for extra crispness, and the other for the vegetables and sauce), I LOVE that it’s all done in the oven.
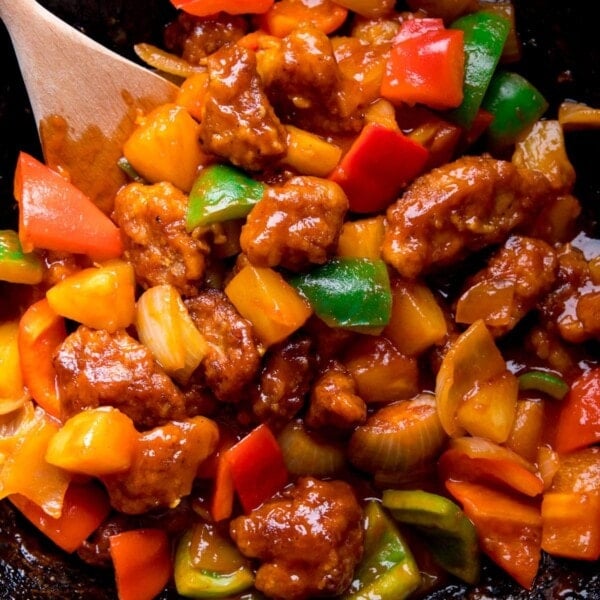
However! You can use the pan for the sauce and vegetables if you prefer:
Using a pan for the sauce and vegetables
Fry the vegetables and add the sweet and sour sauce ingredients and pineapple too a frying pan or large skillet on the hob (stovetop) and then pour it over the chicken and place it back in the oven for the last 5 minutes of baking.
Whichever way you do it, the chicken ends up thoroughly coated in the tasty sauce, and you can then put the baking dish straight on the table for everyone to help themselves.
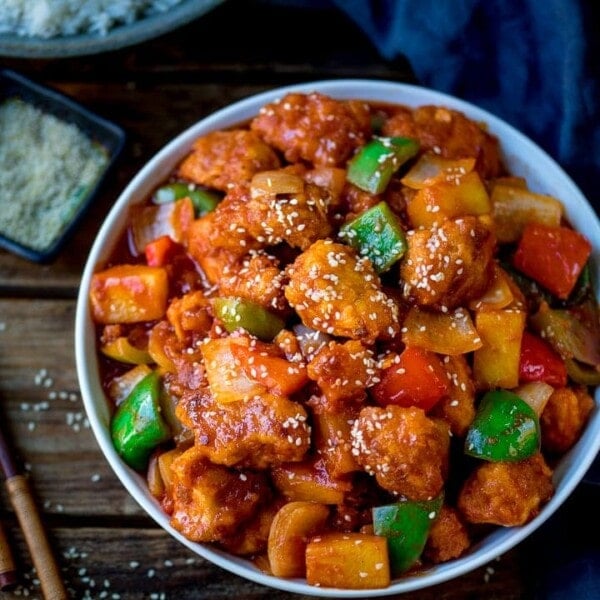
🥡 More fantastic Sweet and Sour recipes
If you love the taste of this baked sweet and sour chicken then you’ll also love these:

Stay updated with new recipes!
Subscribe to the newsletter to hear when I post a new recipe. I’m also on YouTube (new videos every week) and Instagram (behind-the-scenes stories & beautiful food photos).
📋 Baked Sweet and Sour Chicken Recipe
Ingredients
Crispy Chicken:
- 5 chicken thigh fillets (500g/17.5oz) (skinless cut into bite sized pieces)
- 3 tbsp cornflour (cornstarch)
- ¼ tsp salt
- ¼ tsp pepper
- ½ tsp garlic salt
- ½ tsp paprika
- 3 tbsp oil
Sweet & Sour Sauce:
- 1 onion peeled and chopped
- 1 red bell pepper chopped
- 1 tbsp oil
- 135 ml (4.5 floz) tomato ketchup
- ½ tbps cornflour (cornstarch in USA)
- 2 cloves of garlic peeled and chopped/crushed
- 1 tsp minced ginger
- 2 tbsp malt vinegar
- 5 tbsp dark brown muscovado sugar
- 475 g (17oz) can of pineapple chunks in pineapple juice
To Serve:
- Egg Fried Rice
- Chopped spring onions/scallions
Instructions
- Preheat your oven to 190C/375F (fan).
- Take your chicken thigh fillets, trim off the excess fat, and cut into bite-sized chunks. Put to one side.5 chicken thigh fillets (500g/17.5oz)
- In a medium-sized bowl, mix the cornflour, salt, pepper, garlic salt, and paprika.3 tbsp cornflour (cornstarch), 1/4 tsp salt, 1/4 tsp pepper, 1/2 tsp garlic salt, 1/2 tsp paprika
- Place the chicken in the bowl with the cornflour, and mix, ensuring every piece of chicken is completely covered.
- Drizzle the oil over the chicken in the bowl and mix it all up. You should end up with the chicken pieces looking well-coated and quite sticky.3 tbsp oil
- Place the chicken into a large, low-sided baking dish or tray in a single layer. Try not to bunch the chicken together. The more room it has, the more crispy it will get. I use a set of tongs to separate the pieces, so they're not stuck together.
- In a second baking dish (this one needs to be medium or high sided to hold the sauce later) place the onion and bell pepper and drizzle with a tbsp of oil.1 onion, 1 tbsp oil, 1 red bell pepper
- Place the tray with the chicken at the top of the oven and the tray with the vegetables in the middle of the oven. Cook for 10 minutes.
- Meanwhile make your sauce. Add the tomato ketchup and cornflour (cornstarch) to a small bowl mix together to combine. Then stir in the remaining sauce ingredients (including the pineapple chunks).2 cloves of garlic, 1 tsp minced ginger, 135 ml (4.5 floz) tomato ketchup, 2 tbsp malt vinegar, 5 tbsp dark brown muscovado sugar, 475 g (17oz) can of pineapple chunks in pineapple juice, 1/2 tbps cornflour (cornstarch in USA)
- After the chicken and vegetables have been in the oven for 10 minutes. Take the veggies out of the oven and pour over the sauce. Place back in the oven and cook along with the chicken for a further 10-15 minutes – until the chicken is fully cooked and browned and the sauce is bubbling.
- Add the cooked chicken to the sauce dish stir it all together and serve.Egg Fried Rice, Chopped spring onions/scallions
Notes
Nutrition
Nutrition information is automatically calculated, so should only be used as an approximation.
This was originally posted in August 2014, and updated in January 2024 with new photos and improved instructions.
Some of the links in this post may be affiliate links – which means if you buy the product I get a small commission (at no extra cost to you). If you do buy, then thank you! That’s what helps us to keep Kitchen Sanctuary running. The nutritional information provided is approximate and can vary depending on several factors. For more information please see our Terms & Conditions.


wow what a great thought….will definitely give a try with vegetarian option ….thanx a bunch for this awesome recipe….happy FF..
Excellent! Glad you like it Chitra 🙂
Yum! this looks amazing. I love sweet and sour chicken but I can never order it from take out because I’m allergic to pineapple. This way I can swap out the pineapple for something else!
So glad you like it Michelle. Since the recipe using the juice from the tinned pineapple, I’d probably replace that with a little orange juice and water.
Yum! What a great idea… I believe my family will LOVE this 🙂
Thanks, hope they do 🙂
You have made the most beautiful sweet & sour chicken I have EVER seen!! 🙂
Thanks for the lovely compliment (blush) 🙂
My hubby could die for this dish…. and he would be justified! It looks amazing even because of your amazing pictures! Thanks for bring tho amazing chicken to FF!
heh heh, thanks! Glad you like it, and thanks for the photo compliments, my husband will be pleased (he takes a lot of my food photos)
cant remember the last time i made sweet and sour chicken, definitely going to be recreating the recipe.
Excellent, really hope you like it Thalia!
What a great dish to bring to the party, Nicky –
and such beautiful photos, too.
I love your instructions – they are so clear.
Emma 🙂
Thanks Emma, it’s good to get some feedback. I never know whether I’m rambling too much or not explaining enough 🙂
Yum! This looks amazing!
Thanks 🙂
Yes, yes, yes. Love it Nicky. Pinned it. Thank you, Tracey
Thanks for pinning Tracey 🙂
Oh my, looks amazing, better than any take-out I’ve had, thanks for sharing:)
Thanks Lily 🙂