Thai sticky rice can be made very easily using a rice cooker (no need to soak!). It’s my go-to method that I use all the time. If you don’t have a rice cooker don’t worry! I’ve tested lots of methods and I’m sharing my simplest and best saucepan method too (no muslin cloths needed).
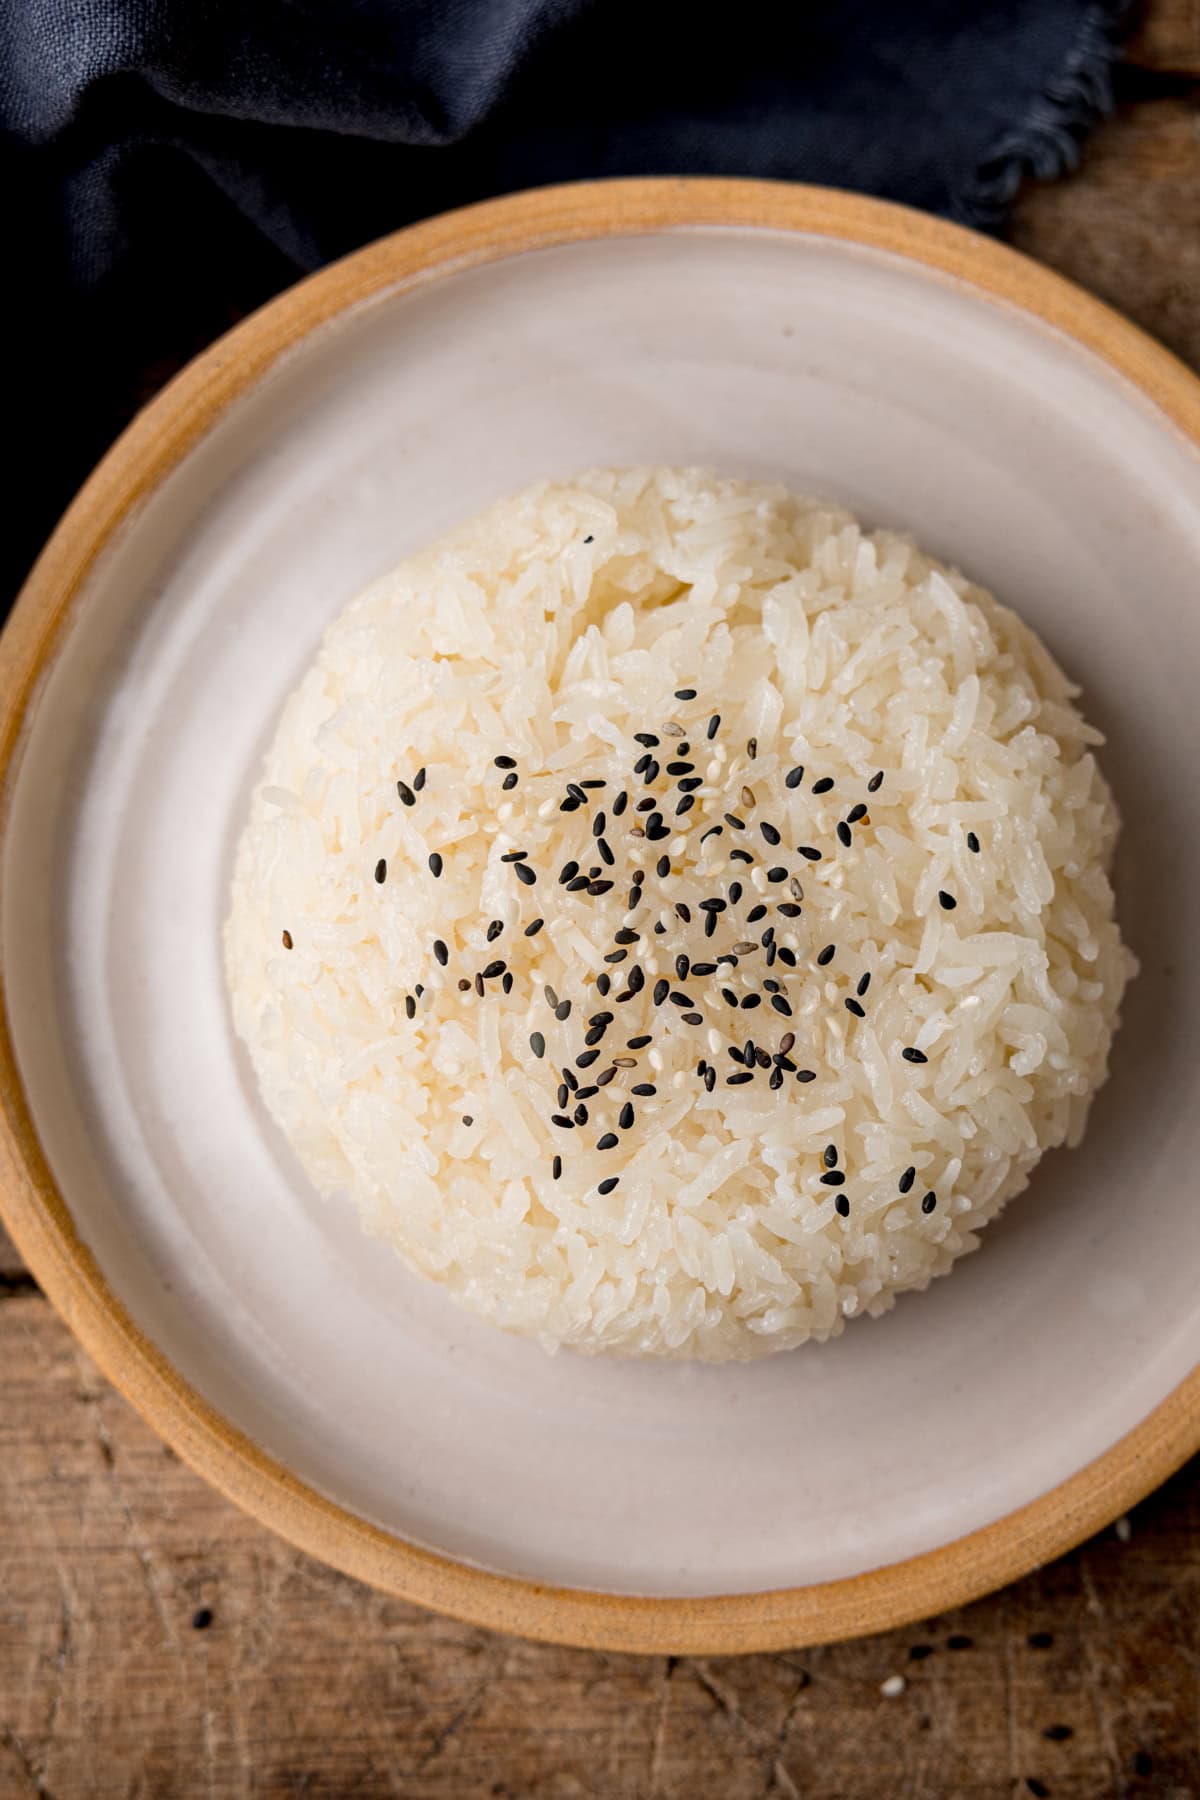
Sticky rice is my favourite rice dish to order when we go out for Thai food.
I love the chewy texture and the slightly sweet flavour – which makes it the perfect side dish to compliment hotter, saucier curries.
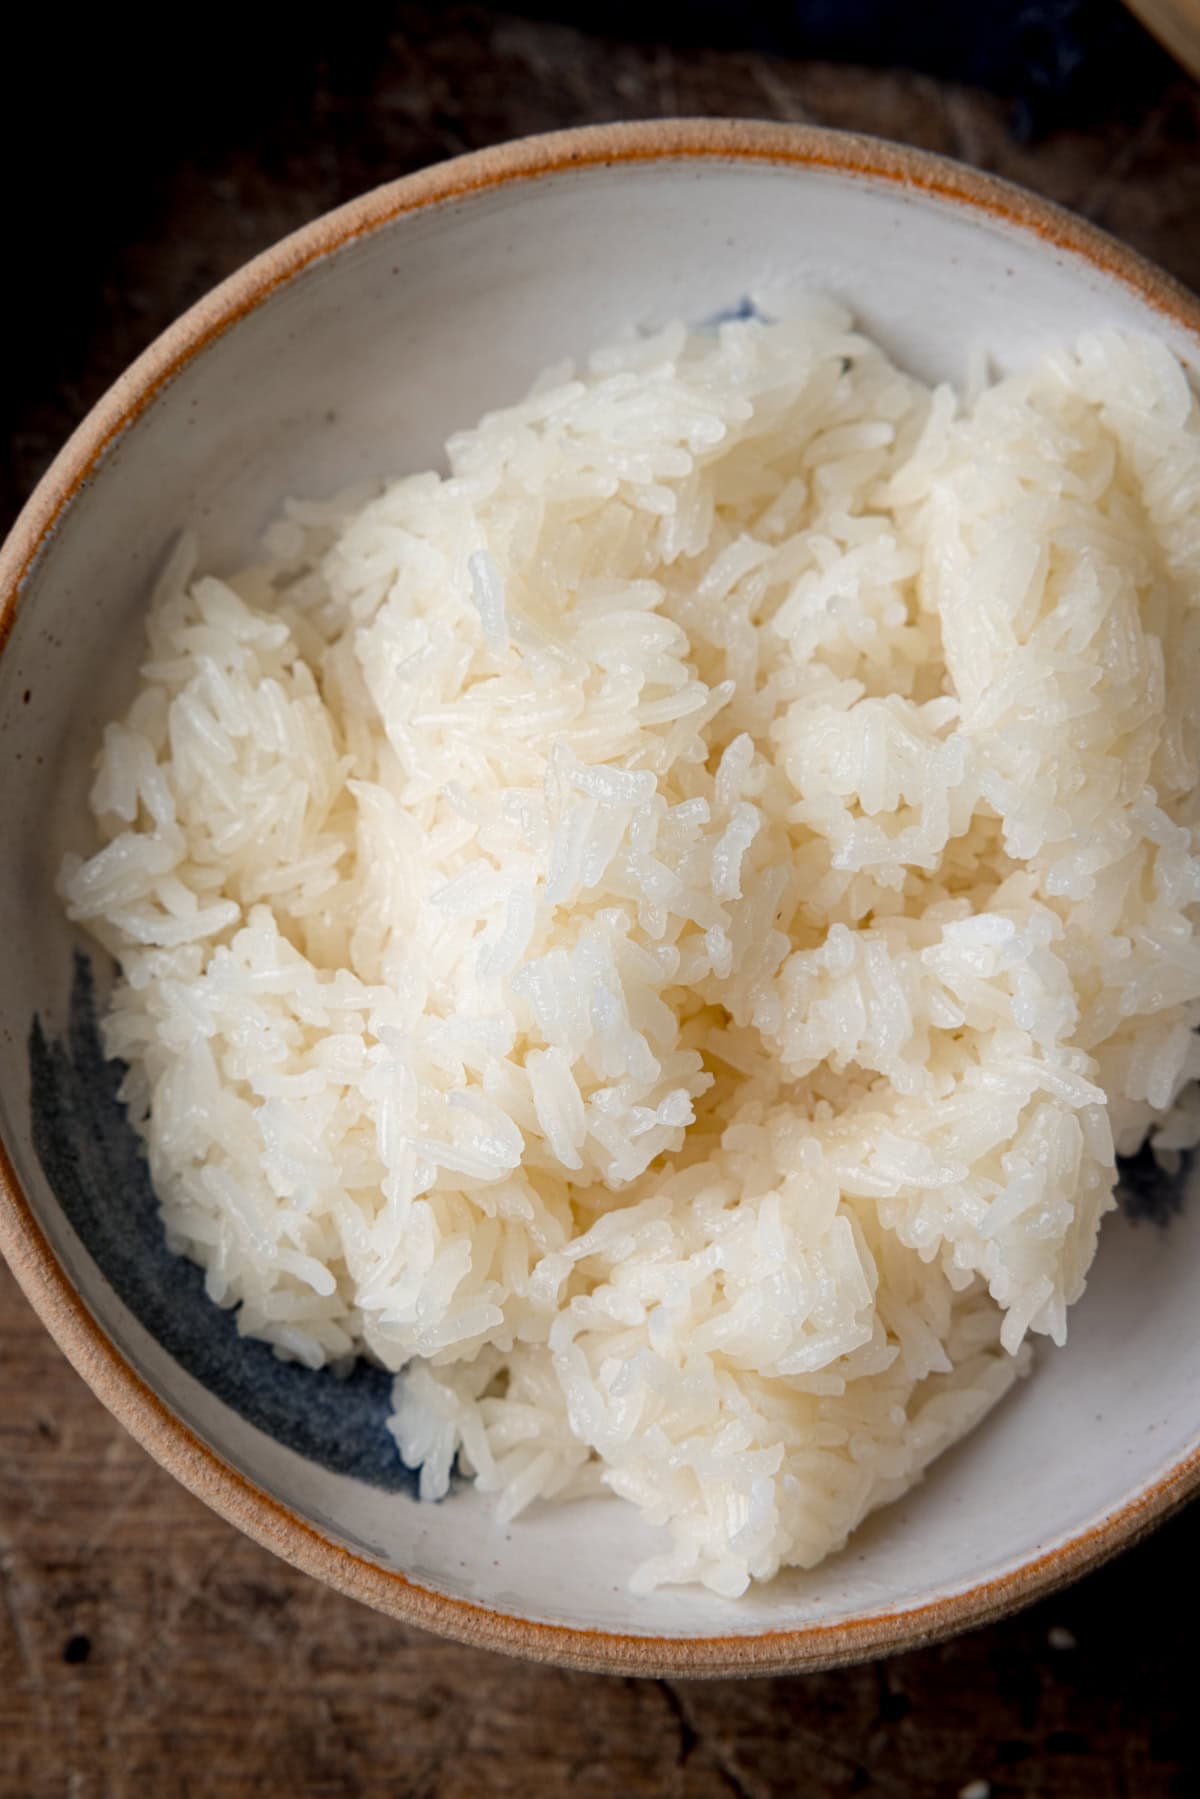
When it’s perfectly sticky, you should be able to manipulate the rice into a chunk and dip it in a sauce. The rice should absorb sauce, whilst holding its shape.
Using a rice cooker is the absolute simplest way to get Thai sticky rice spot on, without having to soak it beforehand.
Our rice cooker
We have a Zojirushi rice cooker (<– affiliate link) – which is a little on the pricey side, but this one takes up to 10 cups of rice (almost 2kg of raw rice!) so it’s great when batch cooking or cooking for a crowd.
I’ve must have used it 100+ times, with the rice turning our perfectly every single time.
They do have smaller versions – such as this 3 cup version (<–affiliate) which is a lot cheaper on Amazon USA than Amazon UK (*note* US Amazon ships to the UK!). However, I’ve been told that most rice cookers, even the cheaper ones, do a great job. So personally, I’d just look for some good reviews and get the one that suits your budget and family size.
📋 Ingredients
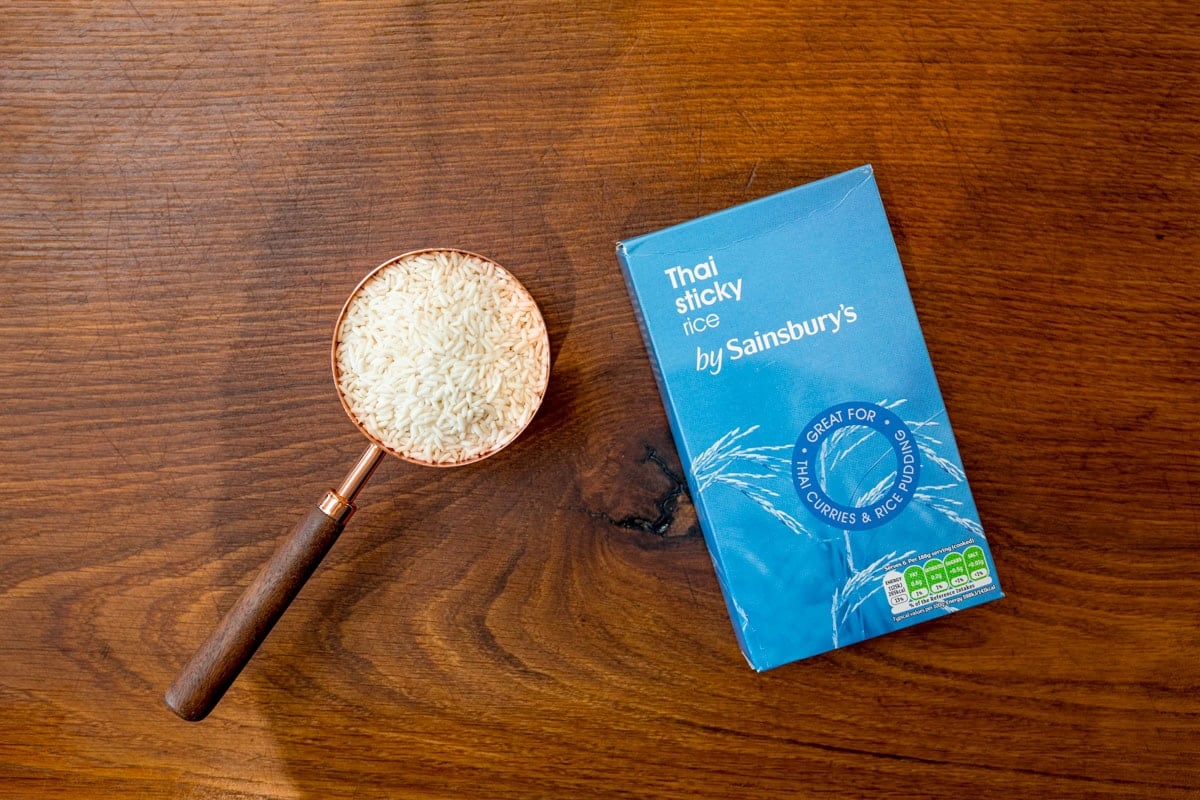
Thai Sticky Rice – You can usually find this in any larger supermarket
Water – We’re using an equal amount of cold water for this recipe.
📺Watch how to make it:
***Full recipe with detailed steps in the recipe card at the end of this post***
- There are two different methods to making this rice, both start by washing the rice by rinsing and draining it with cold water until it runs clear.
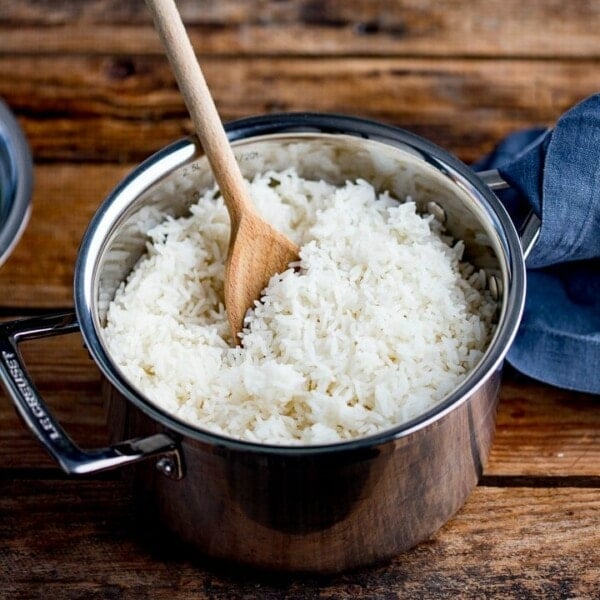
- The first method is the rice cooker method (my preferred method for the best rice), all you need to do is put the rice into the rice cooker, cover it with an equal amount of water and turn it on to cook for one cycle.
- The other method is the stovetop method. Once you have washed and drained the rice, in a pan, cover with hot water and leave it to soak for an hour, before rinsing and draining with cold water one more time.
- Next, fill a saucepan with some water and bring to a gentle simmer. Put the rice into a fine-mesh sieve and place the sieve onto the pan, ensuring the base of the sieve doesn’t touch the water. Then, place a lid on top and leave to simmer for 25 minutes, then leave to rest for 10 minutes.
- Scoop out of either the rice cooker, or sieve and serve!
Pro Tip
To shape the rice into a dome, spoon it into a small shallow bowl and gently flatten with the back of a spoon (don’t pack it in too much). Then turn it out onto a plate. See below for pictures.
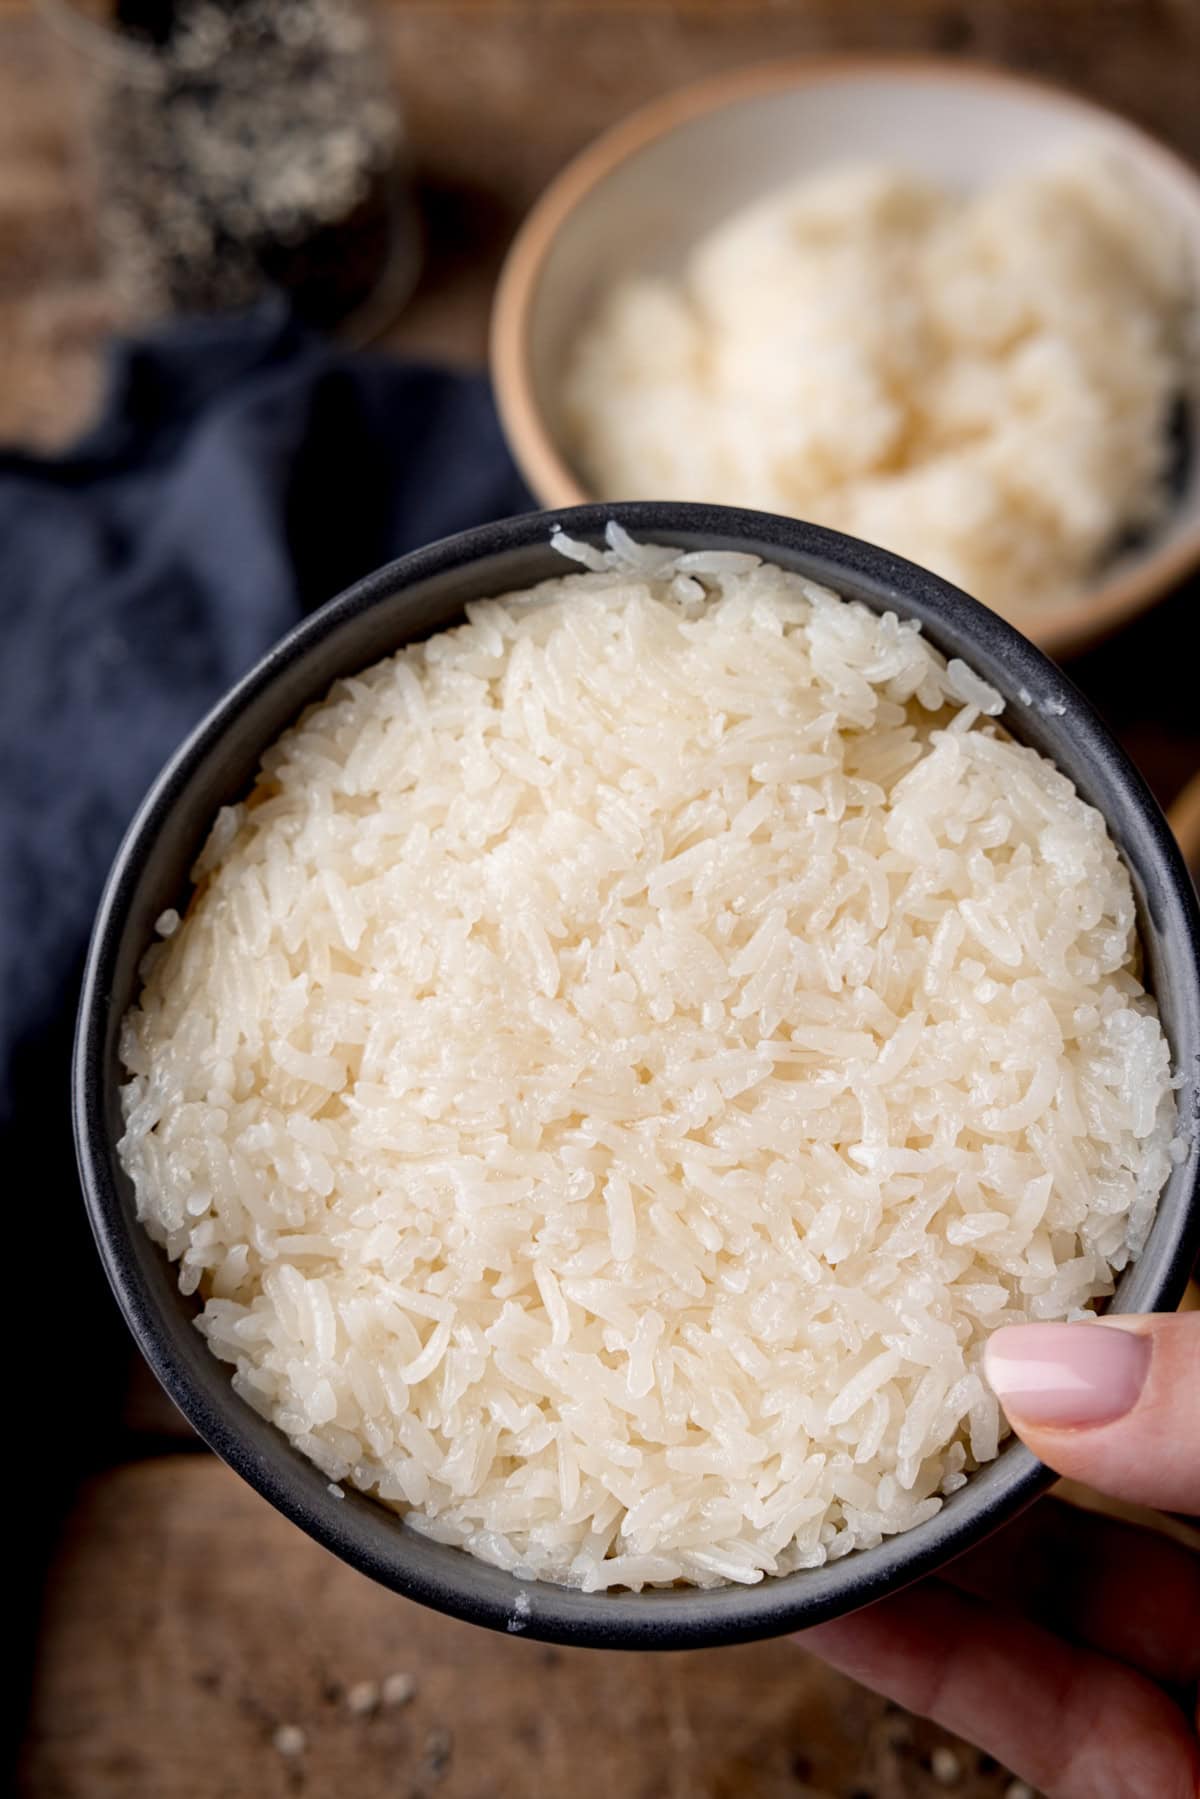
I place the plate on top of the bowl, then flip both over. So long as you don’t squash the rice down too hard in the bowl, the rice should come out with a gentle tap from your hand.
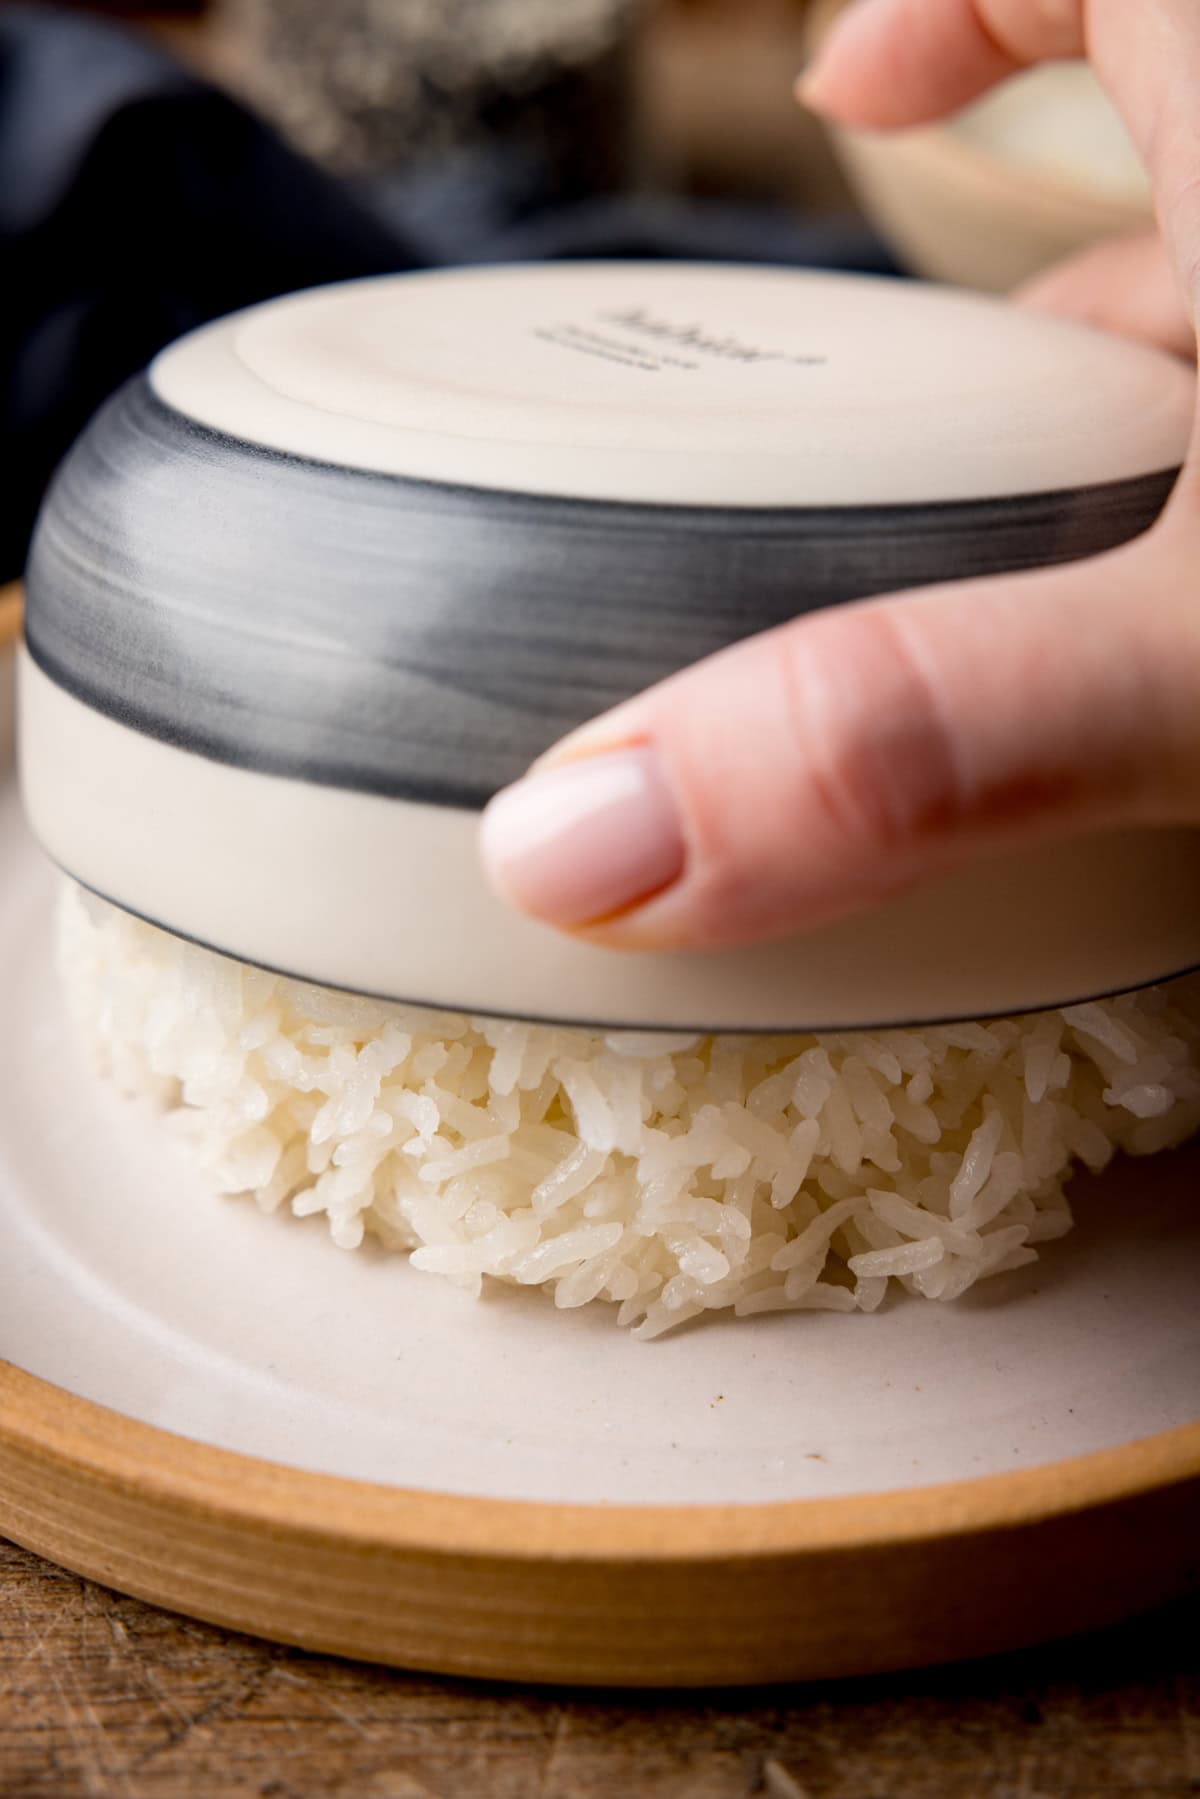
It’s so versatile and pairs amazingly with so many dishes! If you don’t want to shape the rice, you can spoon it out into lovely clumps.
Pin this now to find it later
Pin It🍽️ What to serve it with
- It pairs perfectly as a side dish to these curries: Chicken Meatball Curry, Chicken Panang Curry and Thai Green Chicken Curry.
- Also, I love dipping a spoonful of sticky rice into a spicy soup, like Tom Kha Gai, or a spicy fish stew.
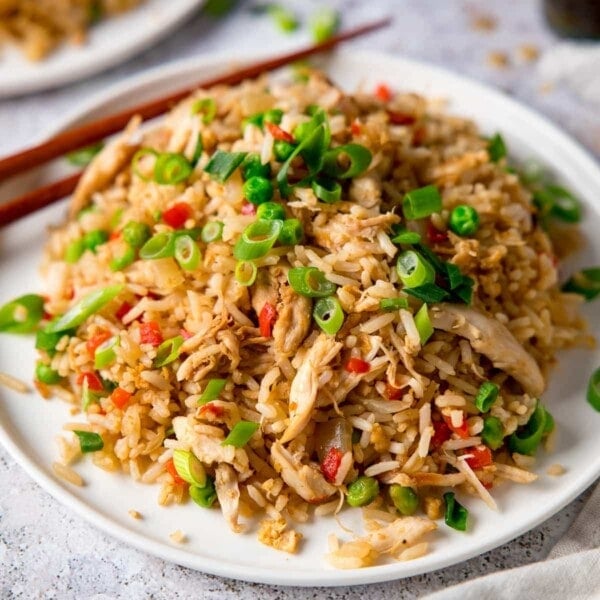
🍲 More fantastic rice dishes
Yes! Cook the rice, then spread it out (or spoon it out in clumps) in a large dish (so it will cool quickly). As soon as it’s cooled, cover and refrigerate for up to a day. Don’t leave cooked rice out at room temperature. Bacteria can grow on cooked rice very quickly, so it’s important to:
– Refrigerate it as quickly as possible
– Don’t store for more than 24 hours in the fridge, and
– Thoroughly reheat it.
You can reheat the rice in the microwave until piping hot.
Stay updated with new recipes!
Subscribe to the newsletter to hear when I post a new recipe. I’m also on YouTube (new videos every week) and Instagram (behind-the-scenes stories & beautiful food photos).
Thai Sticky Rice Recipe
Ingredients
- 330 g (1+1/2 cups) glutinous rice or Thai sticky rice
- 360 ml (1+1/2 cups) cold water
To serve:
- sesame seeds (optional)
Instructions
- There's no need to soak the rice when using a rice cooker. We just need to rinse it. Rinse the rice 3-4 times, in cold water, until the water runs clear. Drain the rice.330 g (1+1/2 cups) glutinous rice or Thai sticky rice
- Place the drained rice into the rice cooker insert. Cover with the cold water. Level out the rice so it's even.360 ml (1+1/2 cups) cold water
- Turn the rice cooker onto one cycle for white rice (this can vary between rice cookers – anything from 25 minutes to one hour).
- Then remove the lid and serve. I like to top mine with a sprinkling of sesame seeds.sesame seeds (optional)
Video
Notes
Rice to water ratio
Use equal volumetric amounts (i.e. measuring based on size, rather than weight) of rice and water. So if you’re using 1.5 cups of rice, use 1.5 cups of water. A cup of rice weighs less than a cup of water, so don’t use equal amounts based on weight.Saucepan method
You’ll need a fine-mesh sieve that fits in a saucepan, so the base of the sieve won’t touch the water in the pan). We also need a lid that can be comfortably rested on top (no big gaps). Rinse the rice 3-4 times, in cold water, until the water runs clear. Drain the rice, then place the rice in a bowl and cover with hot tap water (not boiling, just hot water from the tap). The water should come about 1 inch above the rice. Leave to soak for 1 hour. Drain the rice and rinse in cold water one more time. Fill the saucepan with a couple of inches of water and bring to the boil, then turn down to a gentle simmer. Add the rice to a sieve and even it out (the rice will expand a bit as it’s cooking, and you don’t want it to hit the lid of the pan and lift the pan lid up). Place the sieve in the pan, so the base of the sieve isn’t touching the water. Place a lid on top. Simmer gently for 25 minutes, then turn off the heat and leave to rest for a further 10 minutes. Remove the rice from the sieve (use a tea towel for the handle as it may be very hot) and serve.Muslin cloths:
If you have clean muslin cloths for cooking even better. You can use the muslin to line your sieve or line a steam basket if you have steam pans. Place the soaked and drained rice in the centre of the muslin, and place in the sieve of steam basket. Even out the rice and wrap the edges of the muslin over the top of the rice. Place the sieve or steam basket over the pan of simmering water (don’t let it touch the water) and steam as per the stovetop method above.Nutritional information is approximate, per serving. This recipe makes 4 small servings.
Nutrition
Nutrition information is automatically calculated, so should only be used as an approximation.
Some of the links in this post may be affiliate links – which means if you buy the product I get a small commission (at no extra cost to you). If you do buy, then thank you! That’s what helps us to keep Kitchen Sanctuary running. The nutritional information provided is approximate and can vary depending on several factors. For more information please see our Terms & Conditions.






Best Recipes Ever! Thankyou!