

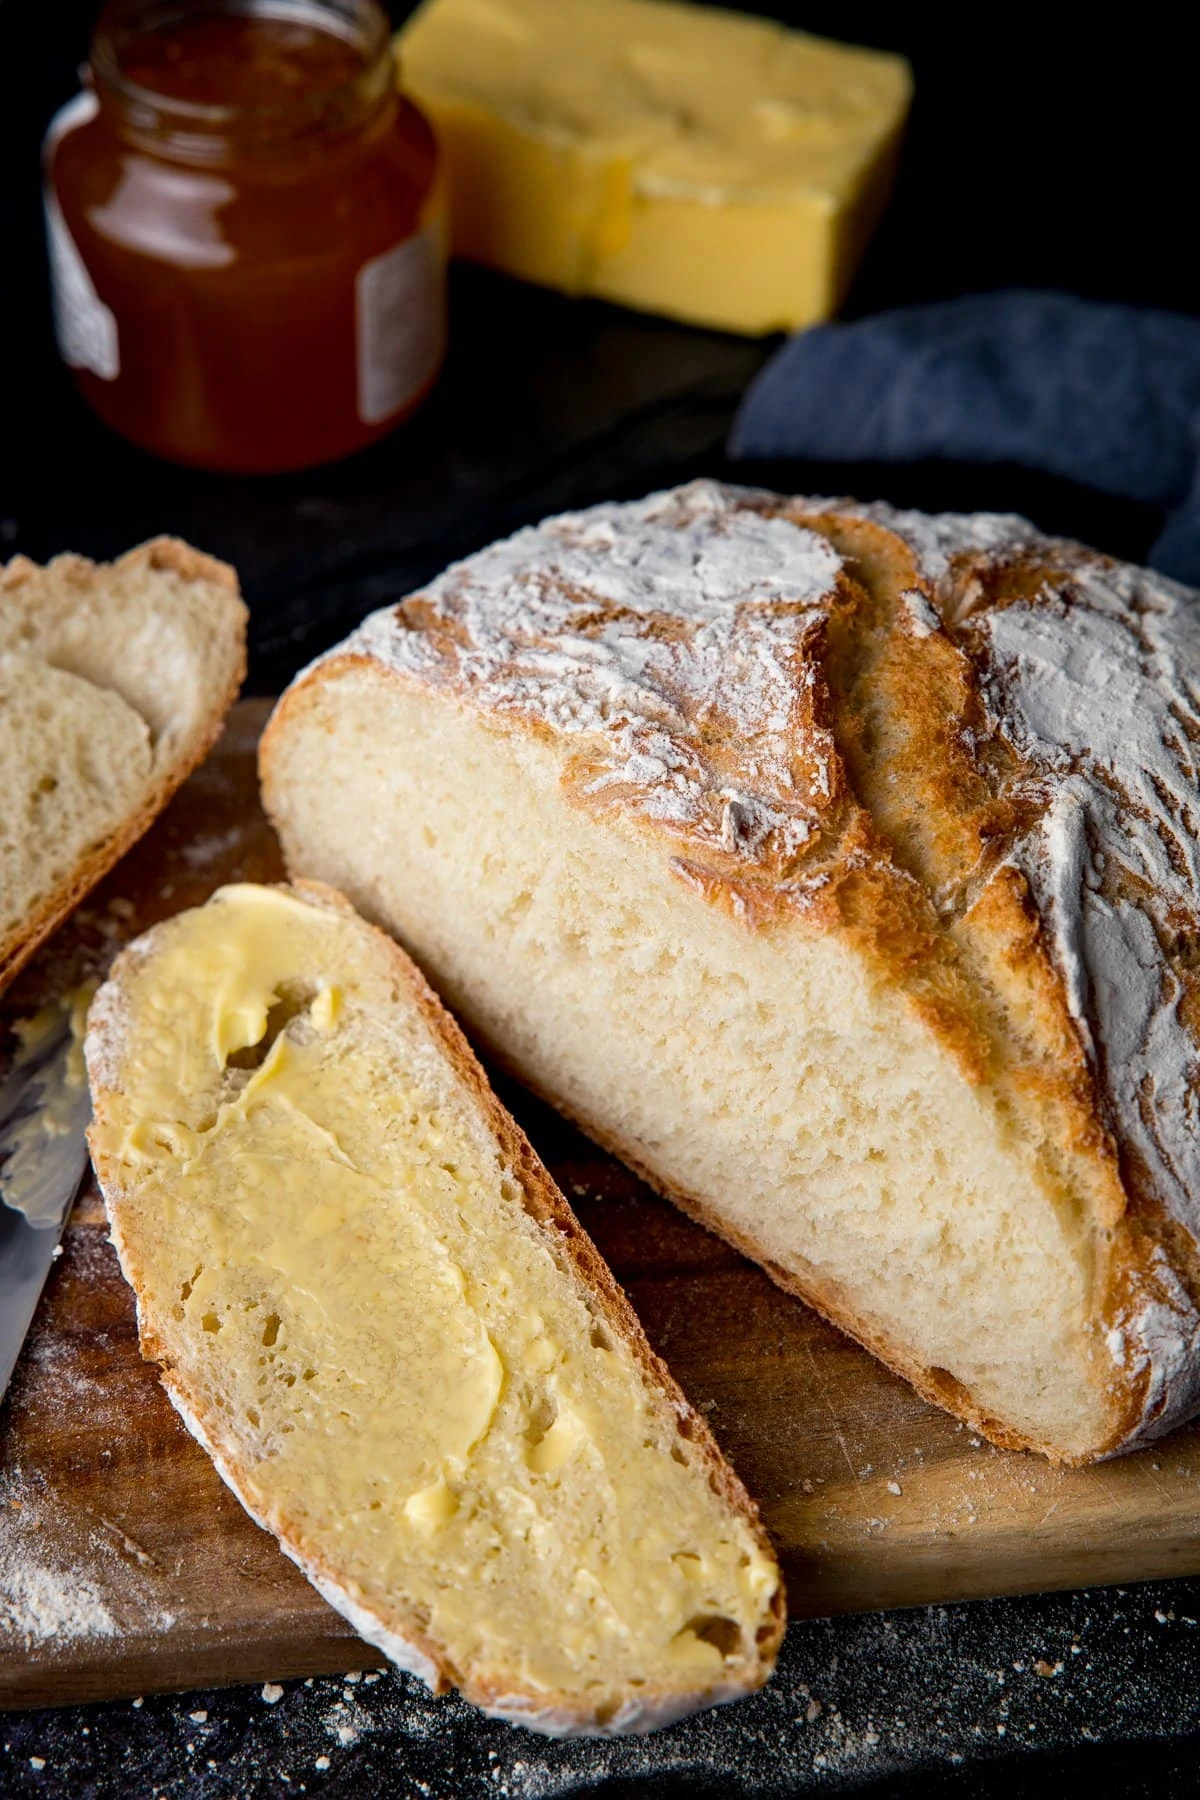
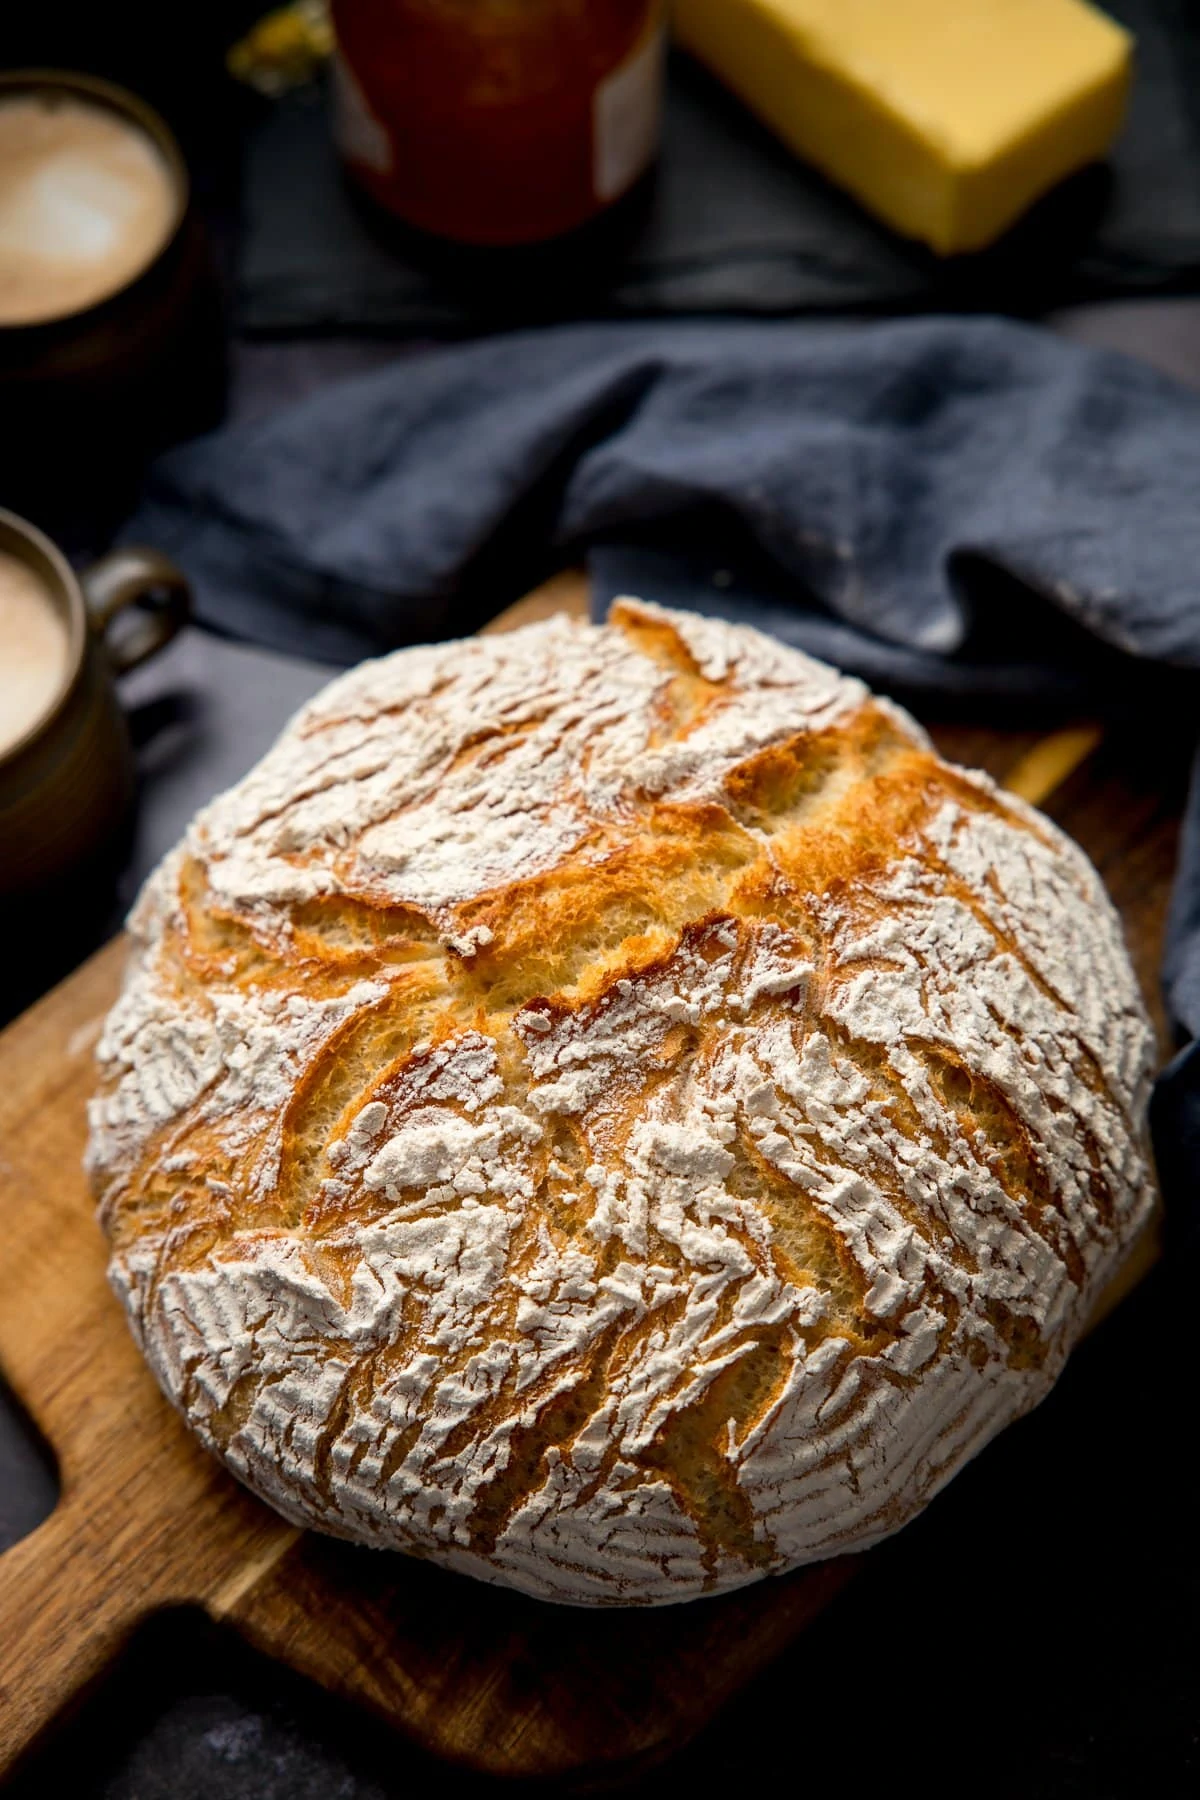
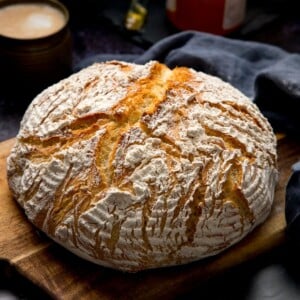
A beautiful Artisan bread with a soft interior and a light crispy crust.
Using 5 ingredients, this bread is easy to make. I’ll share the secret to getting a lovely craggy top WITHOUT having to slash the bread with a knife. This recipe uses a Dutch oven, but I’ll show you how to get great results without one too.
Lazy lunches with soft, warm, crusty buttered bread or serve it toasted for breakfast, slathered in jam. It really is the best.

I’ve finally cracked the code to making bread that not only tastes fantastic but looks so pretty too!
And now I can’t stop making it.
Well, actually I have stopped making it for a little while because I ran out of flour and yeast.
But hopefully, it will arrive with my next shopping delivery 🤞
After a whole lot of testing, I’m sharing all of my tips to get the best possible result.
As a heads-up this bread:
- Does need kneading – but you can use your food mixer with a dough hook if you have one. If you REALLY don’t want to knead then I’ve included some info in the tips at the bottom of the post so you don’t have to do it.
- A Dutch Oven will give you the best, most even and perfect light crunchy exterior. I’ve included info in the tips below on alternatives and what to expect (including pictures) if you don’t have a Dutch Oven.
- A bread proving basket will substantially improve the Artisan look of your bread (that lovely flour ring pattern on the bread) and will help you to achieve that lovely craggy top. But again, I’ll talk about what to do if you don’t have one in the tips below.
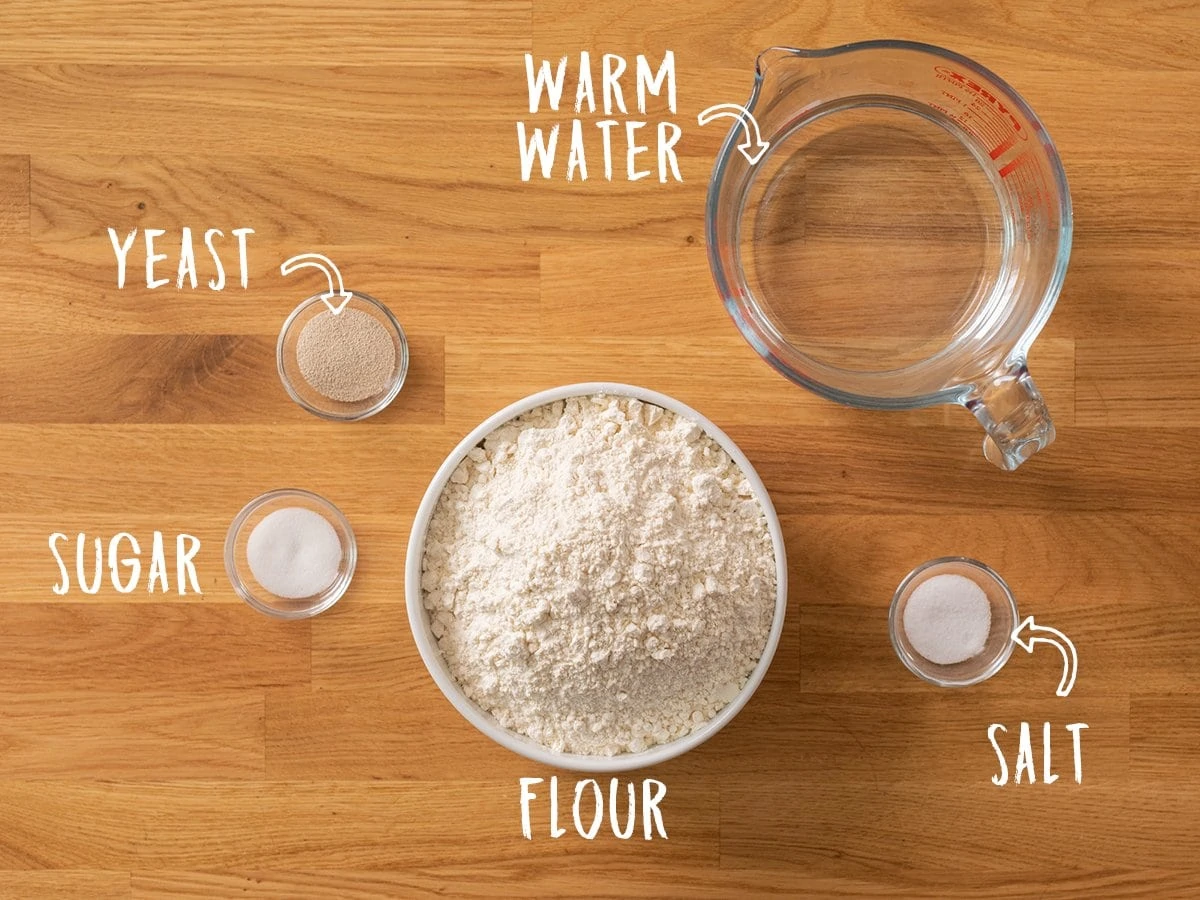
What do we need?
How to make this Artisan Bread
Full recipe with detailed steps in the recipe card at the end of this post.
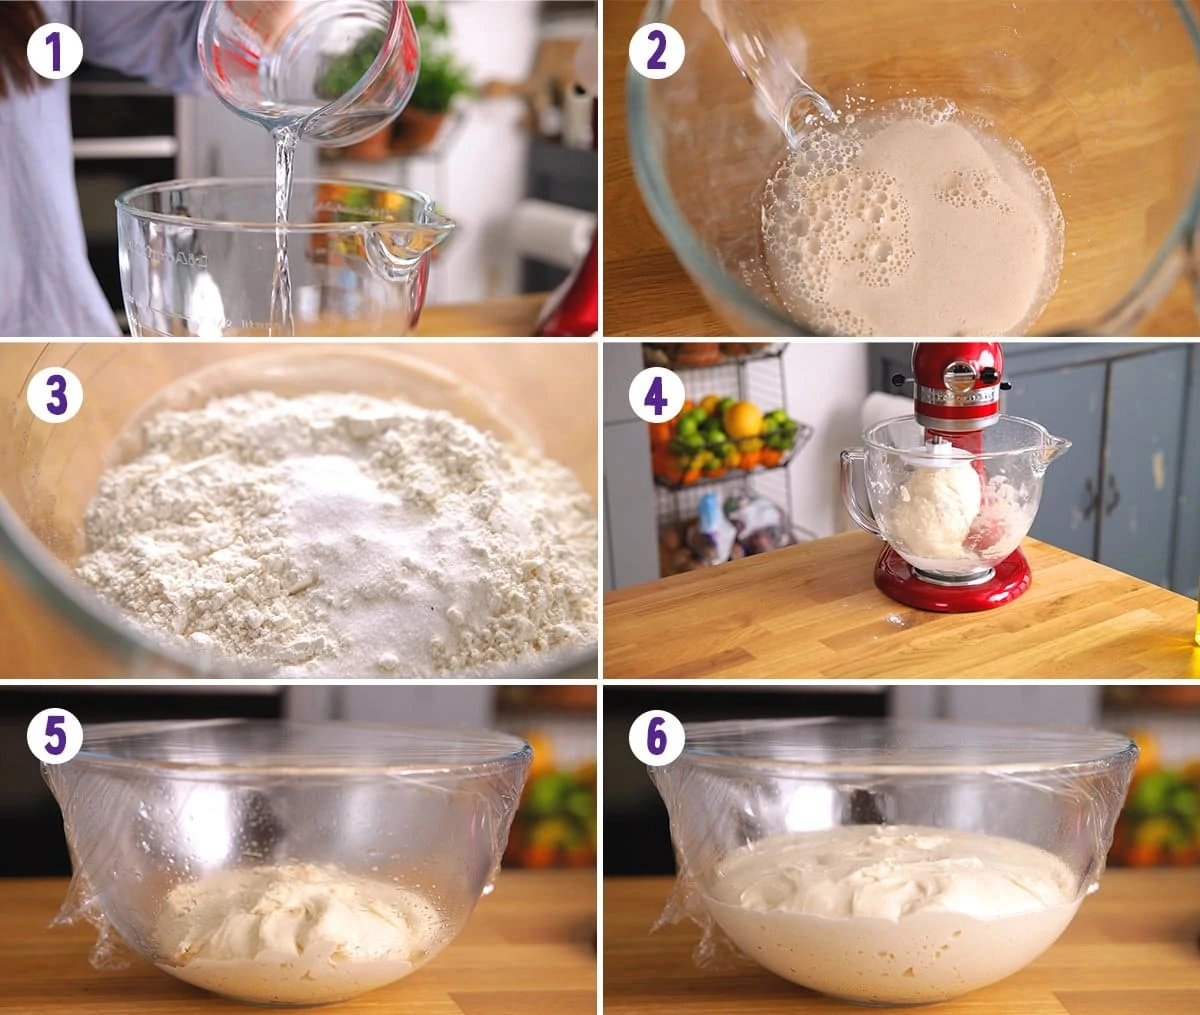
- Add the yeast, sugar and warm water to a large bowl and leave for 5 minutes, until the yeast starts to foam.
- Add the flour and salt. Mix together until fully combined, then knead for 10 minutes using the dough hook attachment on your food mixer, or knead on an oiled work surface using your hands.
- Place the dough in an oiled bowl, cover and prove for 1 hour – until doubled in size.
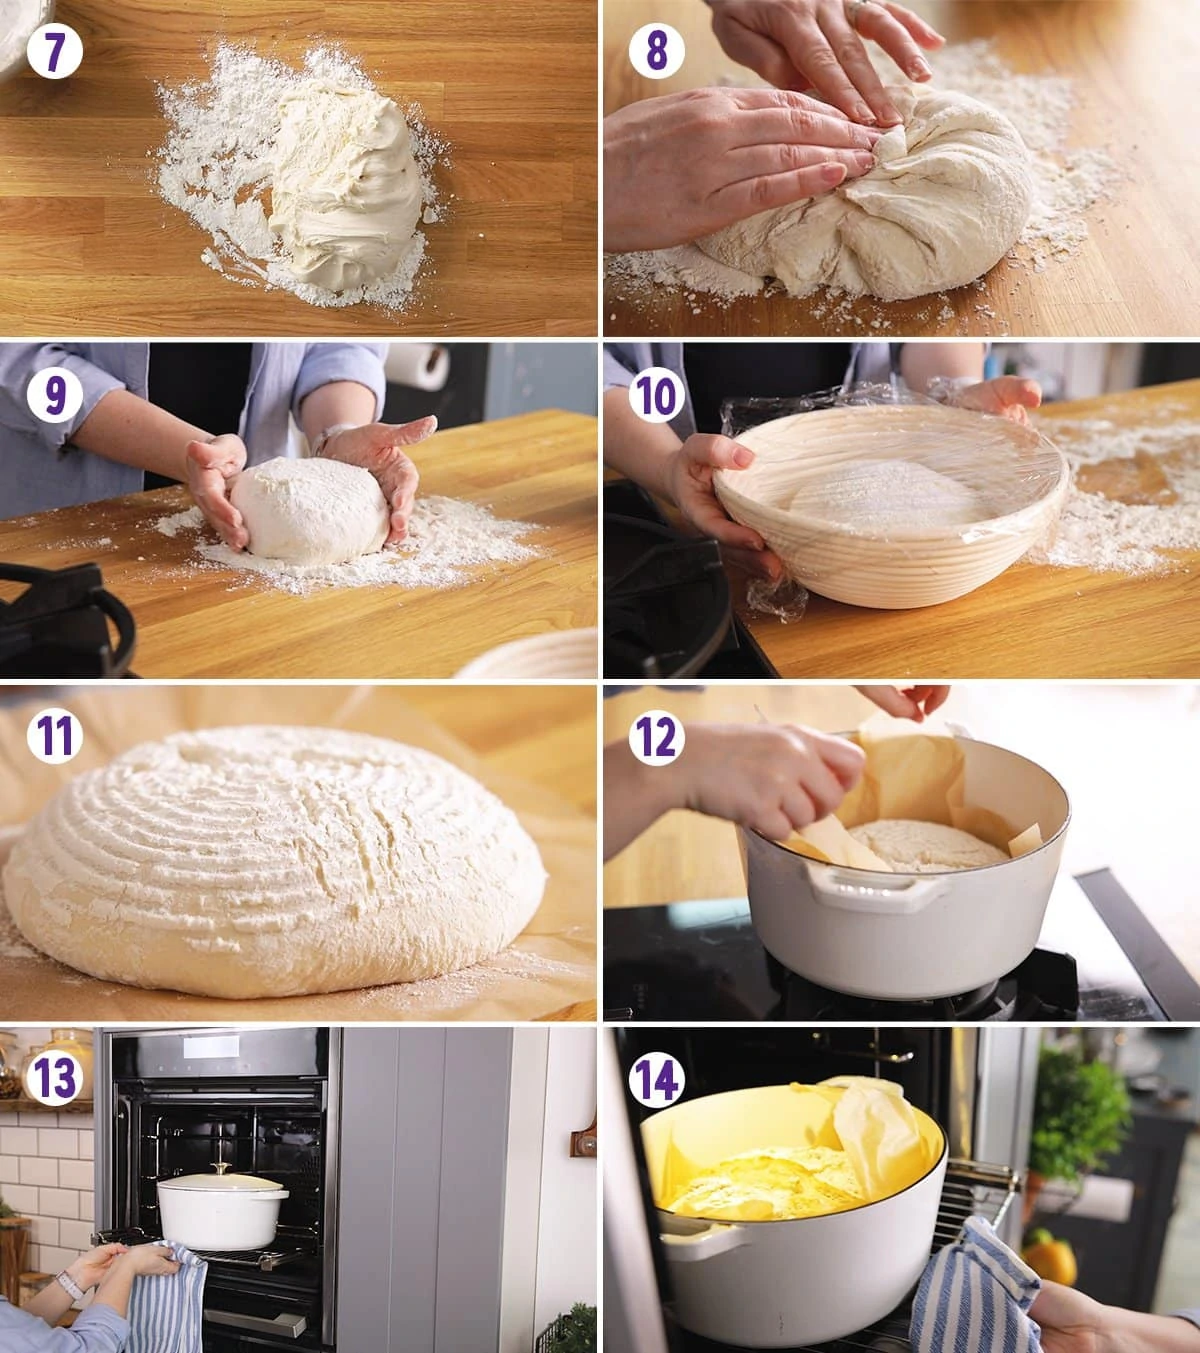
- Tip the dough onto a well-floured surface and shape the dough by grabbing a piece from the outside and pulling it into the middle.
- Continue this, pulling the dough in all the way around until the dough no longer wants to stick in place (see the video for a visual on this).
- Turn the dough over, finish off rounding it out and place in a well-floured proving basket or floured bowl – SEAM-SIDE-DOWN. Cover and prove for 30 minutes.
- Meanwhile, preheat a Dutch Oven in the oven.
- Tip the dough out of the proving basket onto a piece of baking parchment, so it’s SEAM-SIDE UP and carefully lower the bread into the Dutch oven, holding onto the edge of the parchment.
- Place the lid on top and bake for 30 minutes, then remove the lid and bake for a further 10-15 minutes until golden brown.
- Remove from the oven and allow to cool completely on a cooling rack before slicing and serving.
What to serve it with
- Simply eaten slightly warm with salted butter ❤
- Make a special breakfast with Nutella French Toast
- As a dipper for one of my many Soup Recipes
- As a side to Spaghetti Bolognese or Lasagne
- As the all-important wrapper to my Korean Steak Grilled Cheese
- As the base for my upgraded Avocado and Egg on Toast
Why use a Dutch Oven?
The thick sides and base of a dutch oven help to ensure even baking of the bread, whilst also providing a sealed environment to trap in steam. It’s this steam that helps bread to rise to it’s full potential (with a little support from the sides of the pan).
The steam helps to prevent the crust from setting on the bread right away. If the crust sets immediately, then the bread can’t rise and you get a heavy, dense loaf.
Ensuring the crust stays soft initially helps the bread to continue to rise so you get a lighter, softer bread.
The lid is removed for the last 10-15 minutes of baking to allow that crust to crisp up and turn beautifully golden.
Leaving the lid on would result in paler bread with a chewier, rather than crisp, crust.
Can I use a regular pan?
Yes, you can use a large (approx 25cm/10″ diameter), oven-proof pan with a well-fitting lid.
As the sides aren’t as thick, and the lid isn’t as heavy as a dutch oven, you will get slightly different results.
I’ve done a comparison image below. The middle column of images shows bread baked in a regular pan.
- You can see it didn’t rise quite as high
- The seams in the bread didn’t open out quite as much
- The crumb texture is a little more dense.
This is likely because more steam was able to escape from the pan, so the crust of the bread set a little more quickly.
It still tasted great, just slightly less fluffy.
Can I cook in the oven, on a tray, without a pan?
Yes you can, but you’ll need to add steam into the baking process.
For this:
- Add a large dish of boiling water (at least an inch deep) to the base of the oven for the first 30 mins of baking.
- Then carefully remove the dish of water to allow the crust to crisp up for a further 10 minutes.
As you can see in the comparison image below, the column on the right shows the results of baking the bread free-form on a flat baking sheet, with a water bath in the oven.
The bread rises more unevenly, and is more dense in some parts.
The seam still opened up quiet nicely (the steam from the water bath helps with that) and the flavour was still very good, but the bread was a little more dense and the crust was more crunchy – this is likely because the bread is exposed directly to the heat of the oven, rather than being protected in the pan.
Why use a proving basket?
I love to use a proving basket to get that lovely stripy flour pattern on the bread.
It also helps the seam of the bread to open up more during baking, as the seam isn’t as constrained during the second prove as it would be if it was placed in a flat bowl.
So you can do your second prove in a large bowl that’s been floured, but it won’t get those nice rings and it will be a little flatter on top.
It will still taste great though, and will still have a crisp exterior and fluffy interior if baked in the dutch oven.
Why do second prove seam-side down?
Those folds/seams we made when shaping the bread will end up as the top of the bread, as you’ll be tipping the bread out (to land the other way up) onto baking parchment.
Those folds will open up slightly as the bread is baking, leaving you with a lovely slightly craggy crispy top. I got this tip from Life as a Strawberry and it works great!
Baking the loaf seam-side up also means you don’t need to slash the bread with a knife to get an ‘Artisan’ look to the bread. I hate slashing bread, as I always worry I’m going to knock the air out of it, or I find the knife sticks and I have to drag it back out.
Added bonus: If you use a proving basket, this gives those folds a little more room (so they’re not quite as compacted) during the second prove, so you’ll get more of a craggy top.
More Bread Recipes
Enjoy making your own bread? Try these too:
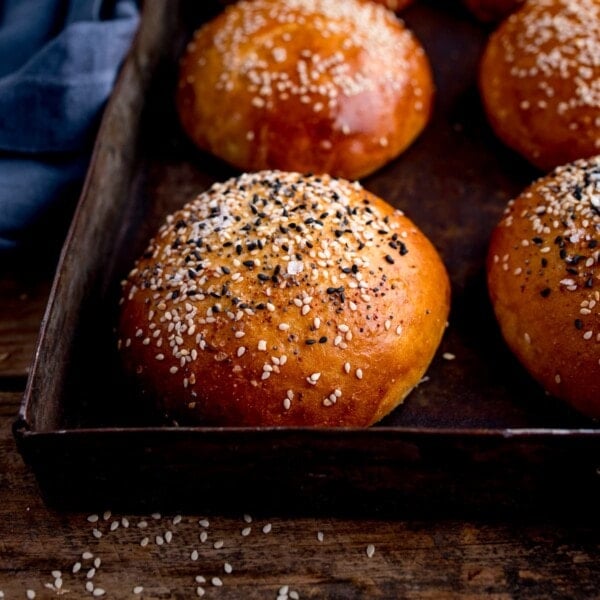
- Brioche Rolls
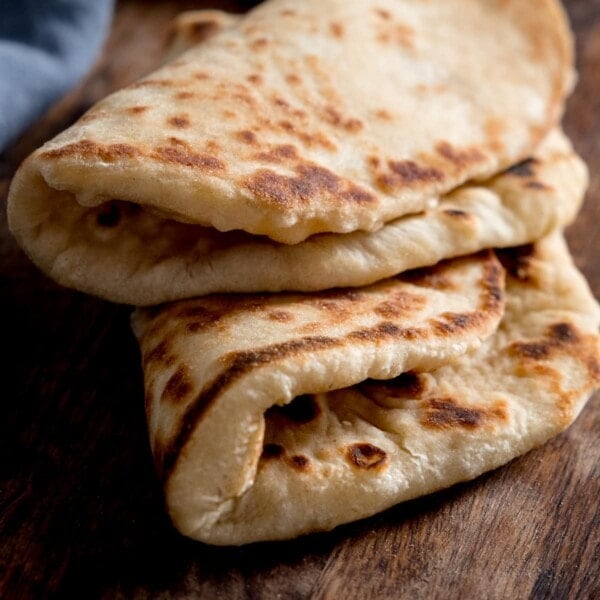
- Homemade Chapati
- Ale Bread Rolls
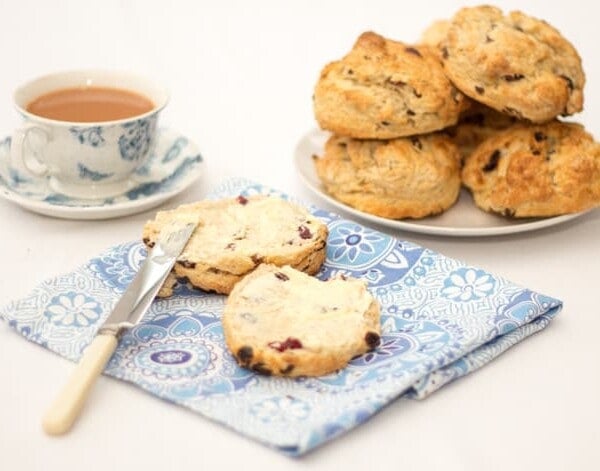
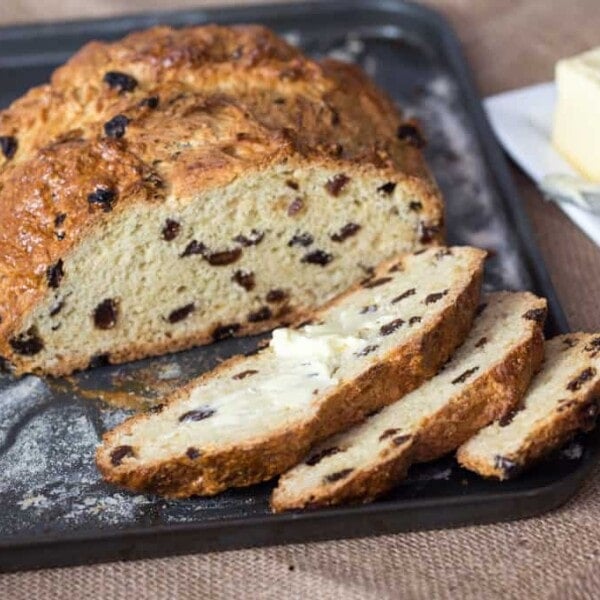
- Fruit Soda Bread
- Dough Balls (with spinach and bacon dip)
- Homemade Bao Buns
- Cheese and Tomato Garlic Pizza Bread
Watch how to make it

Stay updated with new recipes!
Subscribe to the newsletter to hear when I post a new recipe. I’m also on YouTube (new videos every week) and Instagram (behind-the-scenes stories & beautiful food photos).
Artisan Bread Recipe
Ingredients
- 7 g (2 tsp) instant yeast
- 5 g (1 tsp) sugar caster or superfine
- 300 ml (1 1/4 cups) warm water slightly warmer than lukewarm, but not hot
- 450 g (3 3/4 cups)plain (all-purpose) flour PLUS 1/2 cup (60g) for dusting and shaping the bread
- 8.5 g (1 1/2 tsp) salt (regular table salt/Kosher salt)
Instructions
- Add the yeast, sugar, and warm water to the bowl of your stand mixer, or to a large bowl. Leave for 5 minutes, until the yeast starts to foam.7 g (2 tsp) instant yeast, 5 g (1 tsp) sugar, 300 ml (1 1/4 cups) warm water
- Add the flour, then the salt. Mix together using the dough hook attachment on your stand mixer, or mix together with your hands until fully combined.450 g (3 3/4 cups)plain (all-purpose) flour, 8.5 g (1 1/2 tsp) salt
- Using the dough hook, knead the dough on a medium setting for 10 minutes. If you want to do this with your hands, oil the work surface and your hands with a little olive or vegetable oil, and knead for 10 minutes. It will be a sticky dough – this is fine.
- Once kneaded, place the dough in an oiled bowl (wiped with a little olive or vegetable oil). Cover with clingfilm or a wax wrap and prove for 1 hour – until doubled in size.
- Sprinkle the work surface with 1/4 cup (30g) flour and tip the dough out onto the flour. You'll probably need to use your hands to tease it out of the bowl, as it will still be quite sticky. Sprinkle with a tablespoon of the flour.
- We DON'T want to knock the air out of the dough at this point. We simply want to shape the dough by grabbing a piece from the outside and pulling it into the middle.
- Continue this, pulling the dough in all the way around until the dough no longer wants to stick in place (see the video for a visual on this). You may need a little more flour to prevent it sticking.
- Then turn the dough over and use your hands just to finish off rounding it out.
- Place the dough in a well-floured proving basket or floured bowl – SEAM-SIDE-DOWN.
- Cover with clingfilm or a wax wrap and prove for 30 minutes.
- Meanwhile, place a dutch oven (approx 25cm/10" diameter) in the oven and preheat the oven to 230C/450F (fan).
- When the dough has finished its second prove, remove the cover, take a long piece of parchment or greaseproof paper and place it on top of the bowl.
- Gently tip the bowl upside-down the dough ends up on the paper.
- Very carefully take the hot Dutch oven out of the oven and remove the lid (leave a tea towel on top of the lid, so you don't forget it's hot and grab the lid without thinking).
- Use the edge of the baking parchment to carefully lower the bread into the Dutch oven. Place the lid on top and carefully place back in the oven.
- Bake for 30 minutes, then remove the lid and bake for a further 10-15 minutes until golden brown.
- Remove from the oven and allow to cool completely on a cooling rack before slicing and serving.
Video
Notes
If you don’t want to knead the dough, you’ll need to prove the dough overnight (rather than for an hour) to give the gluten more time to develop.
See instructions above for proving overnight. How long will it last?
The bread tastes at it’s best if eaten in the first 24 hours.
If you know the whole loaf is going to be eaten quickly (within 10 hours or so) there’s no need to cover the bread. Just place on the chopping board cut-side down (presuming you’ve already cut into it). This will help to keep the crust nice and crispy. If you know you want to make the bread last until the next day, then wrap in foil once cooled and store are room temperature.
The bread will still be good for up to 2 days, but it gets less soft after 1 day. Can I freeze this bread?
Yes, once cooled, slice the bread and freeze, then defrost individual pieces at room temperature. Can I use regular active dry yeast or fresh yeast instead of instant yeast? Yes:
Replace the 2 tsp (7g) instant yeast with 2.5 tsp (9g) active dry yeast.
OR
Replace the 2 tsp (7g) instant yeast with 2tbsp (18g) of fresh yeast. Why are you not using bread flour? I find that plain (all-purpose) flour gives a slightly thinner but crustier exterior than bread flour. This gives it more of an artisan feel.
Bread flour has a higher protein content, – which makes the dough more springy and chewy, with a thicker, chewier crusty. You can replace with bread flour if you prefer. If you do, you’ll need to add about 2.5-3 tbsp more water – as the bread flour absorbs more water. Nutritional information is per slice (approx 12 slices in this bread).
Nutrition
Nutrition information is automatically calculated, so should only be used as an approximation.
Some of the links in this post may be affiliate links – which means if you buy the product I get a small commission (at no extra cost to you). If you do buy, then thank you! That’s what helps us to keep Kitchen Sanctuary running. The nutritional information provided is approximate and can vary depending on several factors. For more information please see our Terms & Conditions.


Best bread I have made, ever! So tasty and delicious. I would never have thought to use plain flour, but it works! Will be making every weekend now 🙂
Thank you for your prompt reply. Jim
Hi Nicky, your Artisan bread looks good. I would like to make this from the recipe, I have a ten inch diameter Dutch oven but I have no proving baskets. What size of basket do I require thanks JIM.
Hi James, mine is a 10 inch proving basket, but a 9 inch or 10 inch will be fine.
Hello Nicky am I right to assume that temperatures mentioned are for fan oven.Thank you Roger Curtis
Hi Roger, yes, they’re for fan oven. Hope you enjoy the recipe 🙂
Such a perfect loaf. Hadn’t baked bread for about 15 years and it looked just like the picture. The springiness and texture, as well as the lovely crust, were much beloved by the tasters. Recommend!
Made this using Plain Flour, then Bread Flour, in a Dutch Oven using a proving Basket.
both turned out great
I prefer the one made with the Plain Flour as it wasn’t as chewy with a thinner crust and easier to slice.
Both rose up about the same and tasted fantastic, I kneeded the first one by hand but found it rather messy. For the seconfd one I used a Handmixer with a dough hook attachment and found it much easier and less messy.
I’ve started making bread every week now and freeze what I don’t use.
Would be good if we could post pics of our creations
I agree I would love to post a picture of my bread loaf!
Hi Nicky, I have made the dough for this recipe, but cannot find oven temperature and time for fan oven (no dutch oven)
You say at start that you will show how to make a craggy finish, with or without a Dutch Oven?
Hi Nicky, can this recipe and method be baked using a whole-wheat flour?
Thanks Melanie
Hi Nicky, I’ve tried many of your recipes. Always so amazing. My Dutch oven is only 9inches. Just wondering if it would still work for this delicious looking bread?? Thanks for all your wonderful recipes. Melanie
Thanks so much for such detailed explanation, instructions & photos – I’ll be SO glad if I can achieve the same results… and if so, I reckon the loaf will taste amazing with anything – or nothing, just as it is!
Emma 🙂