
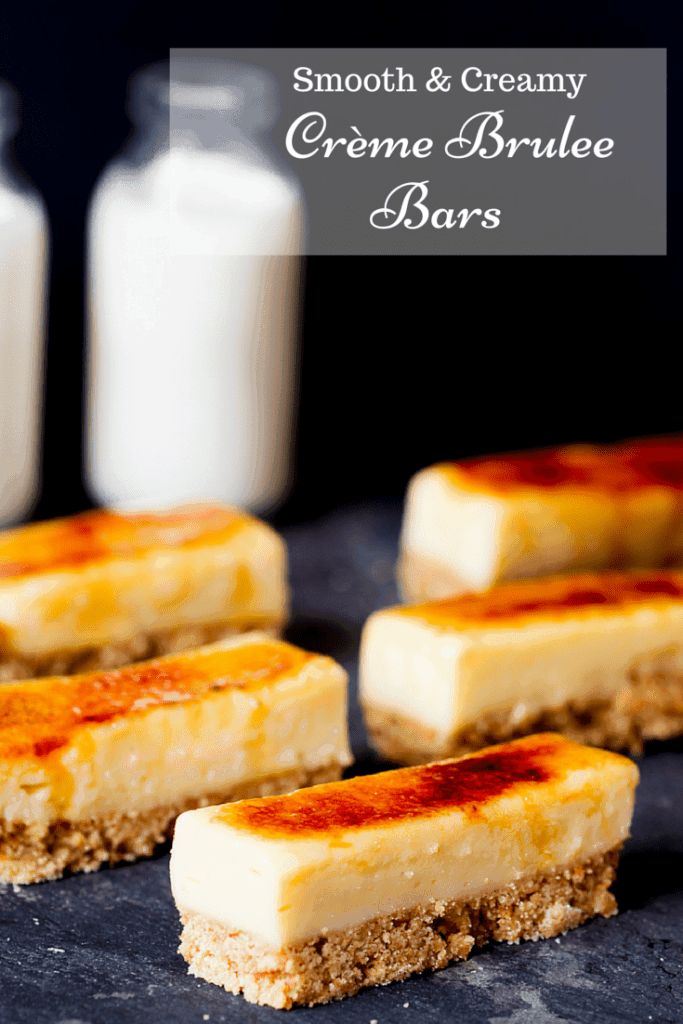
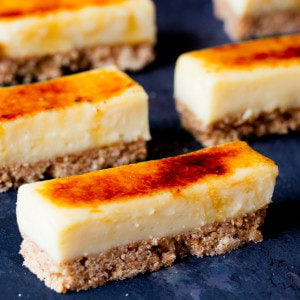
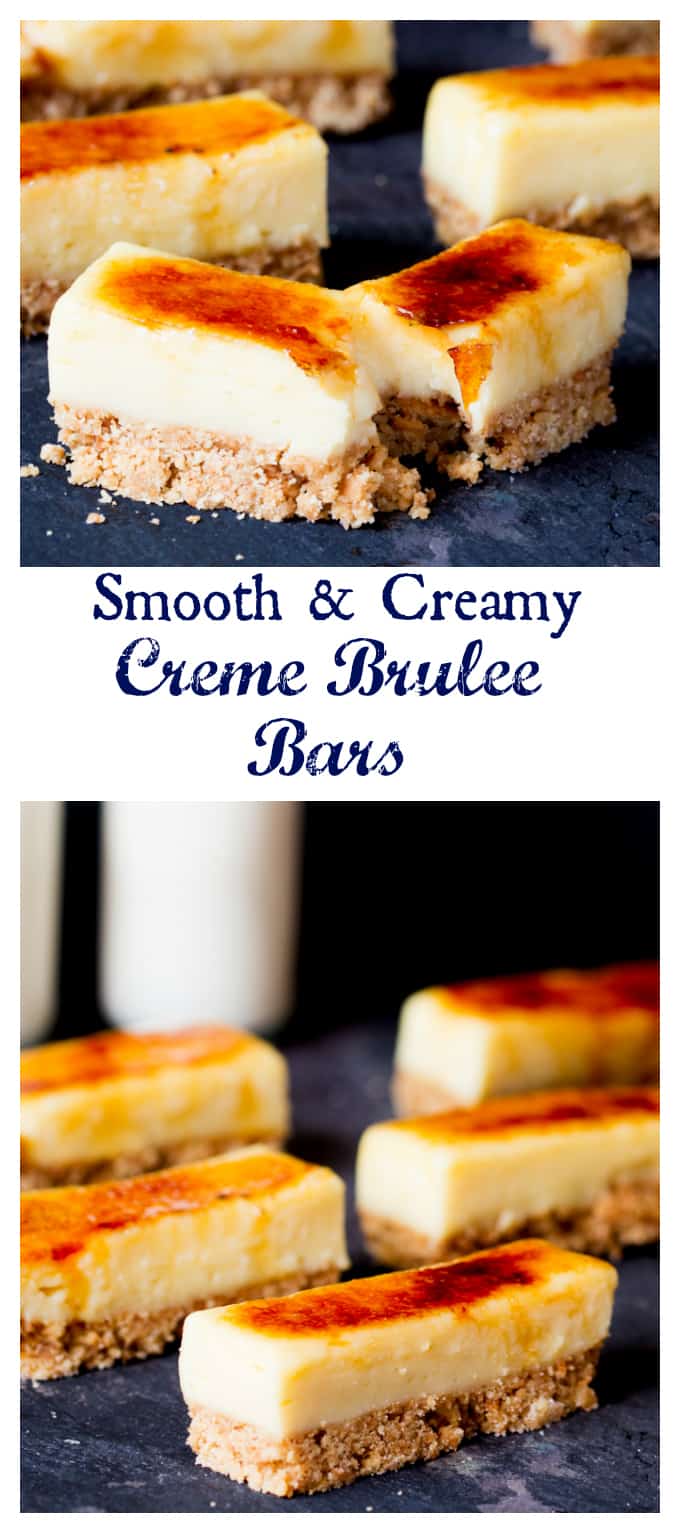
These Crème Brulee Bars are smooth, creamy and delicious – with a biscuit base and a crunchy sugar topping.
 So I had a hankering for crème brulee.
I love to order this dessert in restaurants, but I’ll only order it if I’m confidant it’s going to be done really well.
Bad crème brulee is so disappointing!
I’ve had thick jelly-like versions, and grainy-scrambled-egg-like versions. Bleurgh!! There aren’t too many things that make me grumpy (no comments from you please Chris) but a waste of a dessert makes me really grumpy.
The custard should be smooth and creamy, the topping should be sweet, with a very slightly bitter edge, and of course it should have a proper crunch to it. Serve that with some kind of crumbly biscuit on the side and I’m sold.
I could have put a classic crème brulee on the blog, and maybe at some point in the future I will, but I decided to do a bit of experimentation and combine the crème brulee flavours with that crumbly biscuit I spoke of earlier.
Doing a bit of research, I found that there are quite a few crème brulee bar recipes out there – but pretty much all of them were for crème brulee cheesecake bars.
I didn’t want cheesecake! Just the custard, sugar crunch and biscuit please.
So here it is the Crème Brulee Bars:
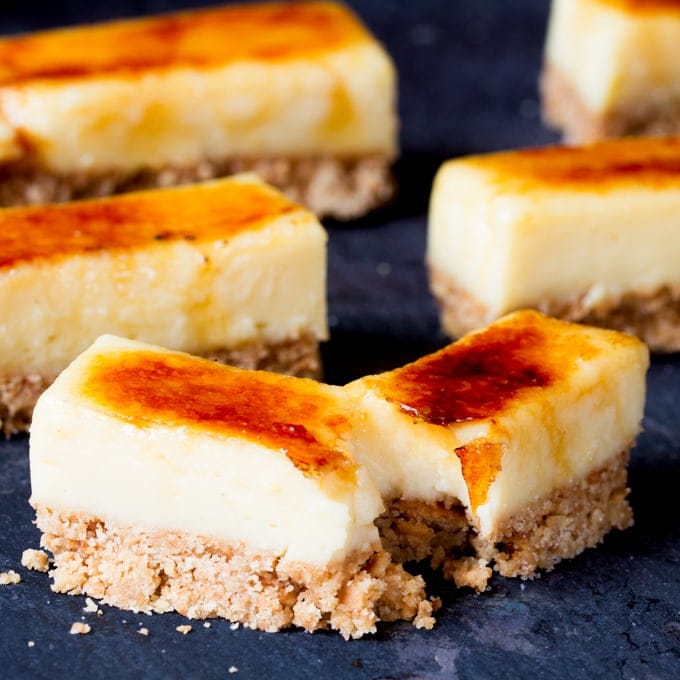
The base for these Crème Brulee Bars is the classic crumbled up biscuit with melted butter combination.
The custard is a fairly basic crème patissiere. I add a little cornflour to help it to set – so I can slice the bars neatly. I also add some butter at the end for added richness and a glossy finish. For me, it’s important that the custard isn’t rubbery and jelly-like. You’ll get a creamy, smooth but sliceable custard with this recipe without having to add gelatin or anything like that (which would give it a jelly-like finish).
The topping is a simple, even layer of sugar that’s been melted using a blow torch.
I’ve tried using the grill/broiler but it’s really hard to get an even finish without the custard underneath getting too hot.
I’ve gotta say – aren’t blowtorches fun!! I think Chris was pretty nervous when he got the following email from me whilst in a meeting at work:
Hi hun,
Do you have a blowtorch? If so any idea where it is?
And tips on not setting myself alight would be good too xx
No harm in making them worry a little about you sometimes 🙂
A couple of tips before you start:
When using the blowtorch, make sure your crème brulee bars are on a metal tray so you don’t scorch your work surface.
Also, it’s best to torch the sugar just before serving.
If you attempt to torch the sugar and then leave it for a while before serving you’ll find that the sugar turns to liquid and melts down on the custard and around the bars – leaving no crunch at all.
If you want to prepare this dessert ahead, make it up to the bit just before you sprinkle the sugar on. Then you can place the individual slices on a plate, cover it and place in the fridge. You can eat them like this if you like, or you can just take them out of the fridge when you’re ready to serve, sprinkle on the sugar (smoothing with the back of a teaspoon for an even layer) and torch till dark and very bubbly
The Crème Brulee Bars Recipe:
Crème Brulee Bars
Ingredients
Base:
- 200 g (7 oz) Digestive biscuits or graham crackers - use gluten free biscuits if required
- 100 g (1/2 cup minus 2 tsp) Unsalted butter melted
Custard:
- 500 ml ( 2 cups + 4 tsp) whole milk
- 115 ml (1/2 cup minus 1 tsp) double/heavy cream
- 1 tsp vanilla extract
- 6 tbsp cornflour
- 5 egg yolks
- 150 g (3/4 cup) caster sugar
- 40 g (1/4 cup minus 1 tbsp) unsalted butter
Topping:
- 5 tbsp fine granulated sugar
Instructions
- Start with the custard mix:
- Add the milk, cream and vanilla extract to a large pan and heat on high until it just starts too bubble, then turn off the heat.500 ml ( 2 cups + 4 tsp) whole milk, 115 ml (1/2 cup minus 1 tsp) double/heavy cream, 1 tsp vanilla extract
- In a large bowl, mix the cornflour, egg yolks and caster sugar. Pour in a little of the boiled milk to the egg mixture and whisk quickly before the egg tries to scramble. Add another couple of splashes in and whisk. Now add the rest of the milk, and whisk. Give your milk pan a quick wash and dry (or grab a fresh pan), then pour the milk and egg mixture back into the pan. Heat on a medium heat stirring with a whisk all the time until the custard is very thick. It will take about 5-6 minutes and will thicken quite suddenly towards the end. Once thickened, turn off the heat and stir in the butter until incorporated. Allow to cool for 10 minutes, then place some clingfilm/plastic wrap directly on top of the custard - so it's touching the top of the custard - and leave to cool completely (this prevents a skin forming on the custard).6 tbsp cornflour, 5 egg yolks, 150 g (3/4 cup) caster sugar, 40 g (1/4 cup minus 1 tbsp) unsalted butter
- Next make the biscuit base:
- Line a 20cmx20cm baking tin with baking parchment.
- Put the biscuits into a large bowl and crush into crumbs using the end of a rolling pin, then mix in the melted butter until thoroughly combined. Spoon the mixture into the baking tin and push down so you have a tightly packed, level layer covering the bottom of the tin.200 g (7 oz) Digestive biscuits, 100 g (1/2 cup minus 2 tsp) Unsalted butter
- Spoon in the cooled custard mixture and flatten with the back of a spoon. Place some clingfilm on top (touching the custard) and place in the fridge for 2-3 hours (or overnight) to set.
- Once set, take out of the fridge and remove from the tray (using the baking parchment to carefully lift it out). Place on a chopping board and slice into 10 slices. Wipe the knife after each slice to get a neat, clean slice for each bar.
- Sprinkle half a tablespoon of granulated sugar on top of each bar and smooth out with the back of a spoon. Levelling the sugar in this way will ensure even melting of the sugar.5 tbsp fine granulated sugar
- Ensure the bars are on a scorch-proof surface (such as a baking tray) and melt the sugar - using a blow torch on a medium heat setting - until the sugar browns and bubbles rapidly.
- Leave to set for a minute, and then serve.
Notes
Nutrition
Nutrition information is automatically calculated, so should only be used as an approximation.


Hi Nicky! Love the recipe! Wondering if the Brûlée texture is strong enough to make this without the cookie base. Think it would be okay?
Hi Nicky.
Could you tell me what quantities I should use for a 24x24cm tin please? Was thinking 1.5 the amounts you’ve stated?
Thank you x
O que seria 115 ml / duplo creme pesado?
Love this twist on traditional creme brulee, love the gluten free option. Always great when I can find a dessert I can enjoy with everyone else. (coeliac)
Is it possible to bake the custard filling to spead up the process and possibly set better?
Hi Saira,
I think that would work – though you may end up with more of a wobbly custard than the velvety, creamy custard that I love in this recipe.
If you try it I’d love to hear how it worked out for you.
Oh thanks for the quick response, but if i did baked off the crust first, would it mess up the texture of the final product ?
hmmmm, you could bake off the base and let it cool before you put the custard topping on. I’m not 100% sure if pre-cooking the base would make it too crumbly to slice cleanly. I think it would be ok as the topping should help keep it together. good luck 🙂
Oh my! This is a very nice twist on the classic creme brulee. Fantastic. 😀
Thanks Jhuls 🙂
Hi Nicky,
I only have a 20x20cm tin that’s quite shallow (approx 3cm deep) so assume that won’t be deep enough. However do have a 24x24cm tin that is much deeper. What quantities do you suggest I use please?
Thank you ❤️